-
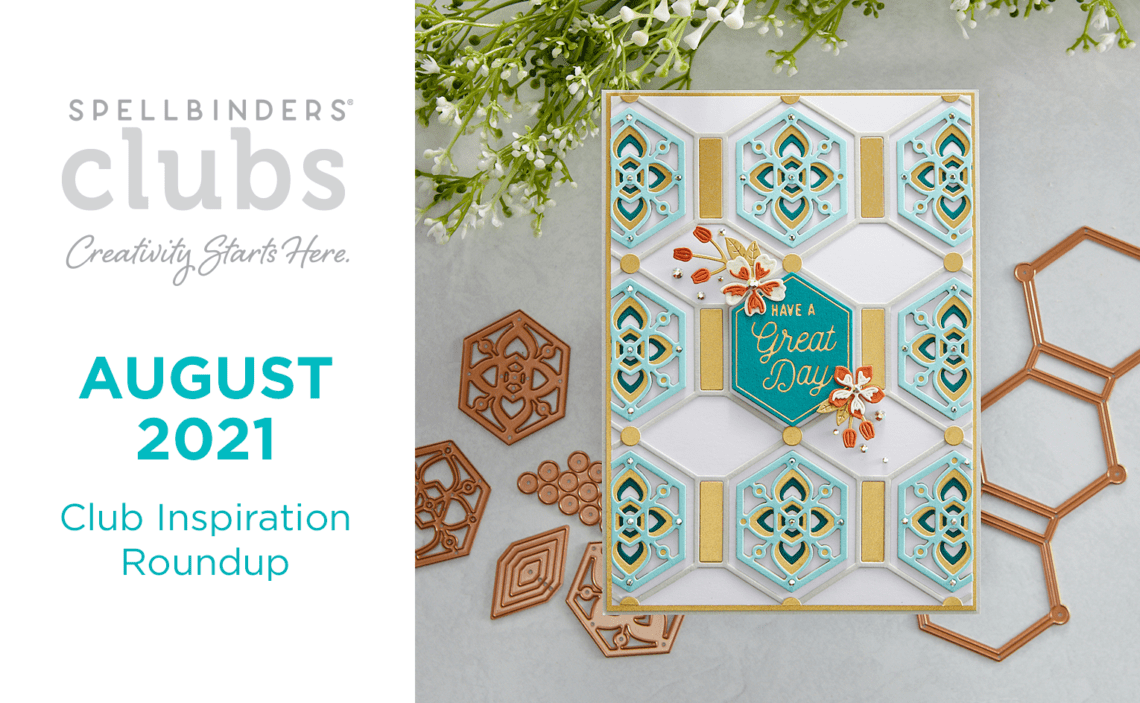
August 2021 Clubs Inspiration Roundup!
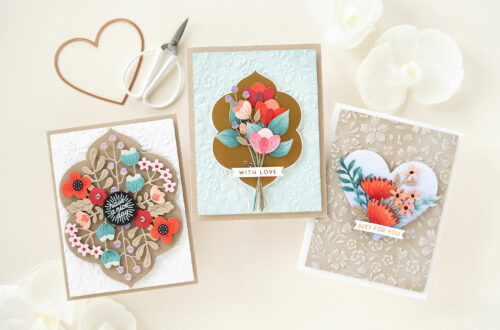
Hello Spellbinders’ fans! We hope you are excited to receive or maybe have already received your August 2021 Club packages in the mail! To bring you even more inspiration and spark your creativity using products from our Small Die of the Month, Large Die of the Month, Card Kit of the Month, Amazing Paper Grace Die of the Month, Glimmer Hot Foil Kit of the Month and Clear Stamp of the Month for August 2021 we put together this post linking to inspirational projects by our guest designers! Be sure to visit their blogs to see/read more about the projects they’ve created! Many of these include step by step videos…
-
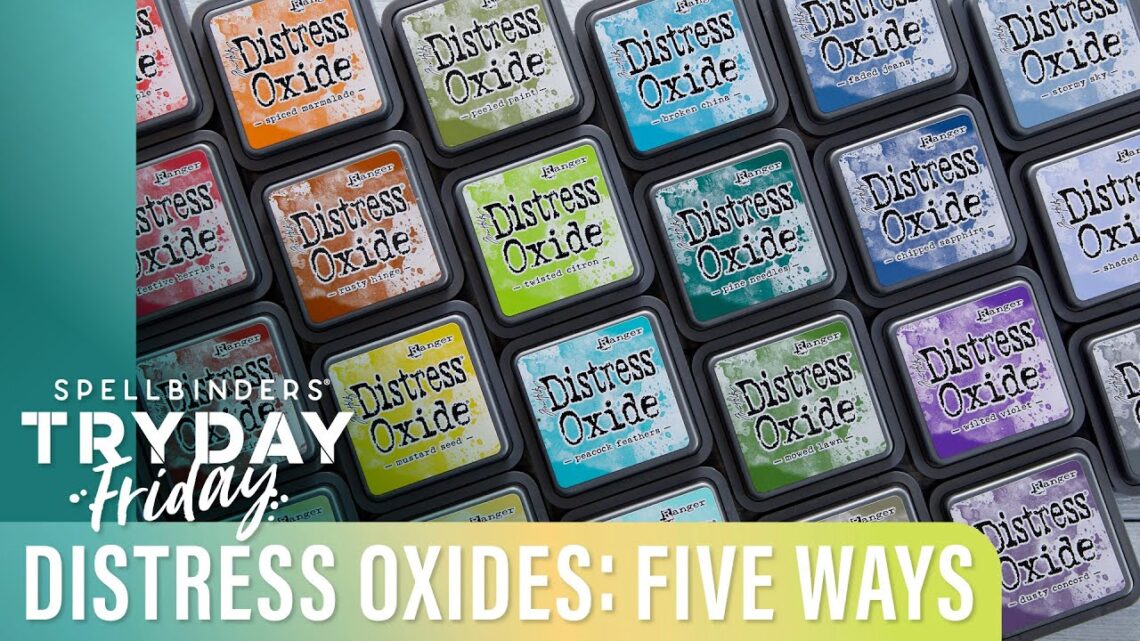
Distress Oxides Five Ways | Spellbinders Live
Join Kim Kesti in the Creative Classroom as she shares 5 fun ways to use the beautiful Distress Oxide ink pads, now in stock on our website. Watch today’s video and then try one of these fun techniques on your next project! Watch below or on our Youtube channel: Spellbinders has curated a collection of 30 colors of Distress Oxide inks to coordinate with the 30 shades of our Color Essentials cardstock. Pick your favorite colors or start collecting them all today! In today’s video, Kim shares some of her favorite tools for working with Distress Oxide inks. They include sponge daubers, misting bottles, paint brushes and a non-porous sheet. The magic of Distress Oxide inks is…
-
Trim A Tree Collection Inspiration with Melody
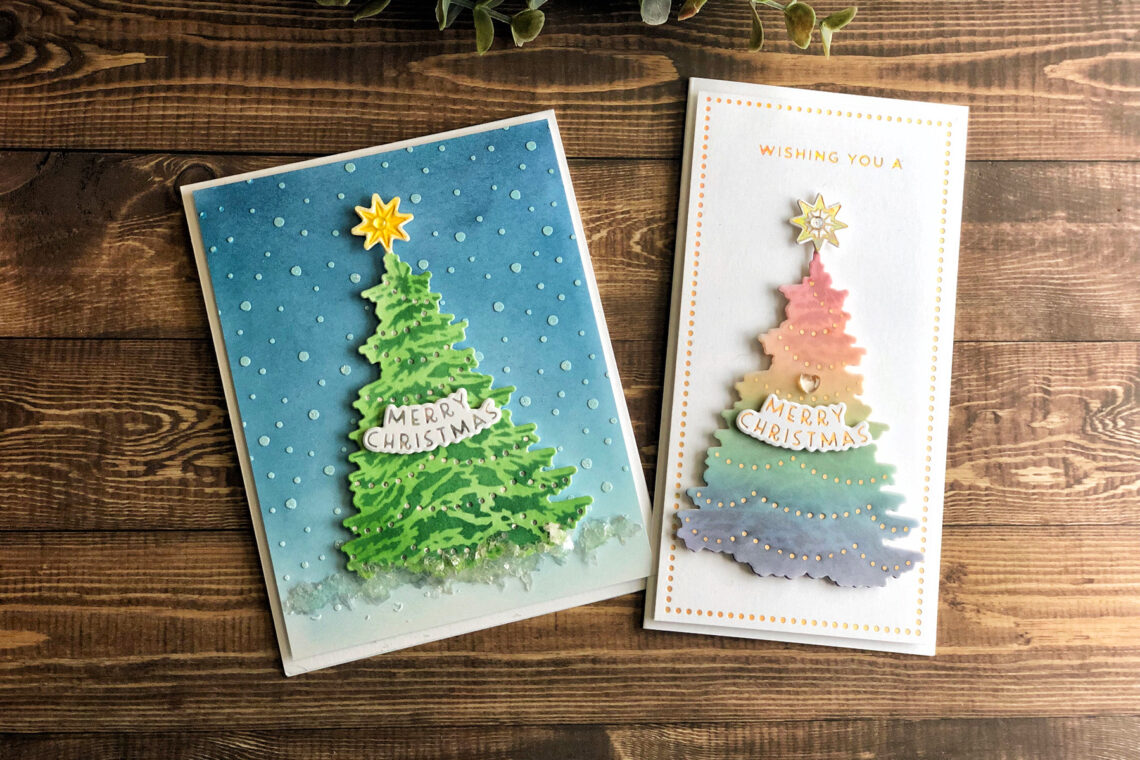
Hello! It’s Melody here on the blog today. This is my first time as a Guest Designer on the Spellbinders Blog and I am excited to be here. I have two projects to share with you that I created with the new Trim A Tree Collection. The collection included a Layered Christmas Tree Stencil, O Christmas Tree Etched Dies, and the Shining Christmas Tree Glimmer Hot Foil Plate & Die Set. To create the background I cut a piece of dark blue cardstock to fit the card front and blended Chipped Sapphire Distress Ink on the outside edges. Then I used the Layered Christmas Tree Stencil with Journey Modeling Paste to add the snow to the background. Next I…
-
Trim a Tree Collection Inspiration with Jennifer Kotas
Hello! I am Jennifer Kotas from Who Stole My Glitter. I am so happy to be on The Spellbinders Blog today. I have got two cards to share with you using the Trim a Tree Collection. The stencil in this collection was where my projects began, and they grew from there. It was quite an enjoyable process and led me to create one traditional card and one more modern card. Before I started designing either card, I stenciled a bunch of trees. I tried different color combinations including ombre and rainbow trees. There are so many ways to make these trees. You could die cut the layers from coordinating colors…
-
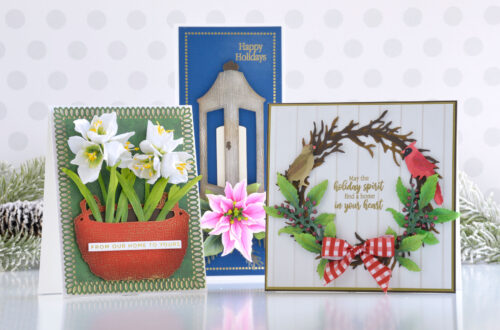
Trim a Tree for the Holidays with Bobbi Lemanski
Hello, friends of Spellbinders! It’s Bobbi Lemanski here sharing some festive trees for the holidays as the guest designer for Spellbinders. At our house, we celebrate big for Christmas with four trees in the home and countless decorations. We love to decorate each tree uniquely to fit the space. Today, I am decorating trees for my holiday cards instead. I’ve got three cards to share that show the many different ways you can use the Trim a Tree Collection of products together to create lovely winter trees. O Christmas Tree Image My first 5” X 7” card features the O Christmas tree dies. You get a base and layered die…
-
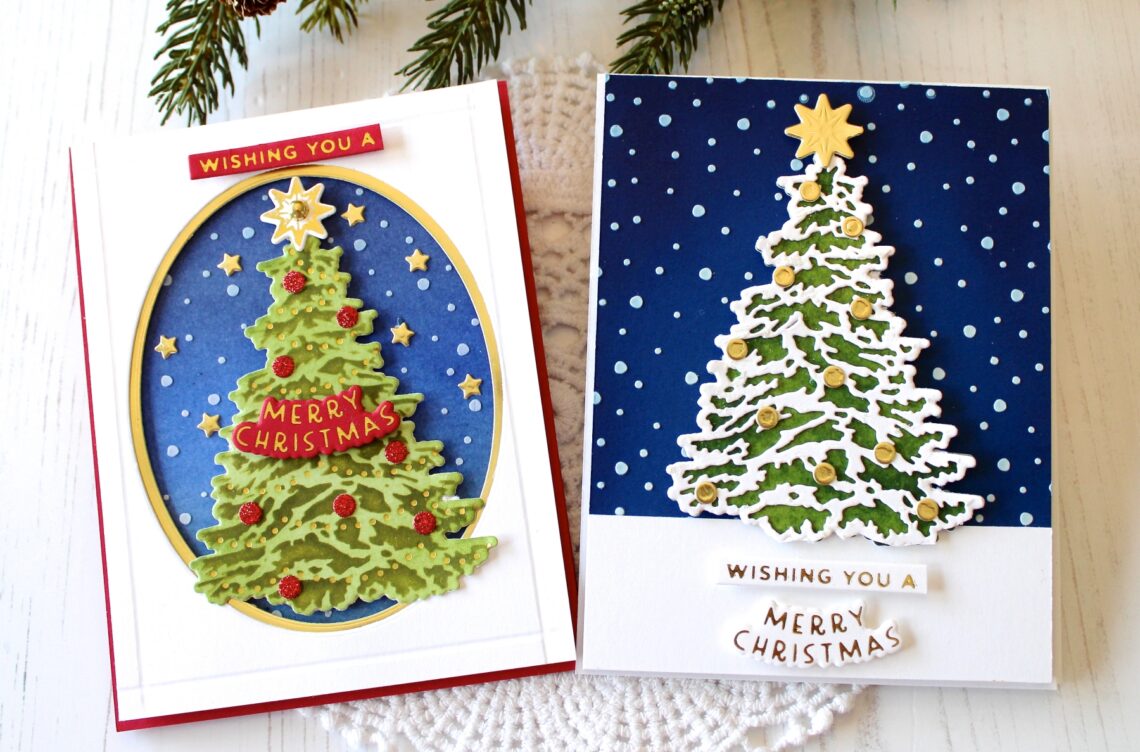
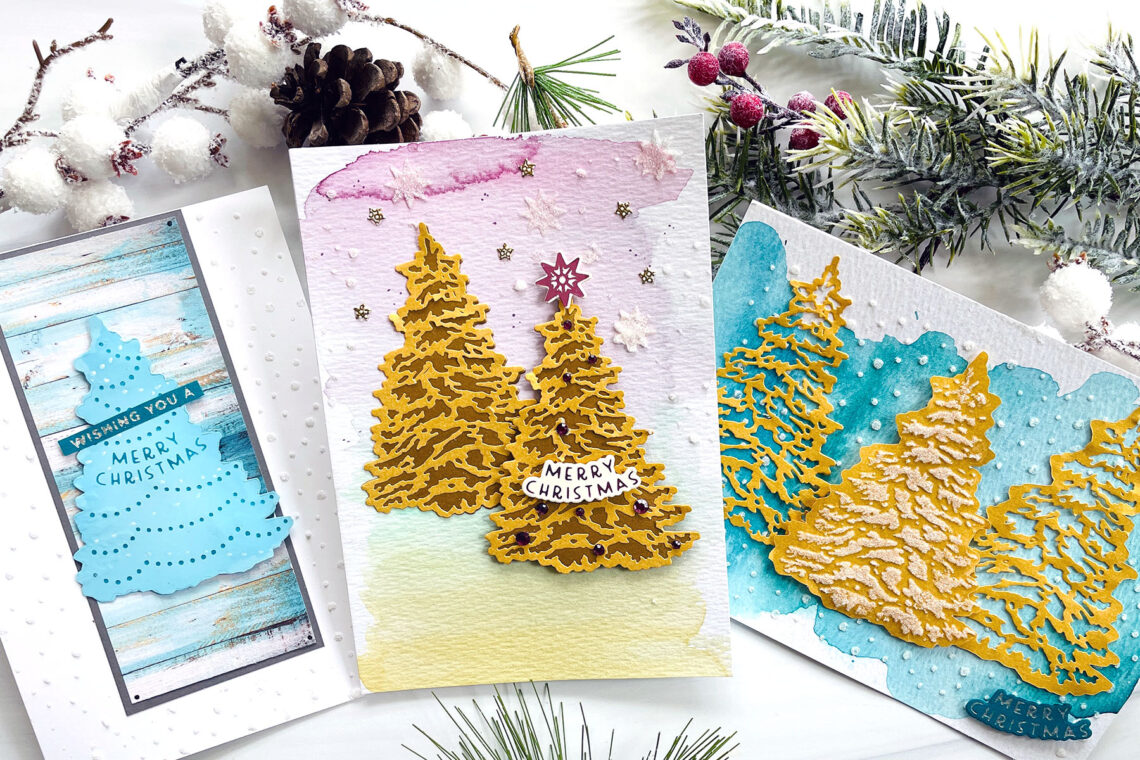
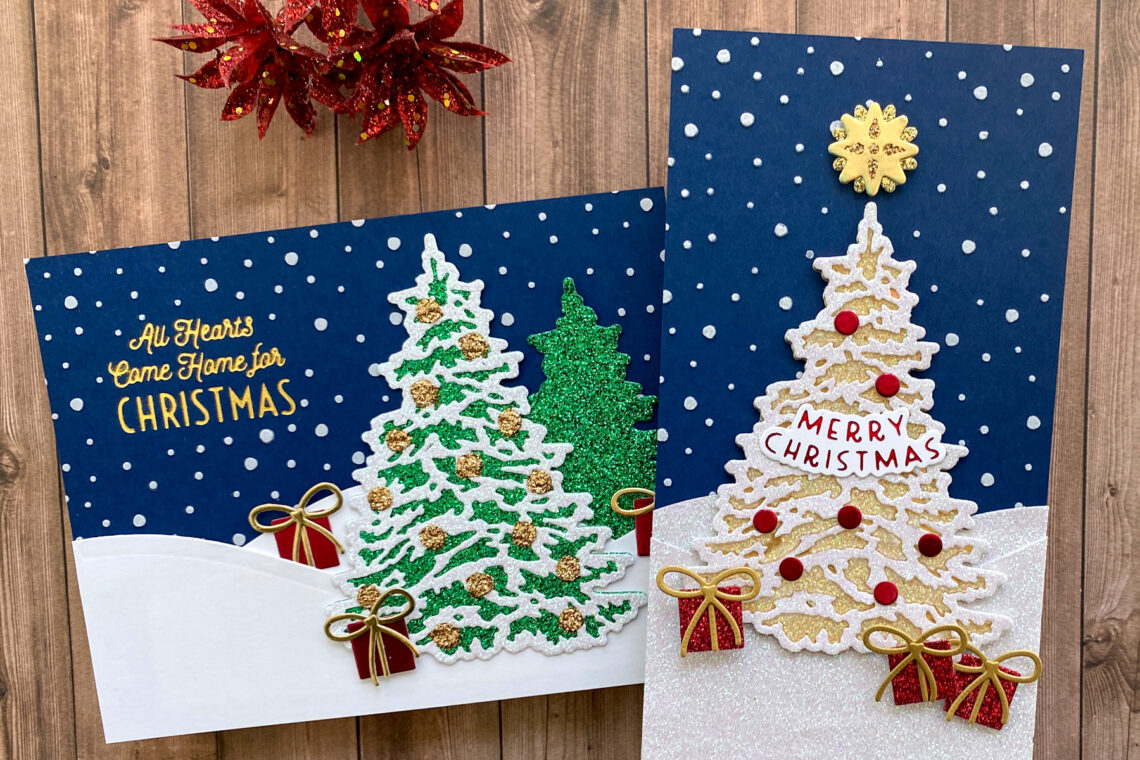
How to Trim a Tree in 3 Easy Steps with Jean
Hello crafty friends! It’s Jean here sharing two holiday cards created with the Spellbinders Trim a Tree Collection, which includes dies, glimmer plates, and a stencil that work together or separately. I’m showing how to create cards with this collection using a three-step approach: create the background, create the focal point(s), and embellish. Let’s take a look! A snowy, forest scene captures the magic of the holidays Create background: Create A2-size card base. Cut A2-size panel from navy cardstock. Foil Gifts of Christmas sentiment in Gold in upper-left. Mask sentiment area and apply white embossing paste through the Layered Christmas Tree Stencil (snow portion) to panel. Set aside to dry.…
-
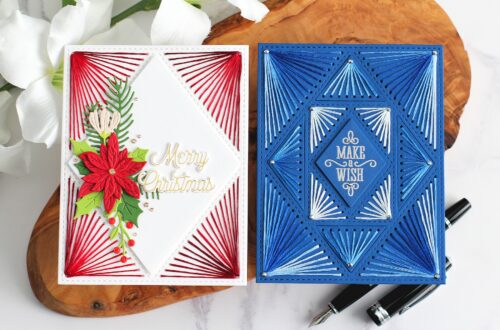
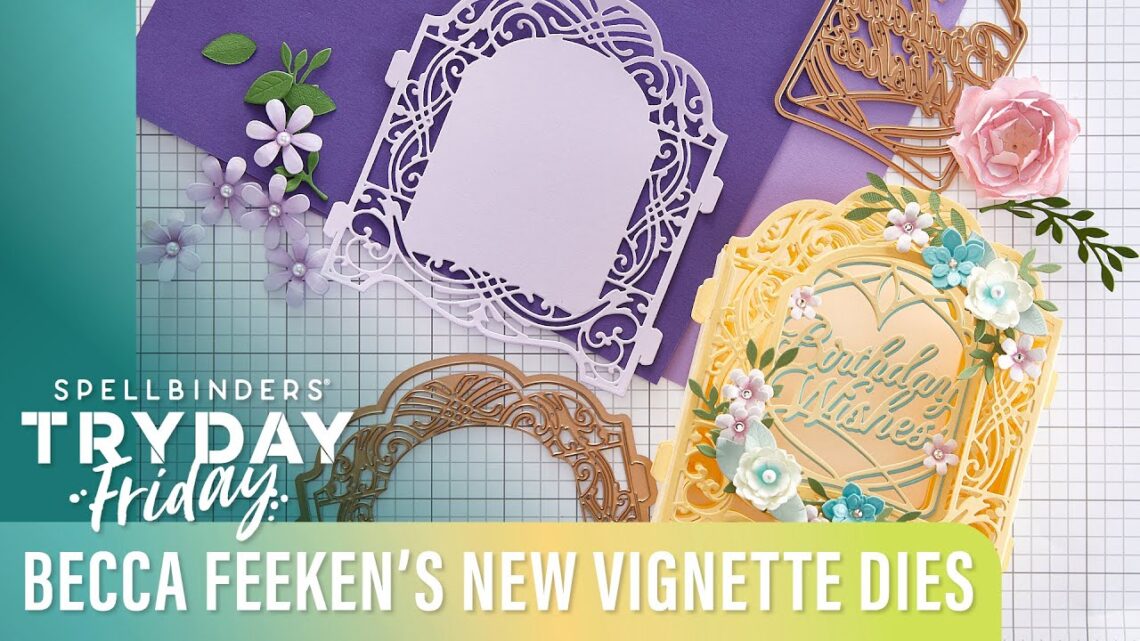
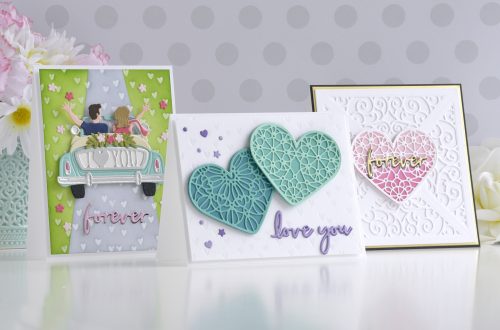
Becca Feeken’s New Vignette Dies | Spellbinders Live
Join Kim Kesti in the Creative Classroom as she plays with new additions to Becca Feeken’s elegant 3D collection of Vignette dies. Watch today’s video and then try one of these fun techniques on your next project! You can watch below or on our Youtube channel: The Vignette dies create dimensional 3D layers but the finished project also lays flat to fit in an envelope. You can create a stand-up cabinet style card project or an album style with tab pages for photos or die cut elements. For extra versatility, use the die cut elements to add to a standard card too! In today’s video Kim walks you through exactly what…
-
Be Merry Collection Inspiration with Laura Evangeline
Hello, crafty friends! I am Laura Evangeline, and I am excited to join you here as a guest blogger for the first time. I grew up in Texas, and after a few trips around the world with the Army, I now call Nashville “home” along with my handy husband, who is soon to retire from the Army, and also my spunky 10-year-old son. I can’t forget our two Yorkies, Max and Penny too! I started making cards a few decades ago now, but after taking a long break I realized it was more than a silly hobby. I wholeheartedly credit my mental health and well-being to crafting and the amazing…
-
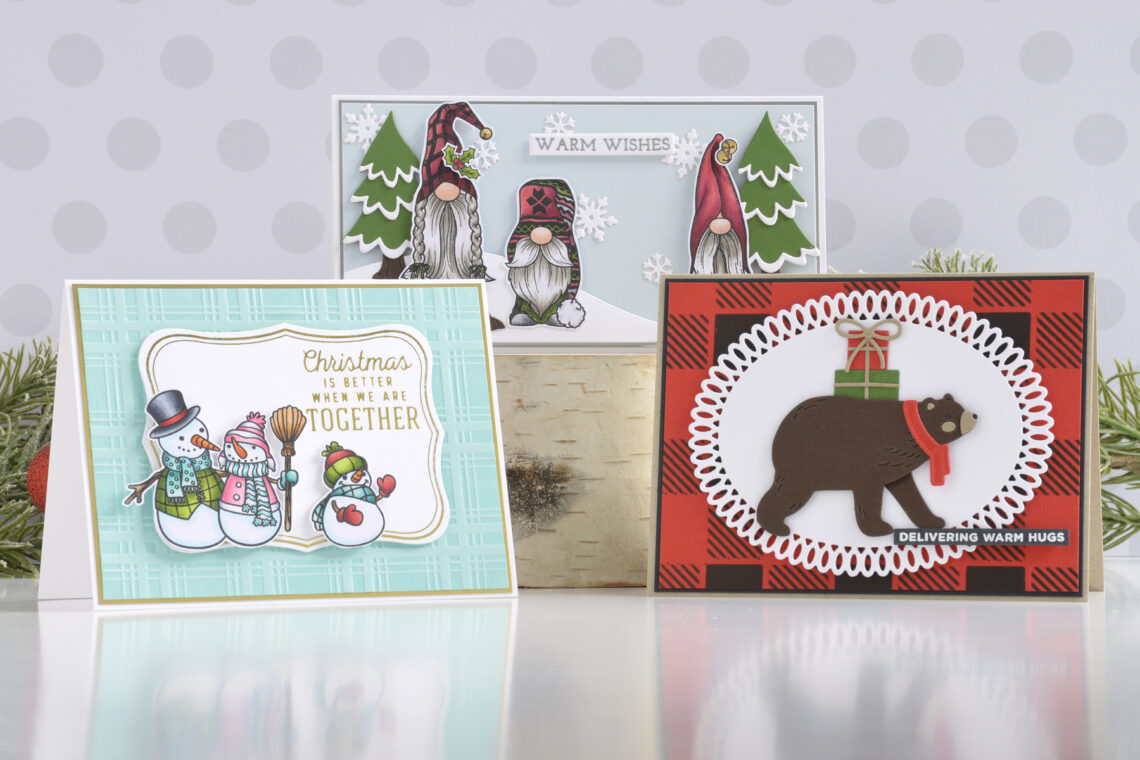
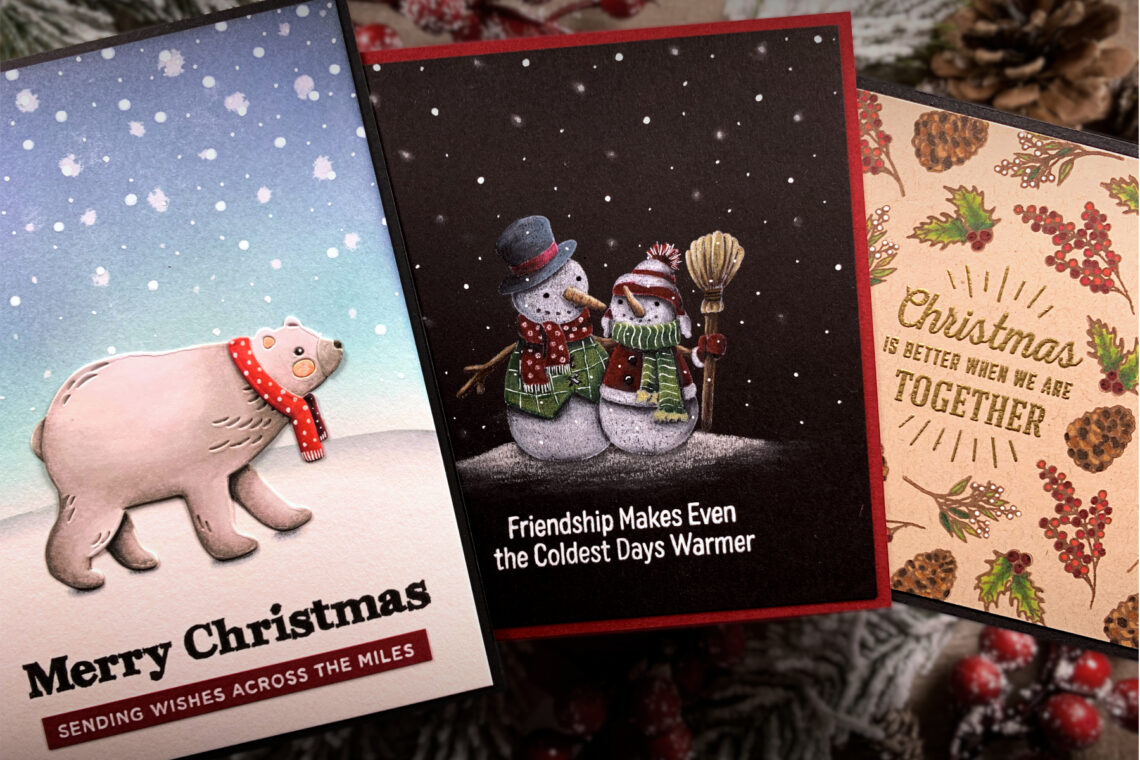
Be Merry Collection – Card Inspiration with Annie Williams
Hi there, this is Annie Williams and I’m excited to be back on the blog today to share a couple of projects using the new Be Merry Collection from Spellbinders. The fun die sets, sweet holiday images, and beautiful sentiments in this collection inspired me to create three cute cards perfect for sending a little Christmas cheer. DELIVERING WARM HUGS CHRISTMAS CARD I fell in love with the adorable bear in the Chill Bear Die Set and knew I had to use him on a card right away. With a fun stenciled background and a stack of tiny gifts, I created this simple and cozy Christmas card. Trim a piece…
-
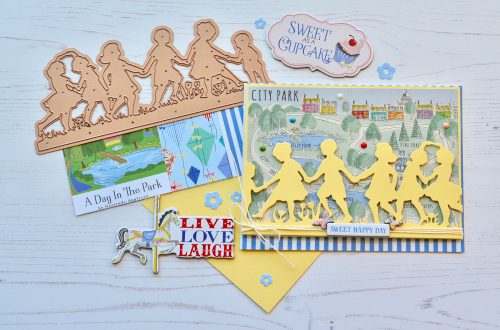
Christmas in July with Jennifer Rustioni & Be Merry Collection
Hi everyone! My name is Jennifer, I’m 37 years old and I live in Bergamo, Italy. I’ve always loved creativity in all its forms, but music and art are my greatest passions. Over the years they have also became my job: I’m a harpist and a coloring teacher as well. I share my love for art and coloring on my personal blog and on my social channels, so if you want you can find me there as @armieritagli! I’m very excited to be here today as a guest designer, to share with you the cards I created using the new amazing Be Merry Collection! I had much fun to realize…