-
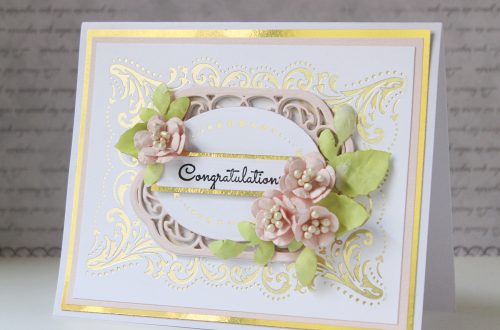
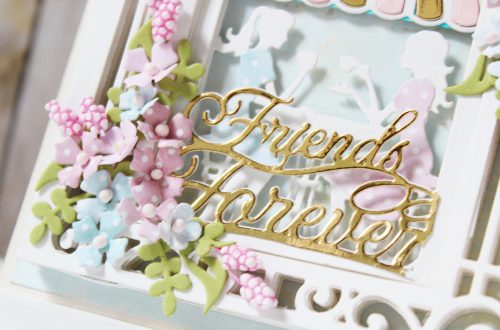
Glimmering Flowers With Jennifer
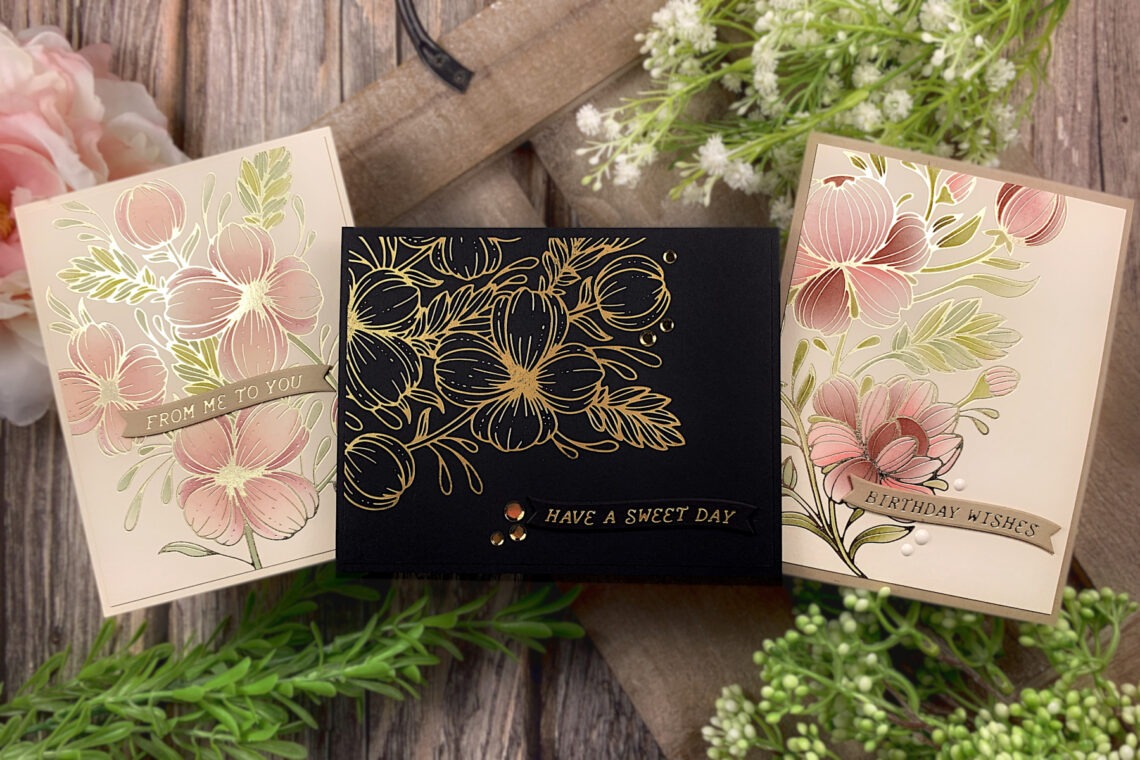
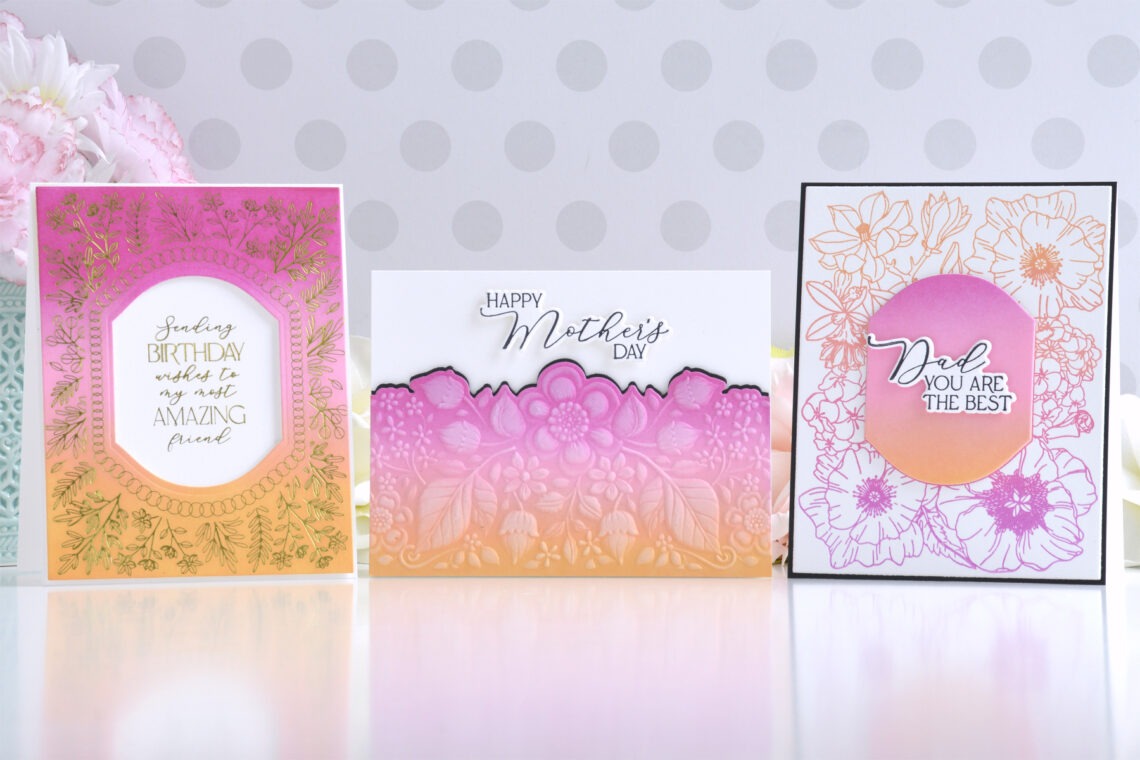
Hello everyone! This is Jennifer Rustioni from @armieritagli! I’m so happy to be here again as a guest on the Spellbinders Blog! Today I share with you three cards I created featuring the new wonderful Spellbinders Glimmering Flowers Collection! MISTLETOE KISS The first card I realized is featuring the lovely Spellbinders Glimmering Buttercups Hot Foil Plate. I used the Spellbinders Champagne Glimmer Hot Foil Roll to foil the flowers on a creamy-colored cardstock. I colored the flowers and the leaves blending some Distress Ink using the coordinate Stencil Set. I realized a gold foiled banner with the sentiment, using the Spellbinders Curved Everyday Sentiments Hot Foil Plate & Die Set.…
-
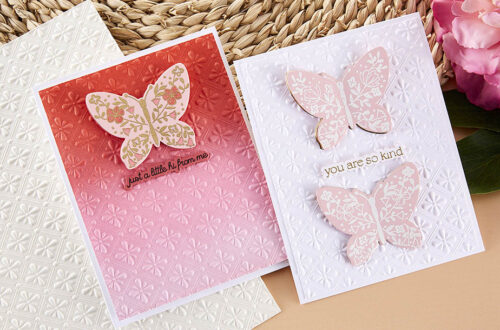
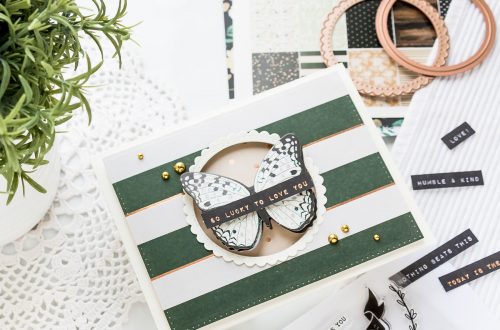
(Almost!) One Layer Wonders
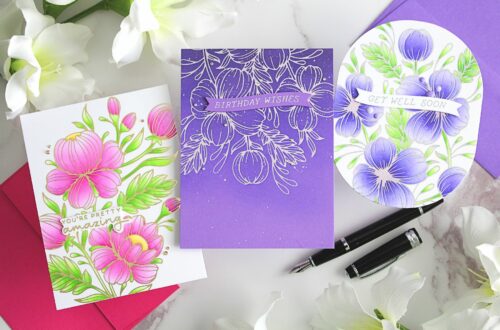
Hello there, Michelle Short here and I am delighted to be back on the Spellbinders blog sharing inspiration using the Glimmering Flowers collection. Today I have three cards to share that are (almost) one-layer cards. Whilst I love adding dimension on my cards, for mailing purposes, it is easier having less dimension! GET WELL SOON For my first card, I wanted to create a shaped card. I find that shaped cards add more interest to clean and simple cards. To make this card: I took a panel of white cardstock and placed a piece of Silver Foil shiny side up on top. I placed the Glimmering Buttercups Glimmer Plate on…
-
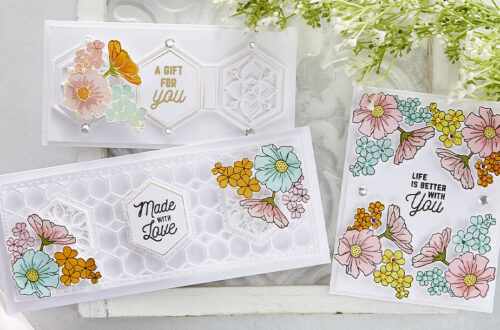
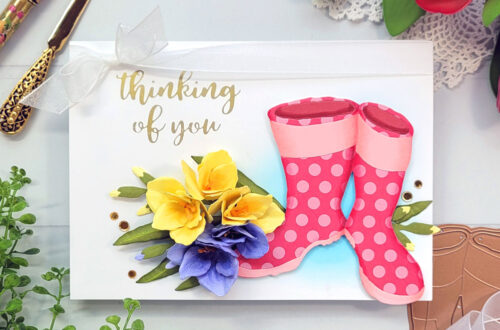
Sunny Floral Inspiration – Adding Colour and Using Shapes Three Ways
Hello there Spellbinders friends! This is Lisa Tilson from My Card Trip and I am thrilled to be back here again with you on the Spellbinders blog. Today, I have three cards to share with you using the Glimmering Flowers Collection. This collection consists of two floral glimmer hot foil plates which you can use on their own or you can use them with their coordinating layering stencils. There is also a new glimmer sentiment set which has lots of useful everyday sentiments in a fun curved banner design. I show three different ways of adding color to your card designs and I have kept my color palette similar on…
-
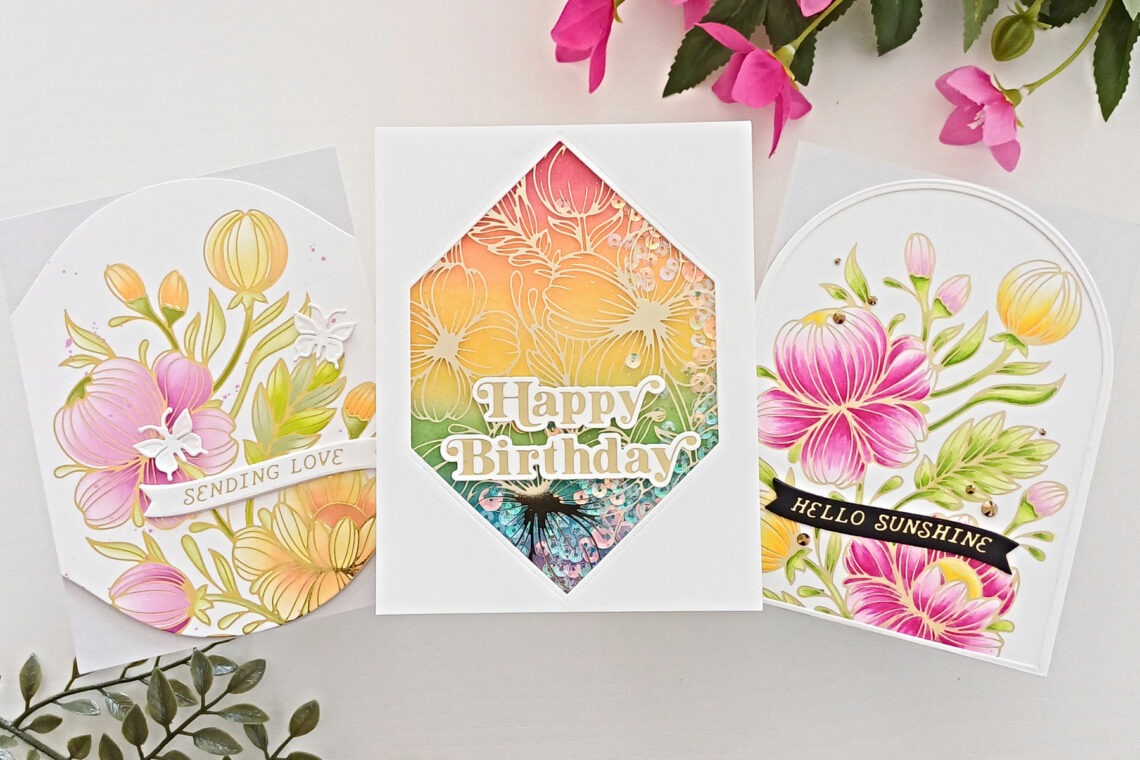
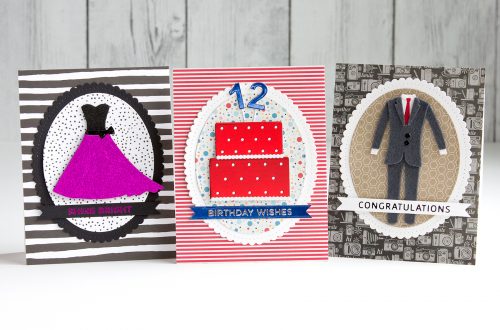
Creating Three Cheery Cards With the Same Color Blend
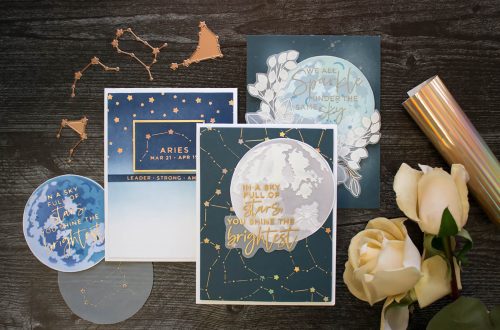
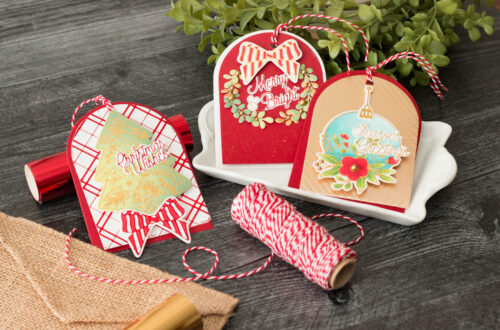
Hi there, this is Annie Williams and I’m thrilled to be back on the blog today to share a couple of brightly-blended cards made with the new Mirrored Arch Collection from Spellbinders. I love this new modern take on the classic oval frame and combined it with the same bright color blend to create three cards for different occasions. Bright Blended Birthday Card I loved all of the options provided by the Mirrored Arch Nested Sprigs Press Plate, so picked this setup first. With four concentric frame plates, you can create an ornate frame with tons of different layers. Here I used just the largest two layers to foil a…
-
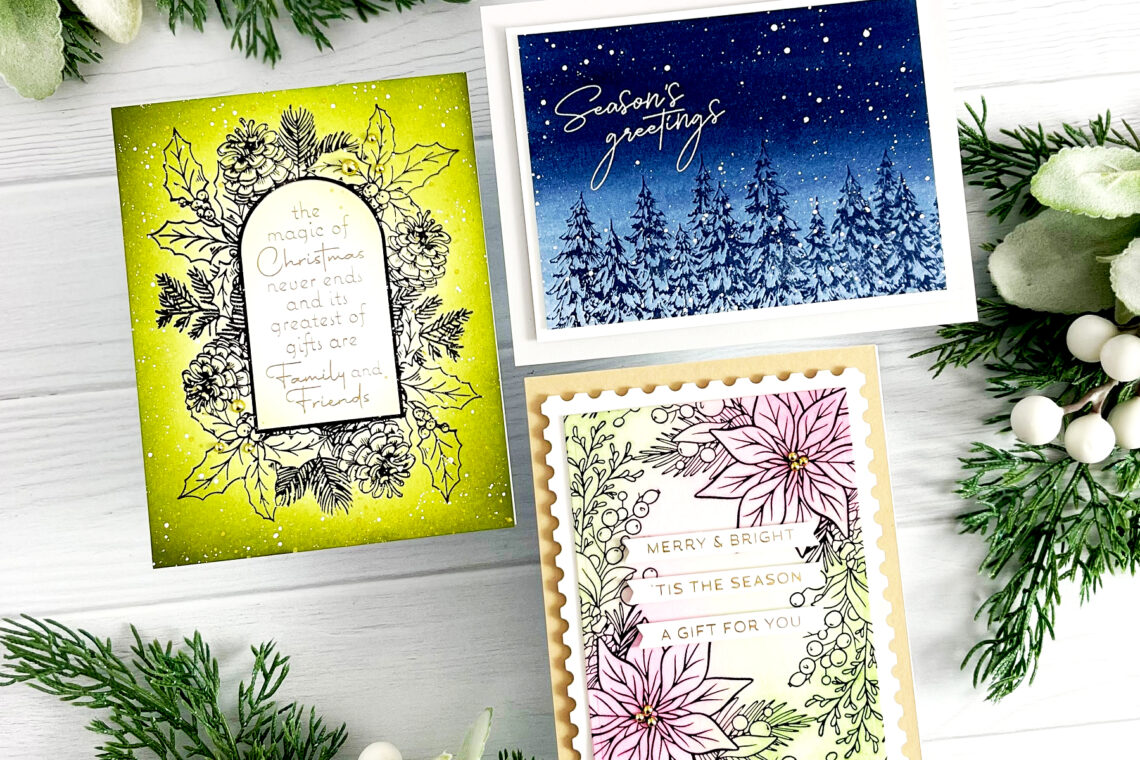
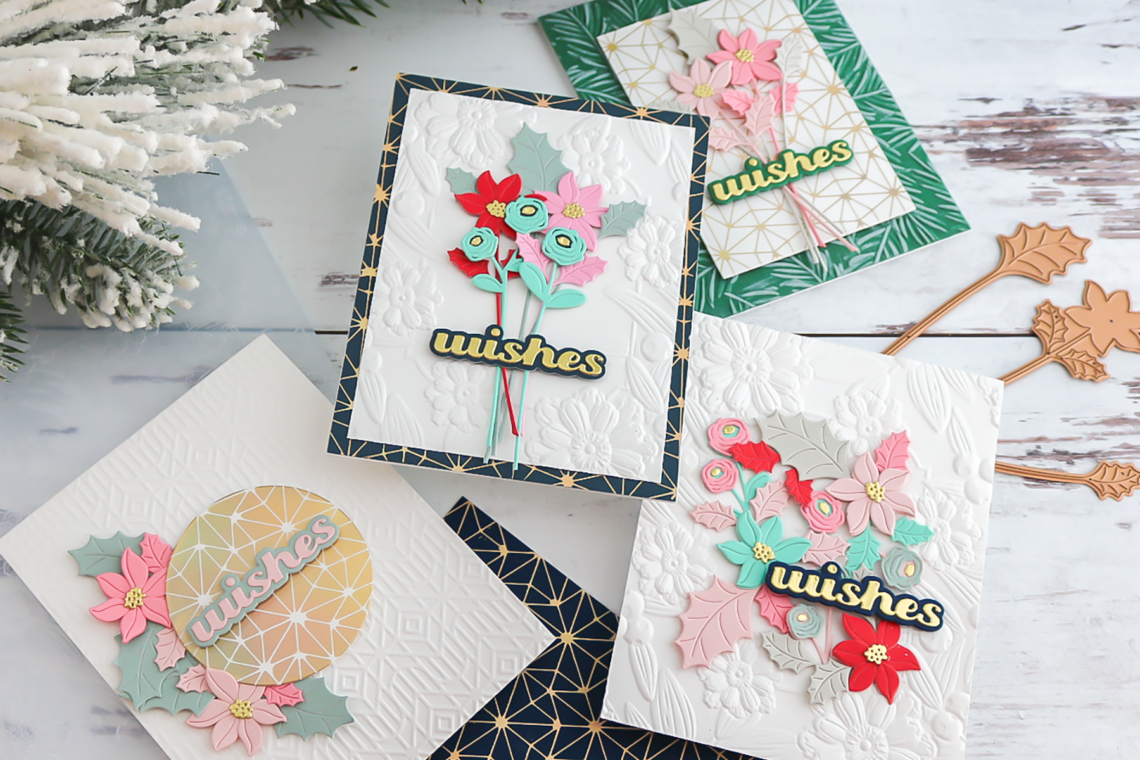
More Betterpress Christmas Inspiration
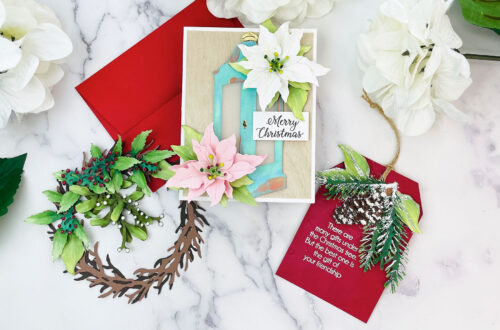
Hey friends! I’m Mindy Eggen and I’m so excited to be on the Spellbinders blog today to share inspiration using the More BetterPress Christmas Collection. I have been looking forward to working with this collection and creating some stunning cards quickly and easily. One of my favorite things to do when working with BetterPress plates is creating backgrounds. I personally like to create the background first and then add the BetterPress design which is what I did for two of the three cards that I’m sharing today. The first way that I wanted to add color was by watercoloring a nighttime sky for the Seasons Greetings Evergreens. After the panel…
-
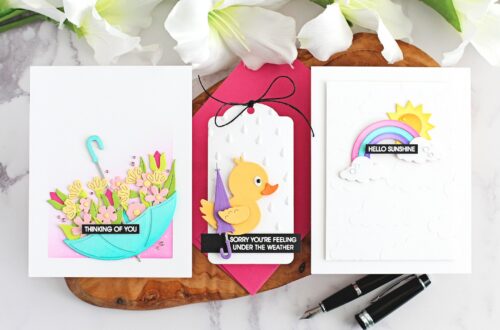
Sealed for Christmas Cardmaking Inspiration
Welcome to the Spellbinders Blog! I’m Lisa Mensing from Confetti and Cards with Lisa Mensing Blog, and I am here to share with you three quick and simple Christmas card ideas. The holiday season can get busy, but that does not mean you can’t still create beautiful and meaningful cards. With just a few tools, including my Platinum 6 and Glimmer Foiling System, I was able to create these three stunning cards. Join me as I walk you through the process and show you how you can easily recreate these designs. Get ready to be inspired and spread some holiday cheer! Often, I turn to my color palette to give…
-
Better Press Christmas – Letter Press and Hot Foil Card Ideas with BetterPress Plates
Hi friends! Emily Midgett from Sixth Street Sundries here with you today on the Spellbinders blog, and today I have some inspiration to share using a few products from the BetterPress Christmas Collection! One of my favorite things about the new BetterPress Letterpress plates is how beautifully they work with both your BetterPress letterpress machine and the Glimmer Hot Foil machine! The amount of detail that you can achieve with either machine using the super intricate images in the BetterPress lineup is truly impressive. I have created a quartet of projects to share with you today using several products from the BetterPress Christmas collection, so let’s get started with the…
-
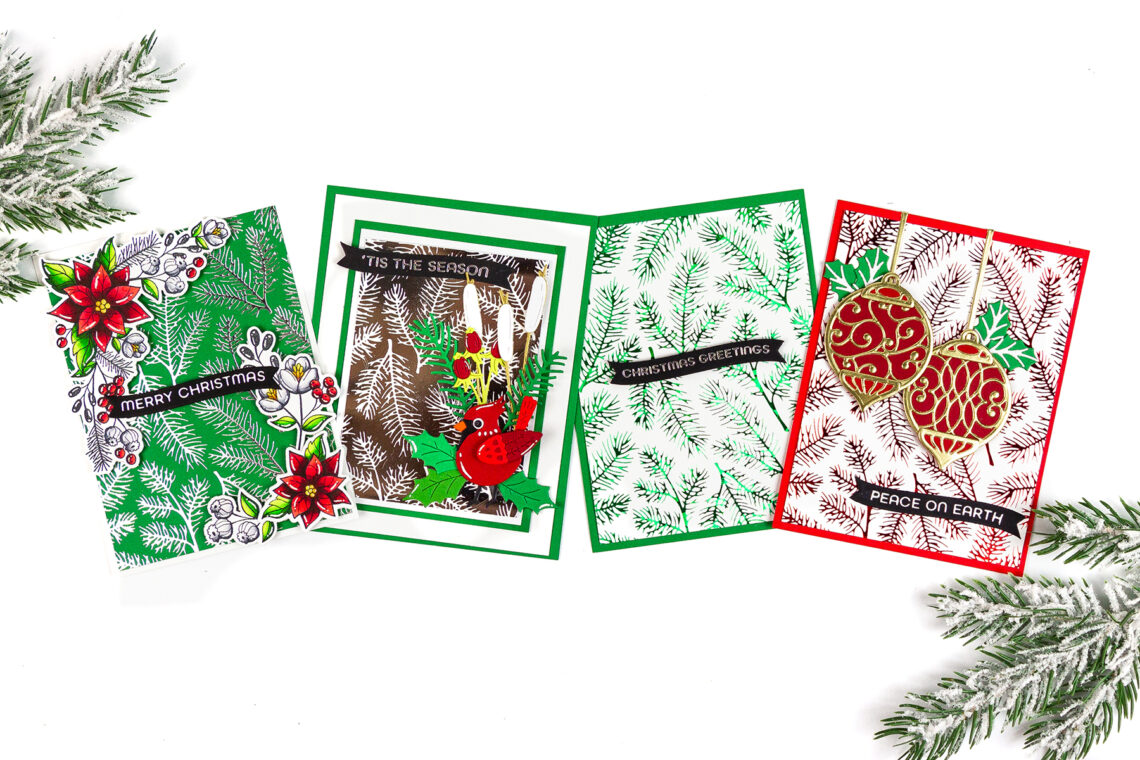
Glimmer for the Holidays – Pine Sprays 4 Ways
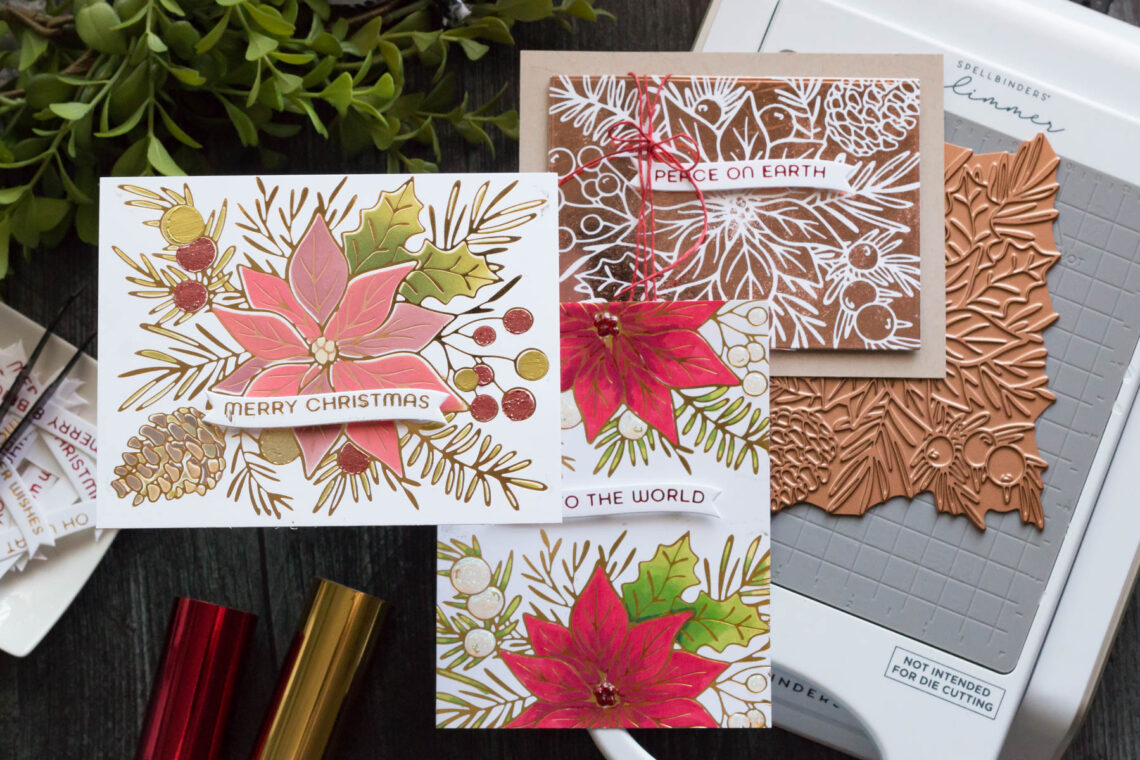
Hello crafty friends! It’s Rachel Alvarado from RachelAlvaradoDesigns.com. I have a variety of hot-foiled projects to share with you today using the Pine Sprays Hot Foil Plate from the new Glimmer for the Holidays Collection. My goal today is to show you how easy it is to combine this gorgeous hot foil plate with other Christmas-themed sets that you may already own, as well as how to easily use it on its own. Pine Sprays and Poinsettias My first project features the intricate pine sprays background combined with the previously released Wonderful Christmas Clear Stamp Set. My goal with this card was to add a pop of color to…
-
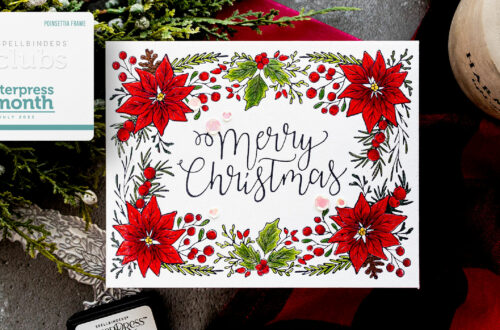
Full Bloom Poinsettia – Glimmered Three Ways
Hello, friends! It’s Marie again from Marie Nicole Designs. I’m sharing some more glimmered Christmas cards with you. This time, I’m using the Full Bloom Poinsettia Glimmer Plate but Im showing how to get three different glimmered designs. Let’s get started! GLIMMER A FULL CARD FRONT We will start by glimmering the plate onto a piece of white cardstock to create a full design for a card front. I have the plate warming up on the Glimmer machine while I cut some gold foil. After you cut a piece of foil you can lay it over your glimmer plate as it’s warming. I like to think of the backside of…
-
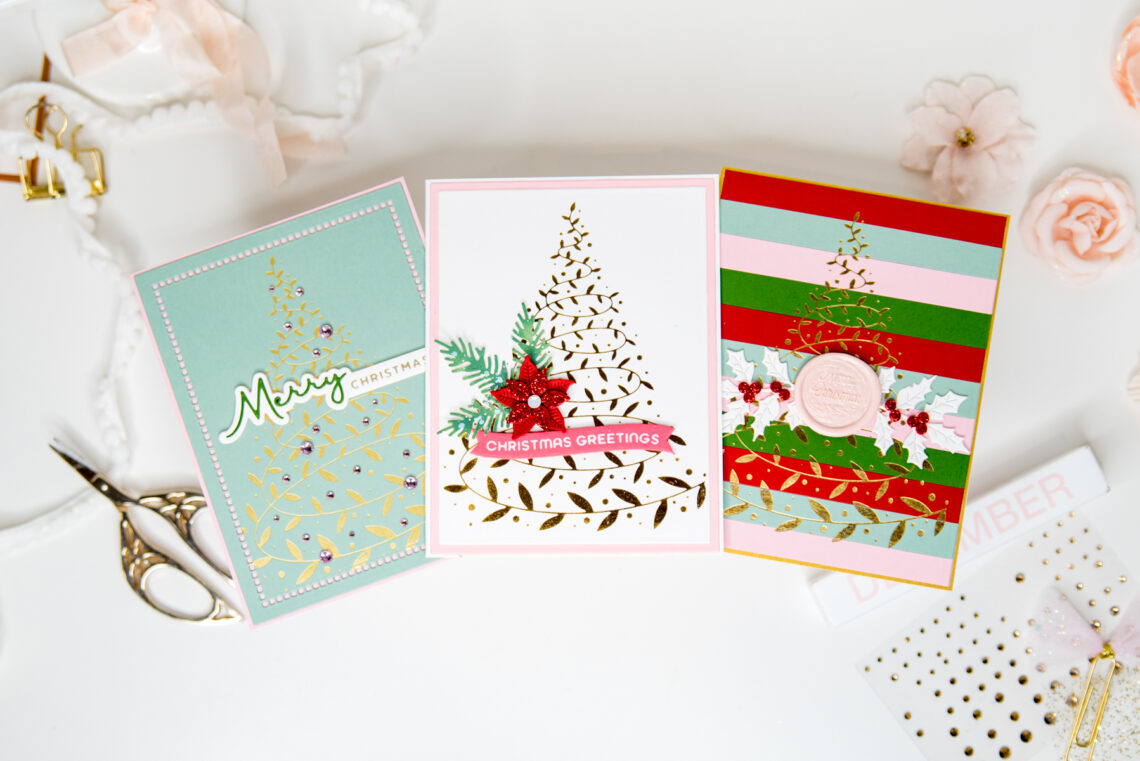
Swirling Foliage Tree 3 Ways
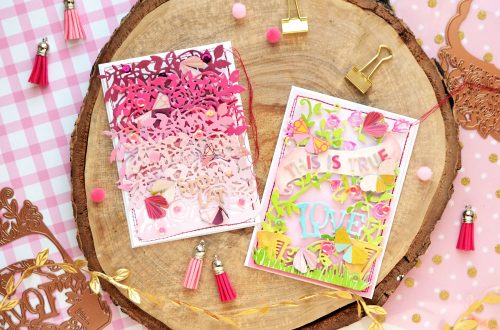
Hello, dear friends! It’s Leica, and today I want to share three fun ways to use the Swirling Foliage Tree from the Glimmer for the Holidays collection. This hot foil plate creates a beautiful swirling foliage design that’s perfect for making stunning Christmas cards. Let’s dive in! For my first card, I cut up strips of colorful cardstock and glued them onto white A2-sized paper. Then, I hot-foiled the Swirling Foliage Tree in gorgeous gold foil and trimmed it down, adding a gold border around it. The result was absolutely stunning! To complete the look, I added some white foliage, red berries, and topped it off with a pink Merry…