Chantilly Lace | Quick and Elegant Gold Layering
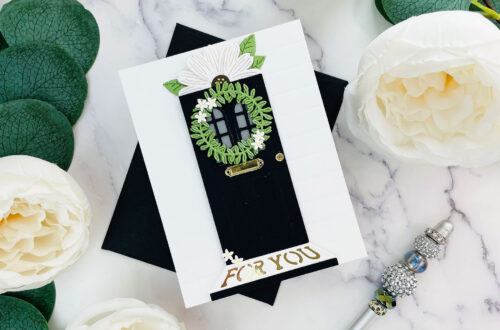
There are a couple of card styles I default to when I need to make something quick – I begin with gold layering. I’m Becca Feeken with Amazing Paper Grace and today my card is both simple and elegant with two layered gold elements on a decorative background. It’s easy to put together and I’ll take you through the quick steps.
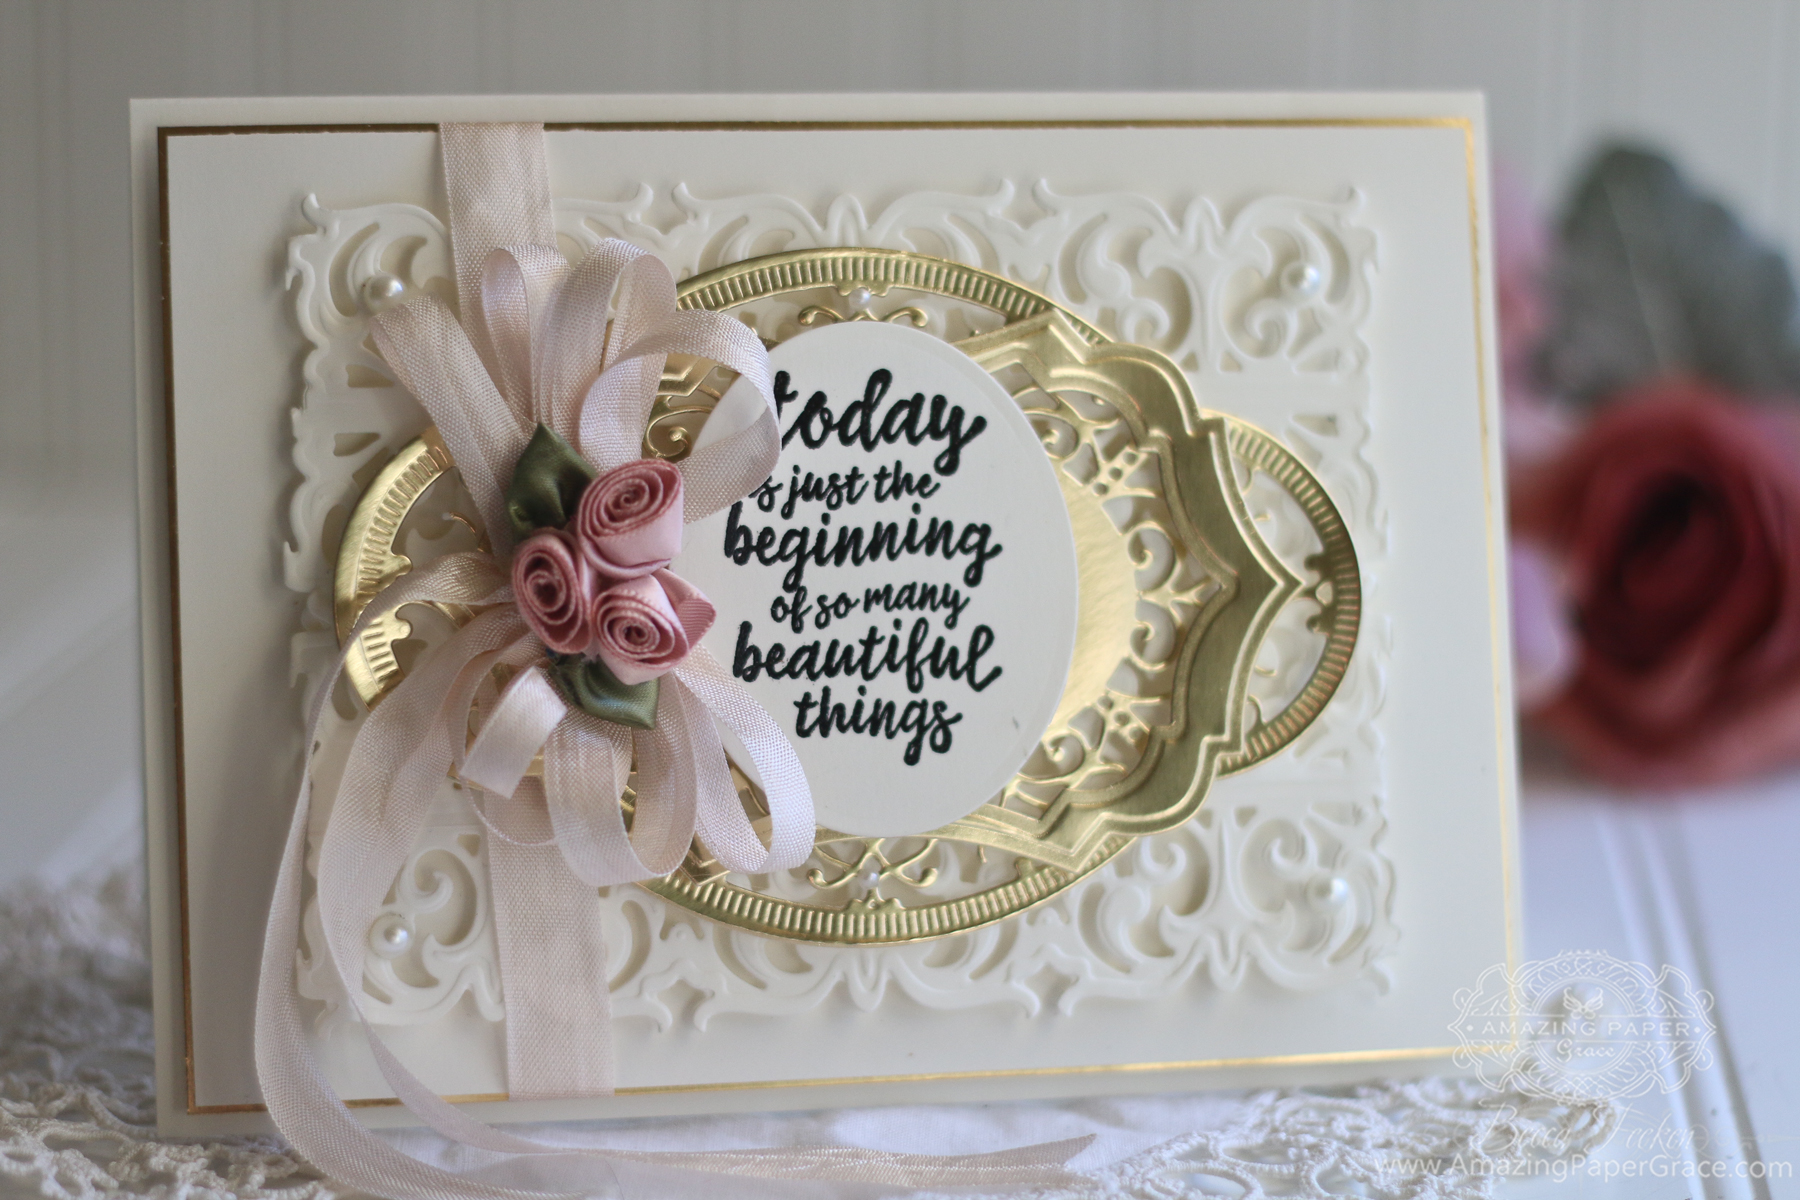
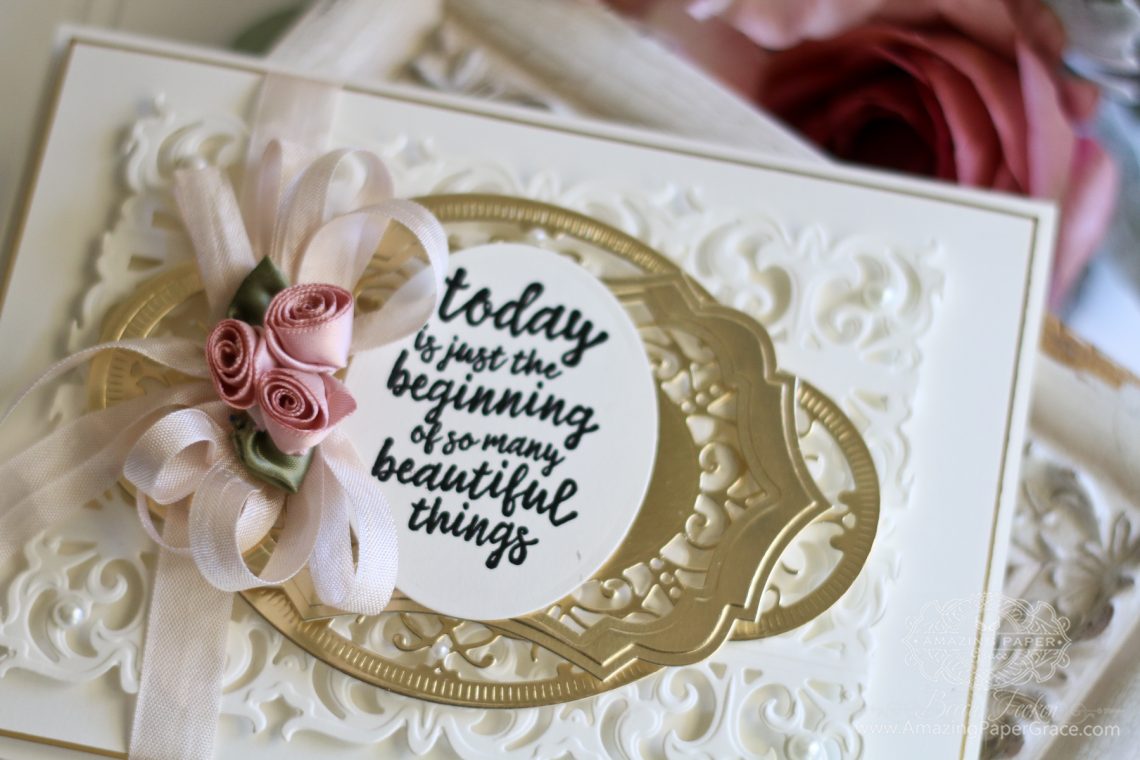
Cream and gold are my signature colors and nothing looks more elegant than when it is coaxed into a grand layering style. If I’m ever stumped with card making, an easy classic formula with symmetry usually comes to mind and always seems to satisfy the occasion. Raised layers with the focal panel centers getting successively smaller draw the eye in to the center. There it is easy to zero in the focus, where it is easy to highlight your favorite sentiment.
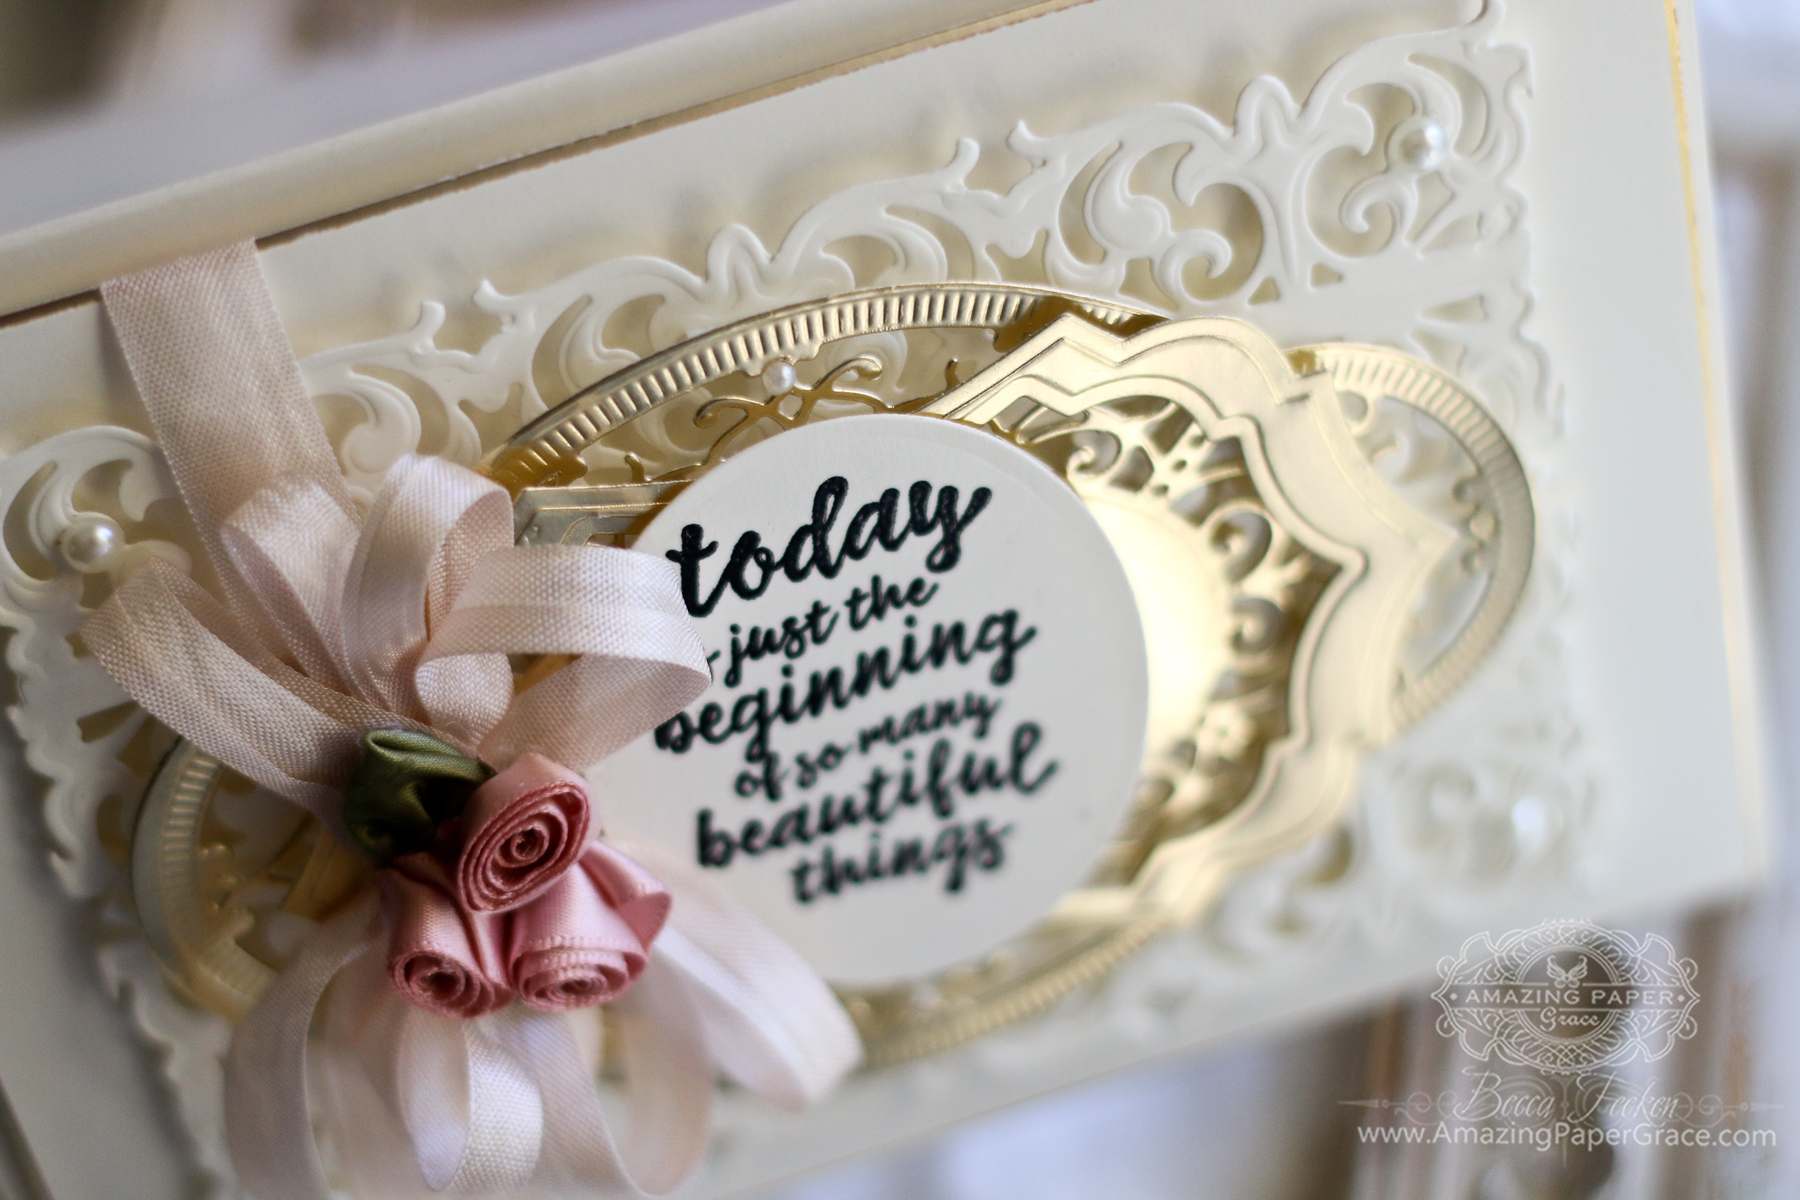
As we get toward the center, I like to build two layers together, the bottom one solid, the top one slightly smaller with an open aperture. Here the gold layering combination creates depth and texture. Dips and points in the design show off the texture of the bottom piece.
Putting Quick Gold Layering Together
1. Create a card base that is 5.5″ x 7.5″.
2. For the bottom layer cut a panel to 5-1/8″ x 7-1/8″ and mat with gold.
3. Create a foundation pattern by cutting S4-707-Graceful Damask Border back to back – it will yield a 2/1/4″ element – you’ll need two.
4. Use doubly stacked foam tape strategically on the backside of the borders to adhere to card base, cutting small strips that cannot be seen from the front side.
5. For the gold layering focal element cut and emboss one S5-329 Hannah Elise Layering Frame
6. For the detail layer of the gold layering cut and emboss one S4-789 Francesca Label
7. Adhere the pairing to previous layer and card base with doubly stacked foam tape.
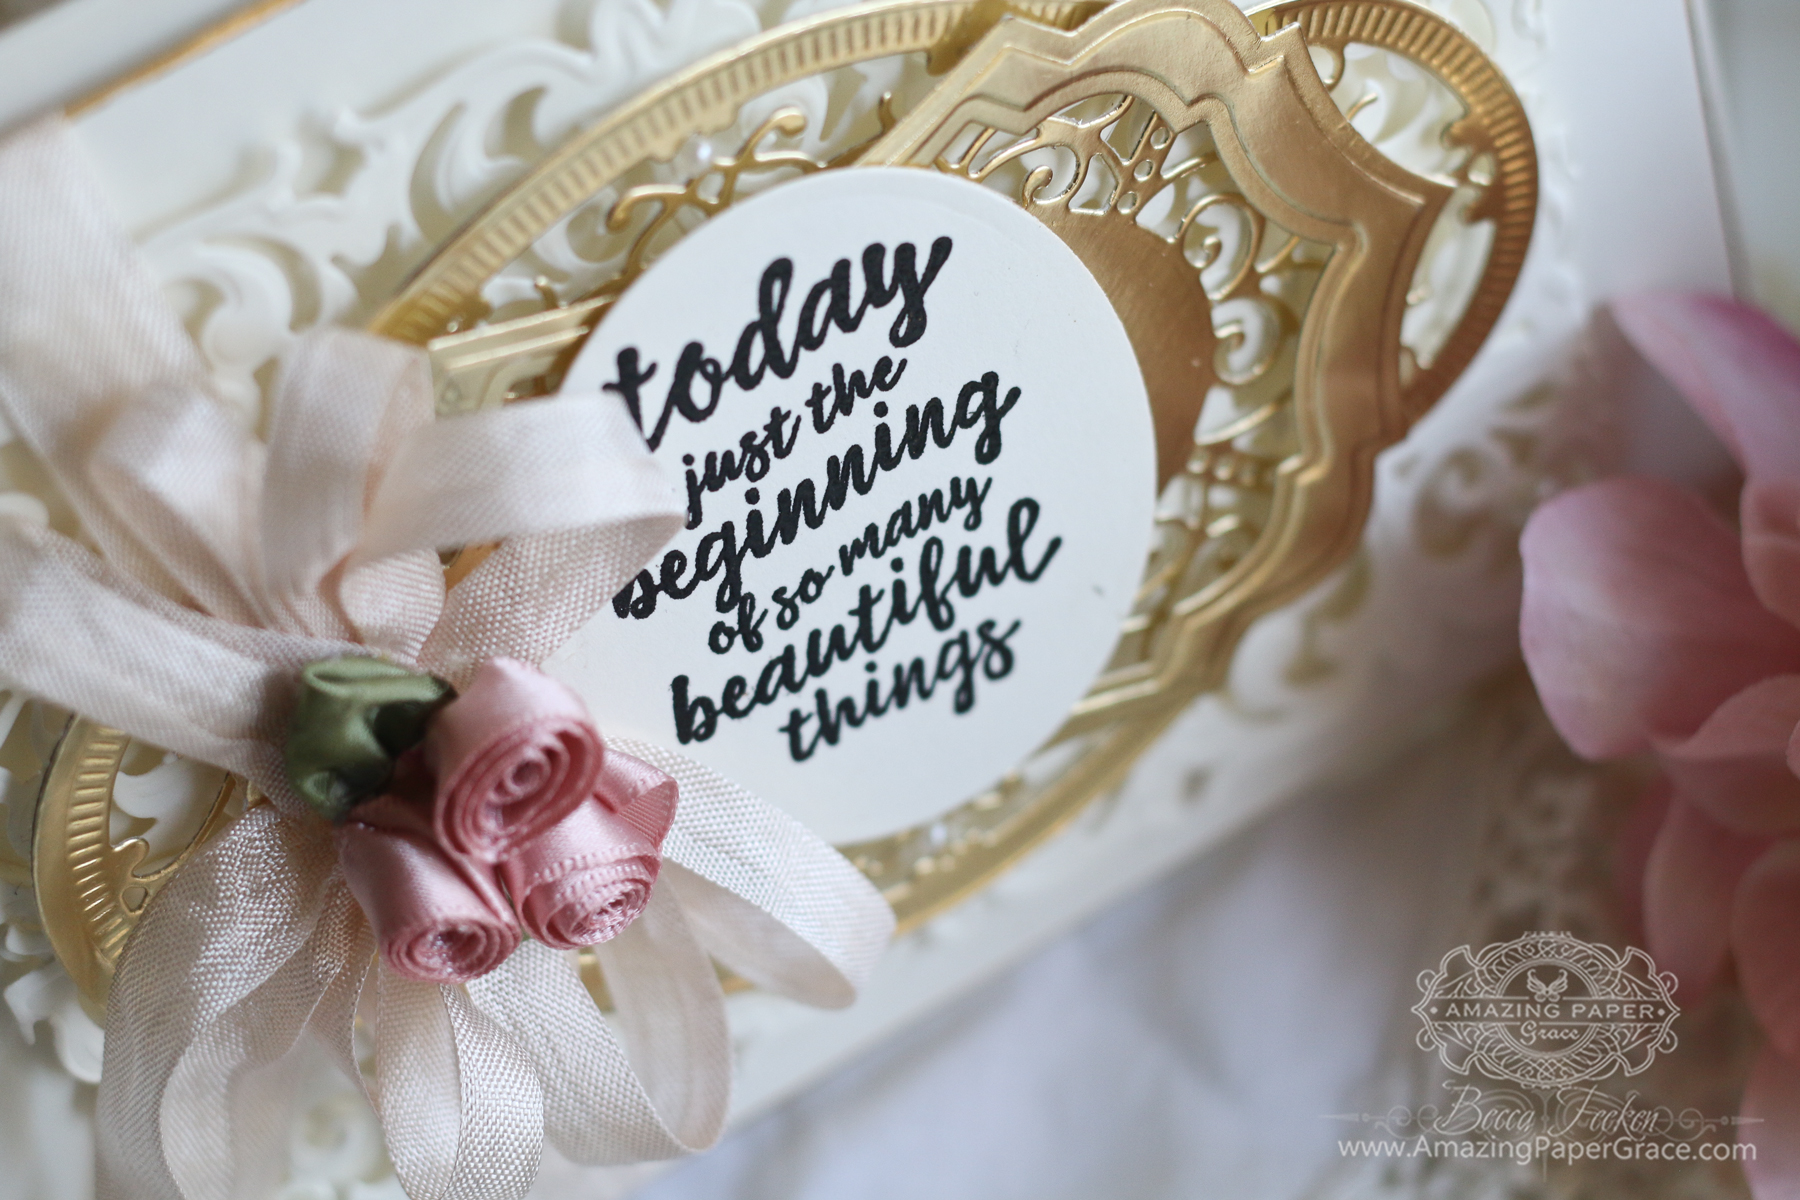
8. Cut the smallest cutting rim from S5-332 Hemstitch Ovals for your sentiment and attach with doubly stacked foam tape
9. Embellish with ribbon and flowers
I love going through my die stash and figuring out which two elements look good together. For that reason, I save all my extra cuttings. Label shapes and decorative panels work best but just audition a few together and you may be in for a pleasant surprise.

Spellbinders Supplies:
- S5-329 Hannah Elise Layering Frame
- S4-789 Francesca Label
- S5-332 Hemstitch Ovals
- S4-707 Graceful Damask
- PE-100 Platinum™ 6 Die Cutting And Embossing Machine – 6″ Platform
- T-001 Tool ‘N One™
Other Supplies:
Neenah Classic Crest – Natural White Card Stock, Gold Foil Paper, Pink Seam Binding, Flowers
Versafine Onyx Black Stamp Pad, Hug Snug Seam Binding, Recollection Pearl Stickers,
Simple and elegant are a lovely statement to make in next to no time.
Becca Feeken – www.amazingpapergrace.com

4 Comments
Pam TAS
Hi Becca hope you are well and resting some ? lol
This card is classy and easy as long as you have a nice sentiment !
Love these colours also white and silver thanks for sharing hugs Pam X
SuzzieQ
So very Becca and so very, very beautiful!
Cecilia
I love your cards!
SuzzieQ
Becca, your latest release is so awesome and beautiful. Your cards are so elegant and feminine. You inspire me to make more gorgeous cards.