-
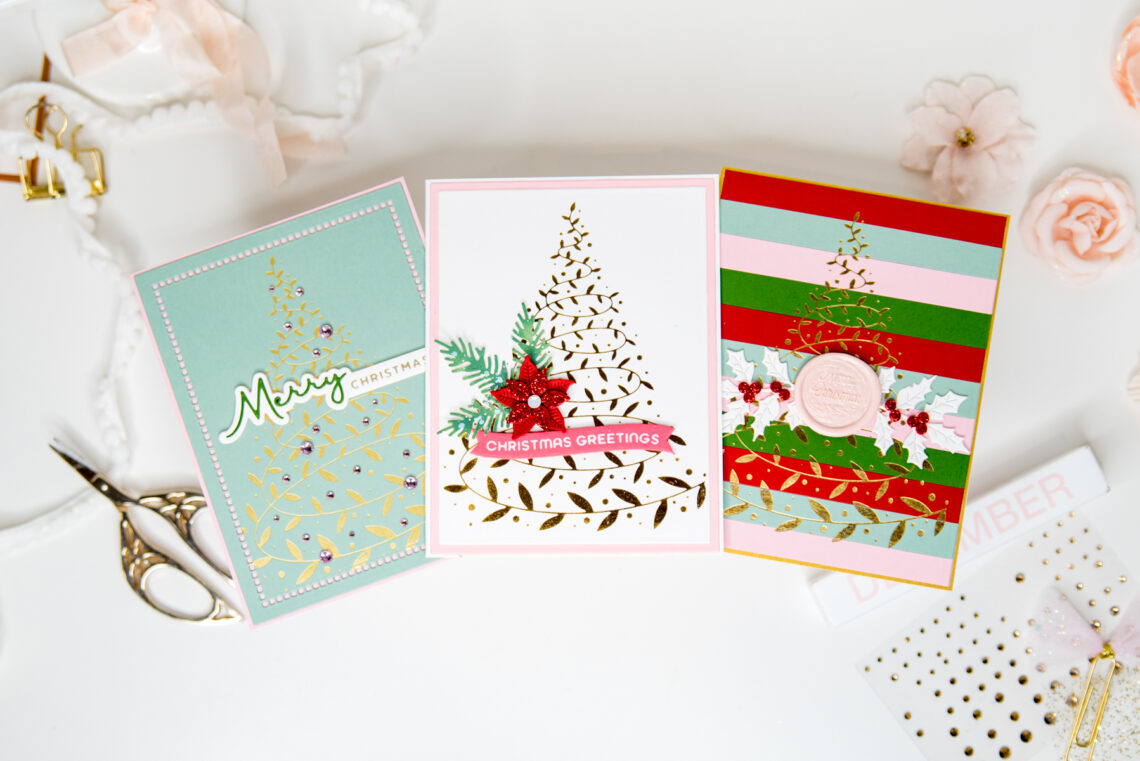
Swirling Foliage Tree 3 Ways
Hello, dear friends! It’s Leica, and today I want to share three fun ways to use the Swirling Foliage Tree from the Glimmer for the Holidays collection. This hot foil plate creates a beautiful swirling foliage design that’s perfect for making stunning Christmas cards. Let’s dive in! For my first card, I cut up strips of colorful cardstock and glued them onto white A2-sized paper. Then, I hot-foiled the Swirling Foliage Tree in gorgeous gold foil and trimmed it down, adding a gold border around it. The result was absolutely stunning! To complete the look, I added some white foliage, red berries, and topped it off with a pink Merry…
-
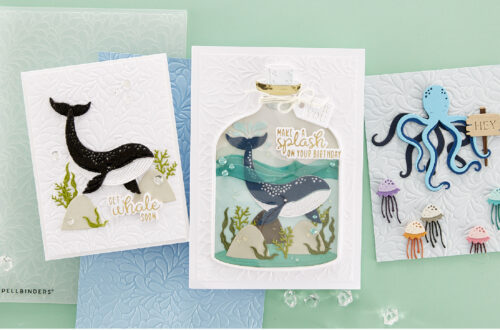
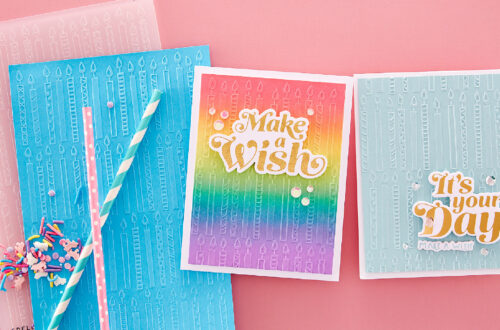
Shake! Shake! Shake! Shaker Cards Made Easy!
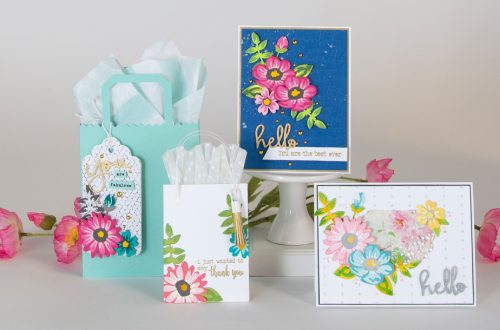
Are you ready to add some extra pizzazz to your handmade creations? Well, we’ve got just the thing for you – shaker cards! If you’re not familiar with this delightful trend, don’t worry, because today we’re going to dive into the world of shaker cards and share everything you need to know. What Are Shaker Cards? Imagine sending someone a card that not only looks stunning but also brings an element of surprise and playfulness. That’s exactly what shaker cards offer! These interactive cards feature a clear window filled with small embellishments like sequins, confetti, or beads. When you shake the card, the contents inside the window move around, creating…
-
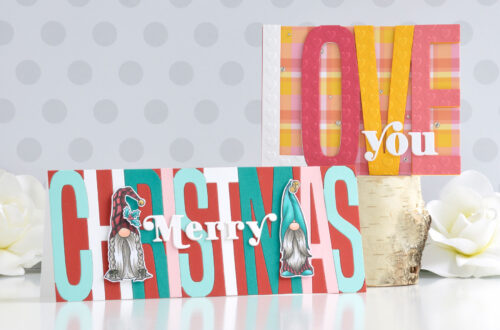
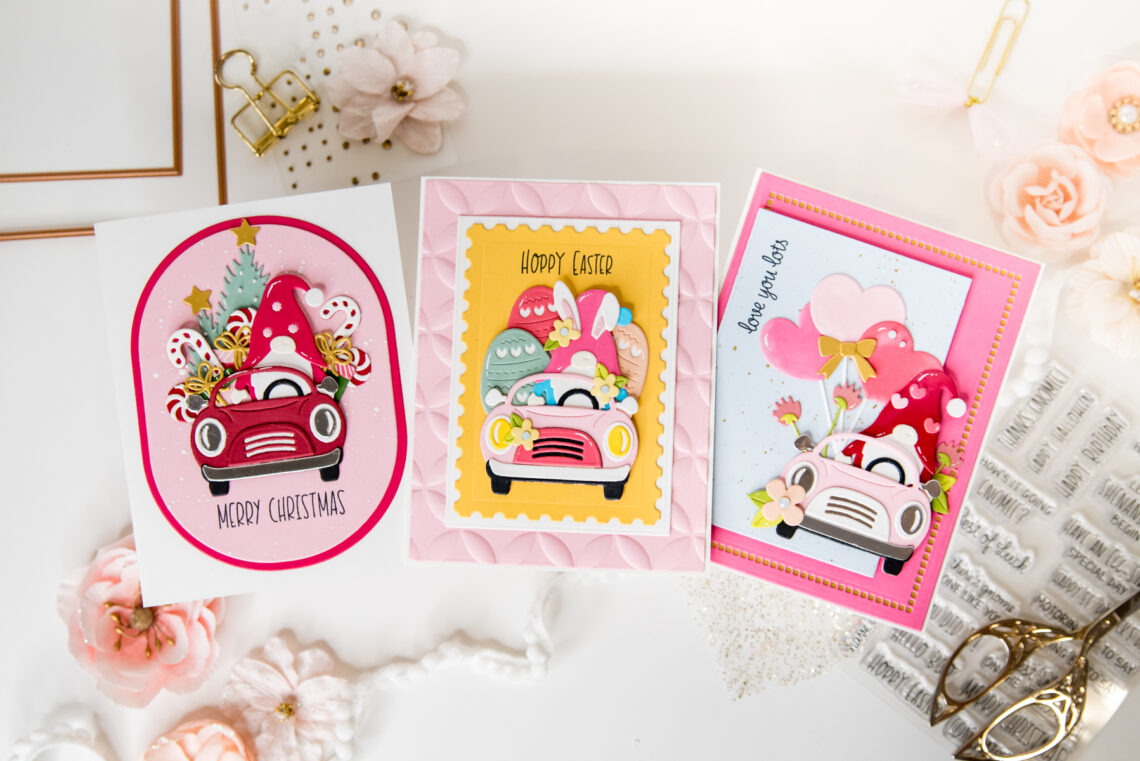
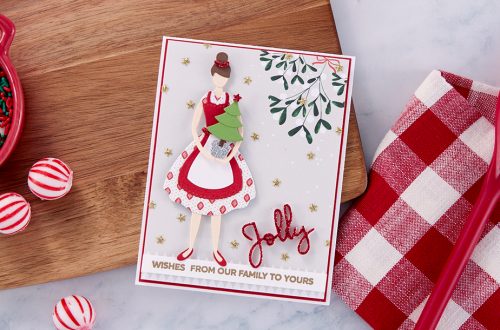
Seasonal Card Ideas with Gnome Drive Collection
Hey there, crafty friends! It’s Leica, and I’m super excited to share three adorable cards using products from the fantastic new Gnome Drive collection. Trust me, this collection is loads of fun! To create these cards, you’ll need the main die set called Gnome Drive Holiday Etched Dies. It’s a set of 13 thin metal cutting dies featuring everything you need, from the charming Gnome himself to a super cute convertible to take him around town in style! Plus, you’ll find iconic Christmas shapes like Christmas trees, presents, bows, and more. As Christmas is my absolute favorite holiday, my first card showcases the Gnome Drive Holiday Etched Dies. I used…
-
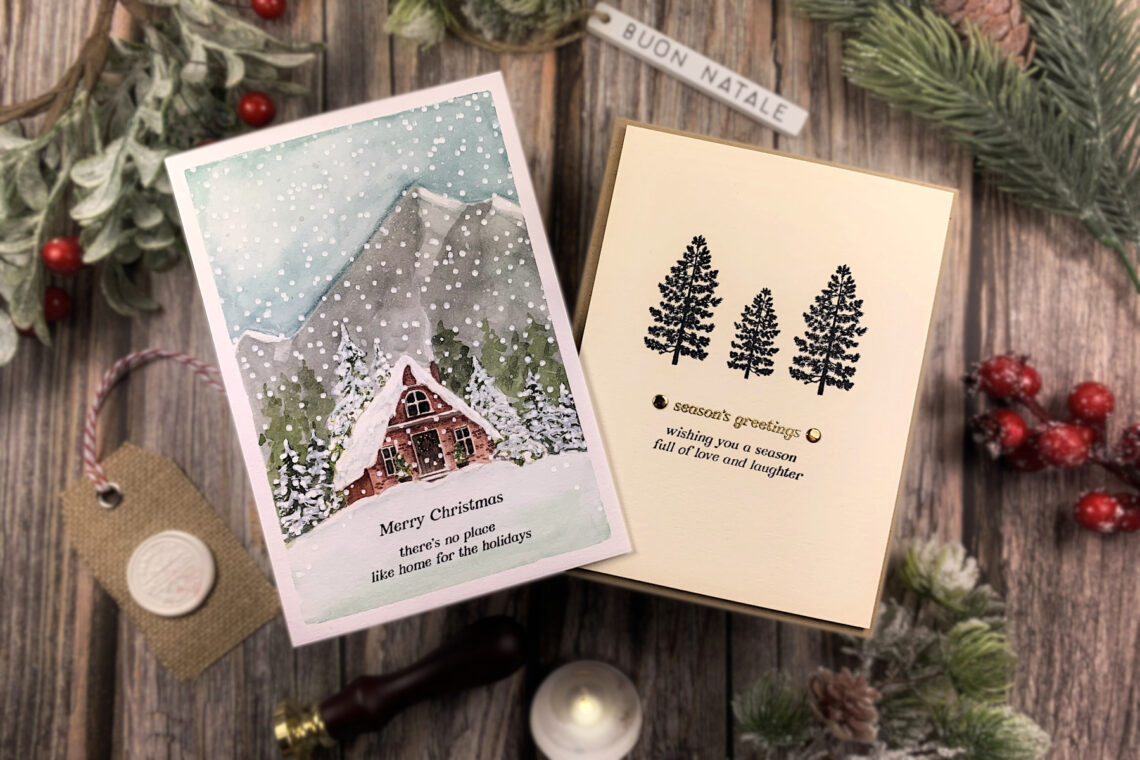
Winter Wonderland With Jennifer Rustioni
Hello everyone! This is Jennifer Rustioni from @armieritagli! I’m so happy to be here as a guest on the Spellbinders Blog! Today I share with you the cards I realized featuring the new beautiful Winter Wonderland Stamp Set designed by Simon Hurley! It’s very hot days here in Italy and I’ve been having fun refreshing my mind by creating the first Christmas cards of the year! HOME FOR CHRISTMAS For my first project, I chose to realize an illustrated card using one of the beautiful houses of the set. I stamped the house on watercolor paper with the Distress Oxide Pumice Stone, to have a definite but delicate effect. I…
-
Cardmaking With Silly Santas
Hello! I’m Jen Kotas from Who Stole My Glitter and I’m happy to be here today to share two cards featuring the new Simon Hurley Silly Santas Stamp Set. I could not resist using as many of these adorable Santas as possible on each card. To add more shading to the stamped images, I used one lighter ink and one darker one per image. First, stamp the entire image with lighter ink. Then, tap some of the darker ink on only to the bottom and back third or less of the image. Use a small blending brush to soften the harsh line left by the ink pad and stamp the…
-
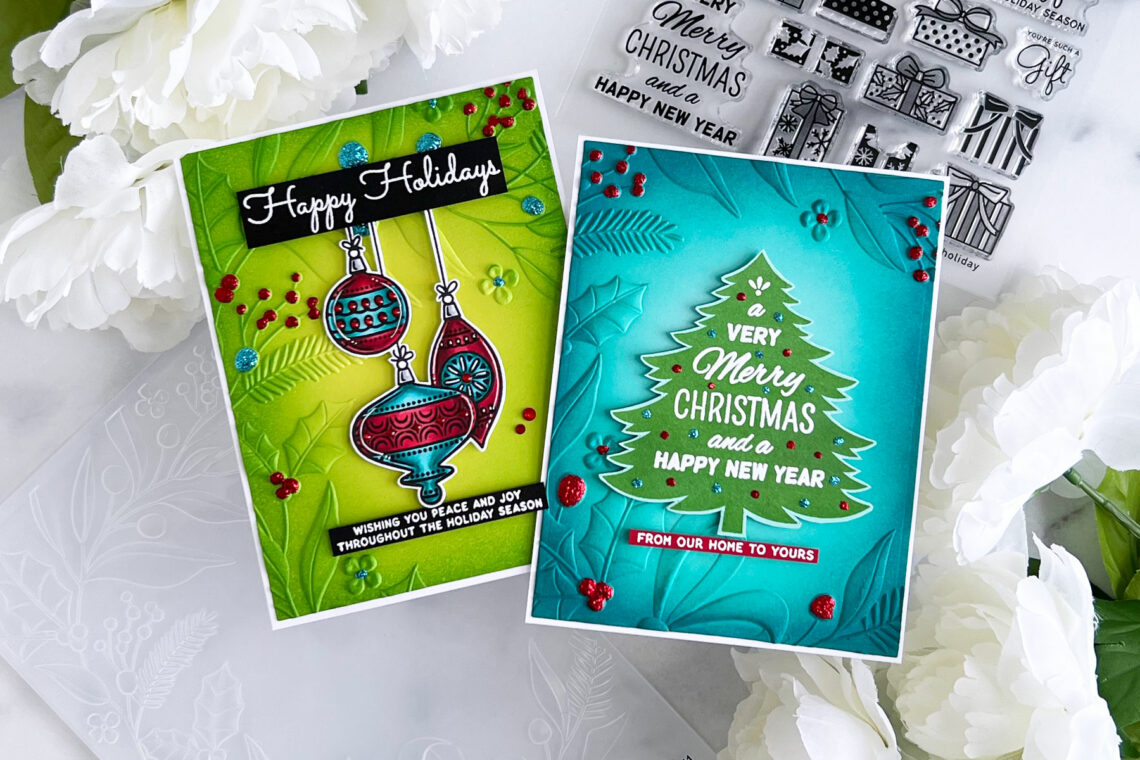
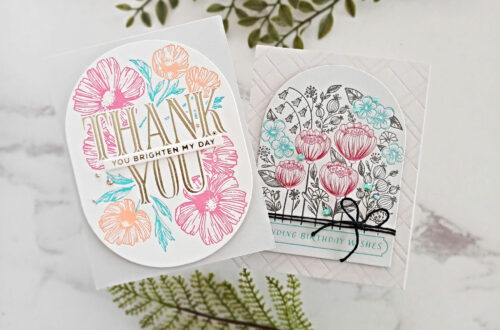
Retro Holiday Cards
Hello, crafty friends!! Brenda Noelke here from My PaperCut Creations! I’m so excited to be guest posting on the Spellbinders blog again today! I’m sharing a pair of cards using the Retro Holiday Stamp Set designed by Simon Hurley!!! I began by stamping the ornaments from the Retro Holiday stamp set onto white cardstock with Copic-friendly black ink. I colored them with Copic markers, added highlights with a white gel pen, then fussy cut them out. For the background, I die-cut a panel of Peridot cardstock with the largest die in the A2 Matting Basics A die set, then embossed it with the Holiday Floral Swag 3D embossing folder. I…
-
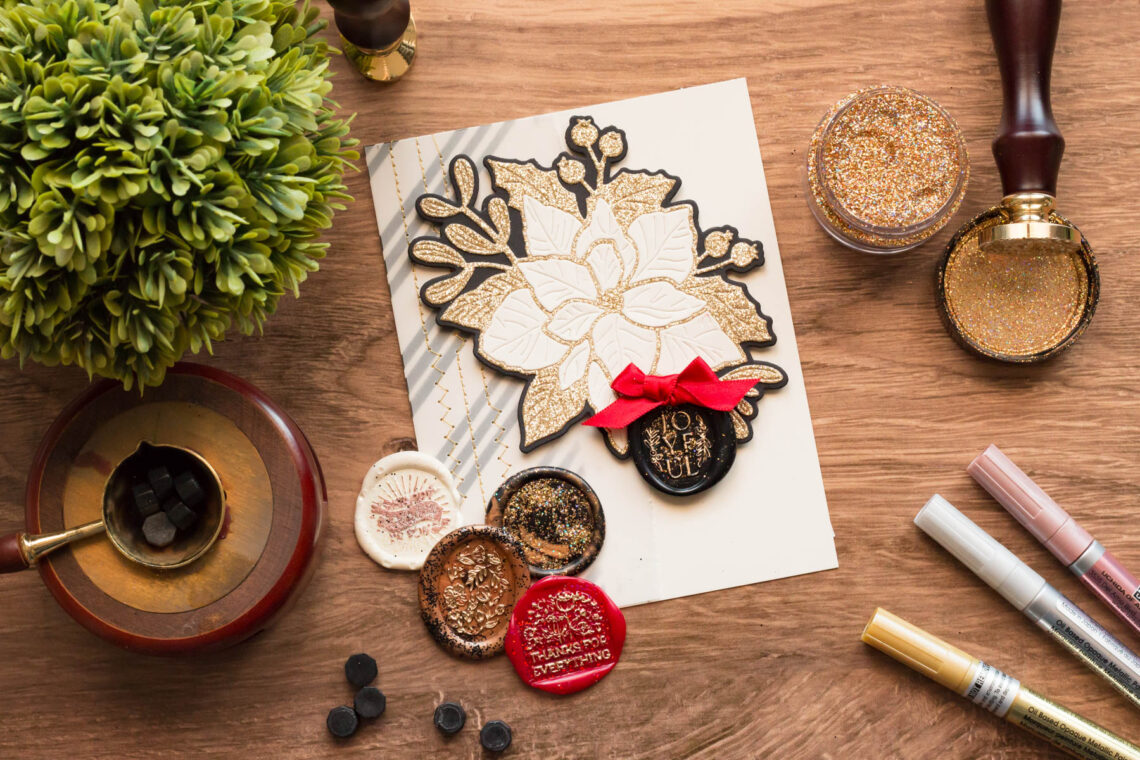
Mix Your Wax Seals with Glitter!
Did you know you can add glitter to your wax seals? Yes! There are so many options! Go with the same color wax bead and glitter for a tone-on-tone look, or better yet add contrasting color glitter for a striking effect. You can sprinkle glitter into the wax as it is melting in your spoon or as soon as you’ve poured it onto your surface before pressing the stamp. So many options to explore! Today we are welcoming guest designer Marie Nicole as she shares her wax seals & glitter experiments! Take it away, Marie Nicole! Hello there, craft friends! It’s Marie again from Marie Nicole Designs. I’m sharing some…
-
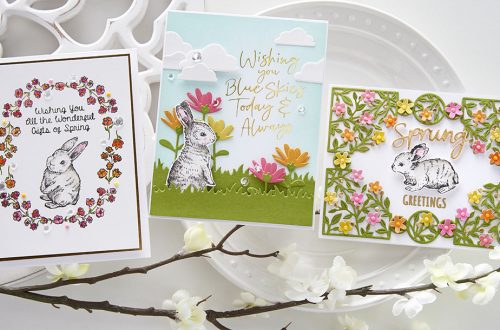
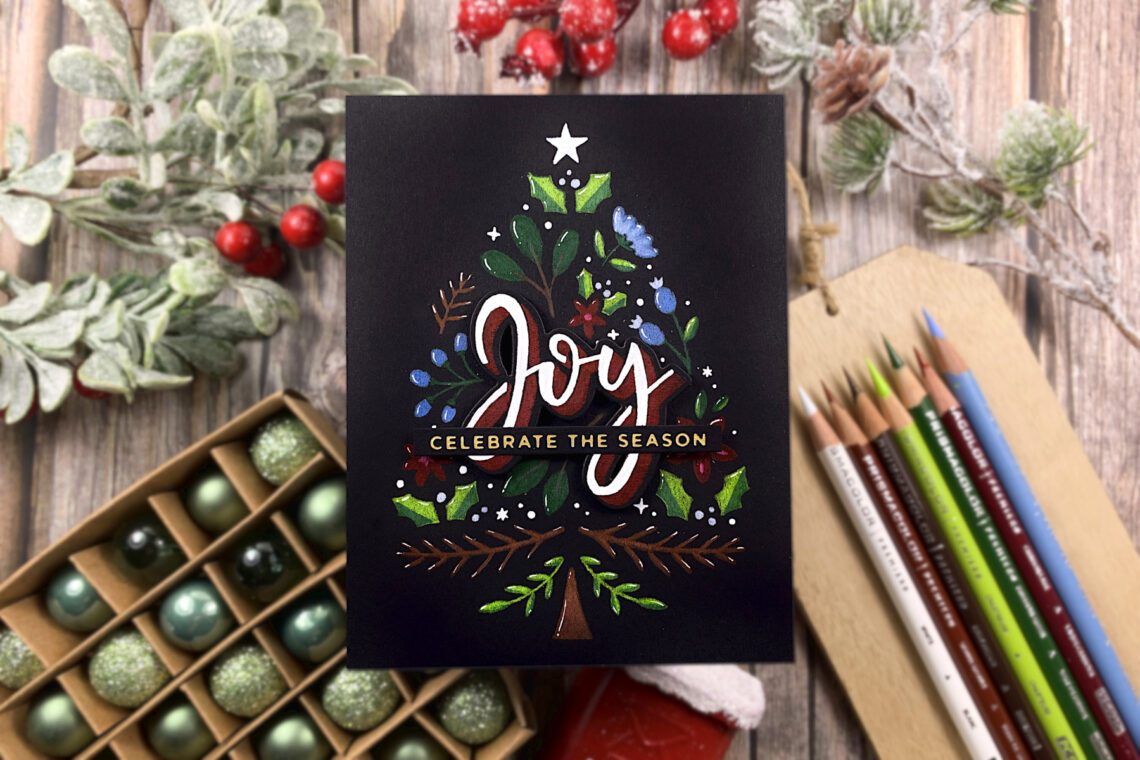
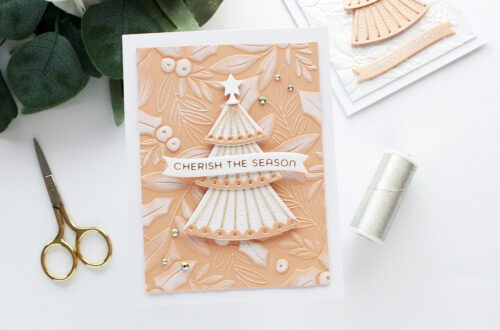
Not the Usual Stencils!? Coloring using a Spellbinders Layered Joy Tree Stencil
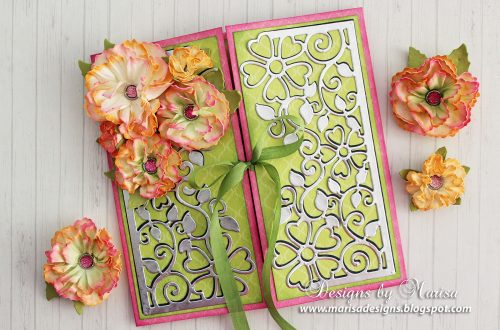
Hello crafty friends! This is Jennifer Rustioni from @armieritagli! I’m so happy to be here again as a guest on the Spellbinders Blog! Today I share with you a step-by-step tutorial of the card I realized featuring the new amazing Spellbinders Layered Joy Tree Stencils from the Layered Christmas Stencils Collection! I so do love these Christmas stencils! They’re perfect to create a lot of beautiful (and very easy to do!) Christmas cards! I chose to use these stencils in a different way. In fact, I used them as templates to draw and color the various parts of the Christmas tree on a black cardstock with colored pencils! Special tip:…
-
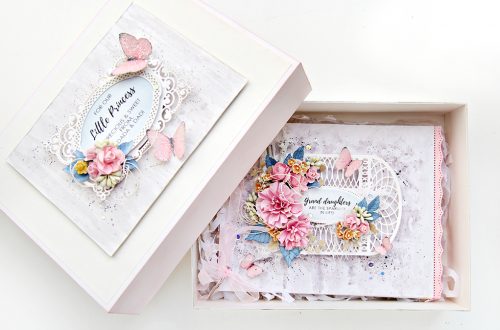
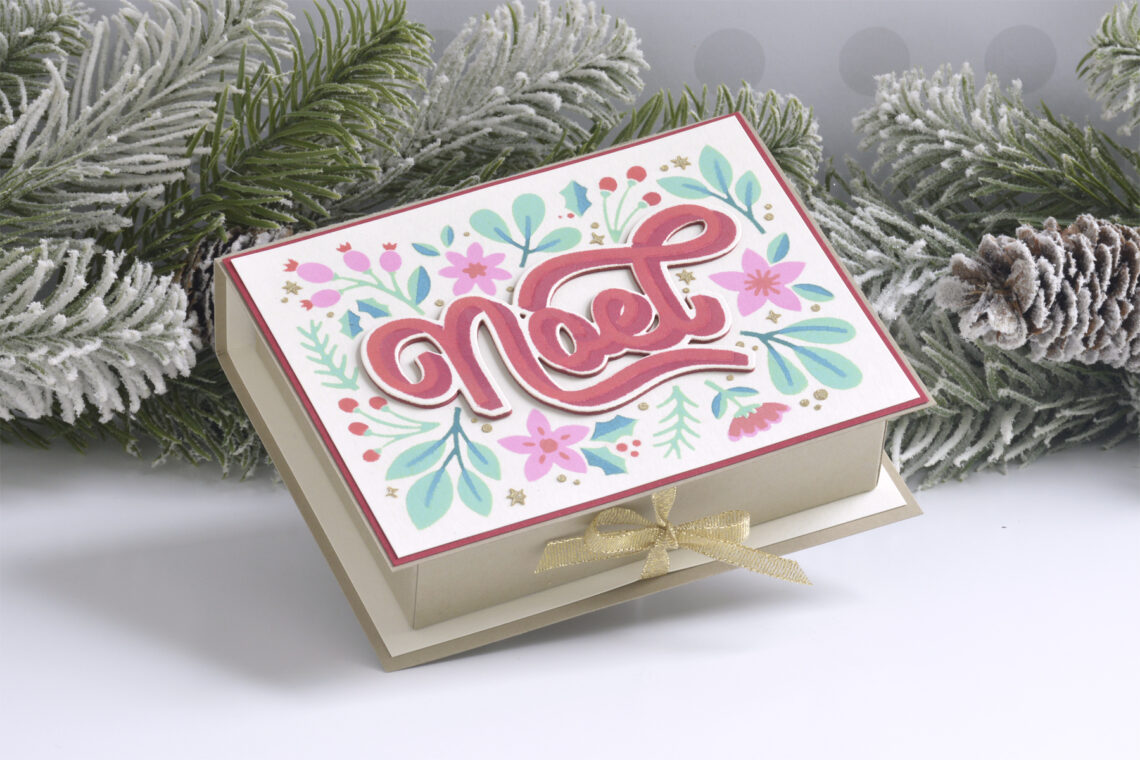
Stenciled Book Box with the Layered Christmas Stencils How-To
Hi there, this is Annie Williams and I’m thrilled to be back on the blog today to share this fun book box tutorial made with the new Layered Christmas Stencils Collection. I love making handmade gift boxes, especially around the holidays, but if you’re strictly a cardmaker then you can just follow the directions to create the box top as a card instead! Trim a piece of Alabaster Cardstock to 4” x 5.25”. Using a sponge dauber with a firm pouncing motion (as opposed to the usual circular blending motion), apply Cracked Pistachio Distress Oxide Ink through stencil 1 of the Layered Noel Foliage Stencil Set. Similarly, add Kitsch Flamingo…
You May Also Like

Cardmaking Inspiration | Hello Beautiful Card Featuring Vintage Starburst Valance and Gatefold with Kim Kesti
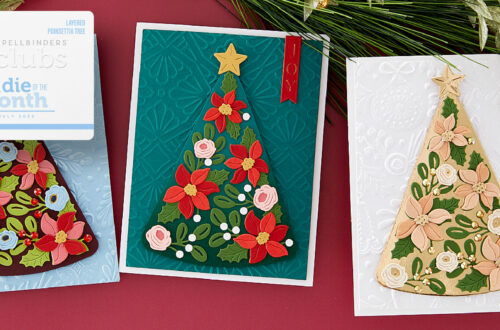
July 2023 Small Die of the Month Preview & Tutorials – Layered Poinsettia Tree

Becca Feeken Sweet Cardlets Glimmer Project Kit | Cardmaking Inspiration with Sandi MacIver | Video
-
Layered Joy Tree Stencil How-To
Hey there, crafty friends! It’s Leica, and I have a super fun and simple Christmas card idea to share with all of you. Today, I want to show you how to use the Layered Joy Tree Stencils from the Layered Christmas Stencils Collection. Trust me, it’s really quick and easy to make! I’ll guide you through the process with step-by-step photos and instructions below. Let’s dive in! The stencils have numbers on the bottom left corner, so you can easily figure out the order in which to use them. They also have marks on all sides, making it a breeze to align them perfectly. To start, grab a white piece…