Video: Gingerbread House Gift Box with Koren
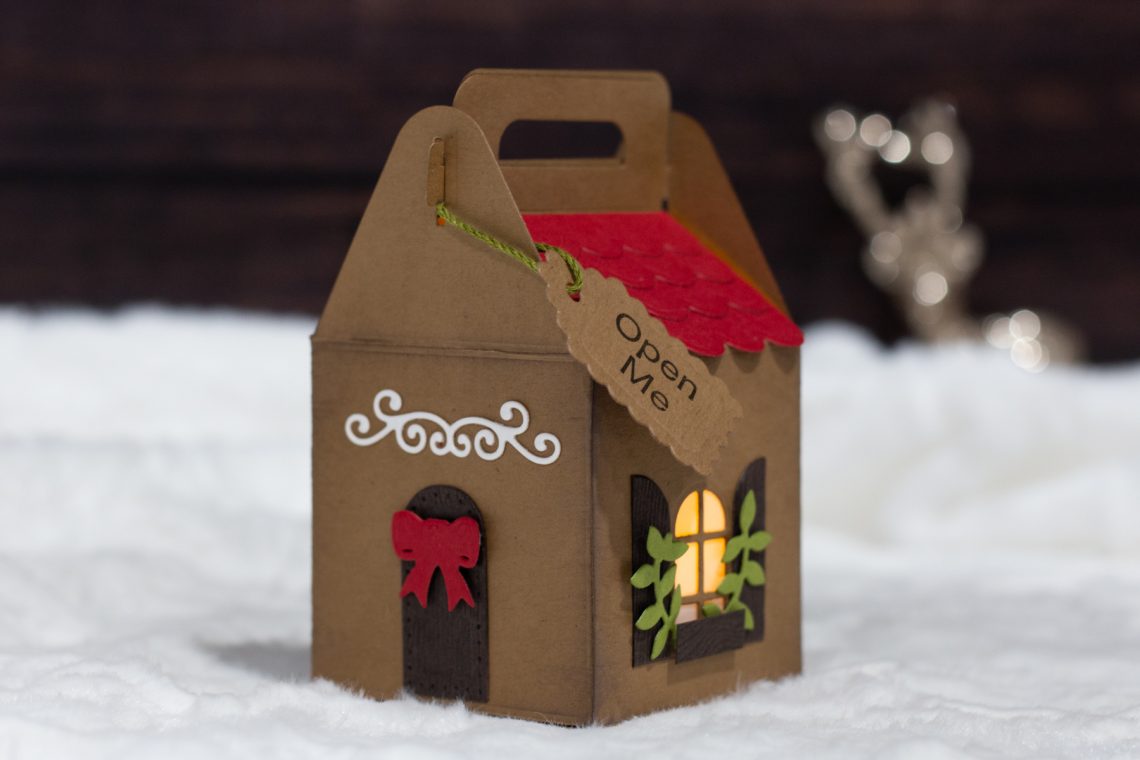
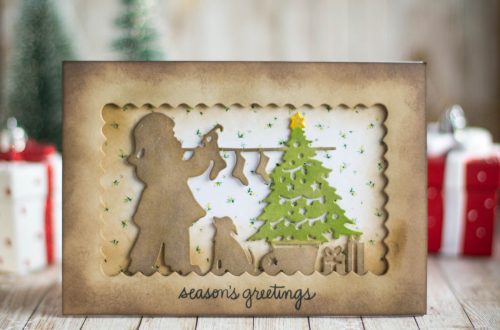
Hello. My name is Koren Wiskman. I have been paper crafting for about 15 years now. I have a blog, you can read it at www.korenwiskman.com. Today, I’m using the Spellbinders Charming Cottage Etched Dies to create an adorable little paper gingerbread gift box.
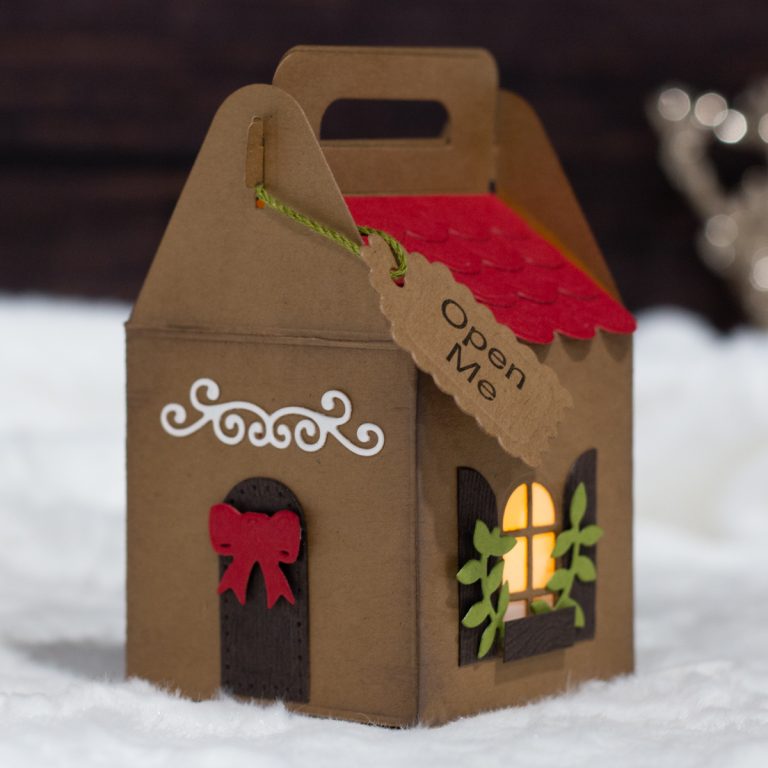
I was inspired by the upcoming winter holiday season, and the thoughts of decorating a gingerbread house with my family were too vivid to ignore. I even added a little battery operated tea light on the inside of the box to make it glow inside like a warm fire.
To create this adorable gingerbread house, I used my Spellbinders Platinum machine, and my Tool in One, and knocked out all the die-cutting out of the way at once, so that I could just play and assemble for the rest of this project.
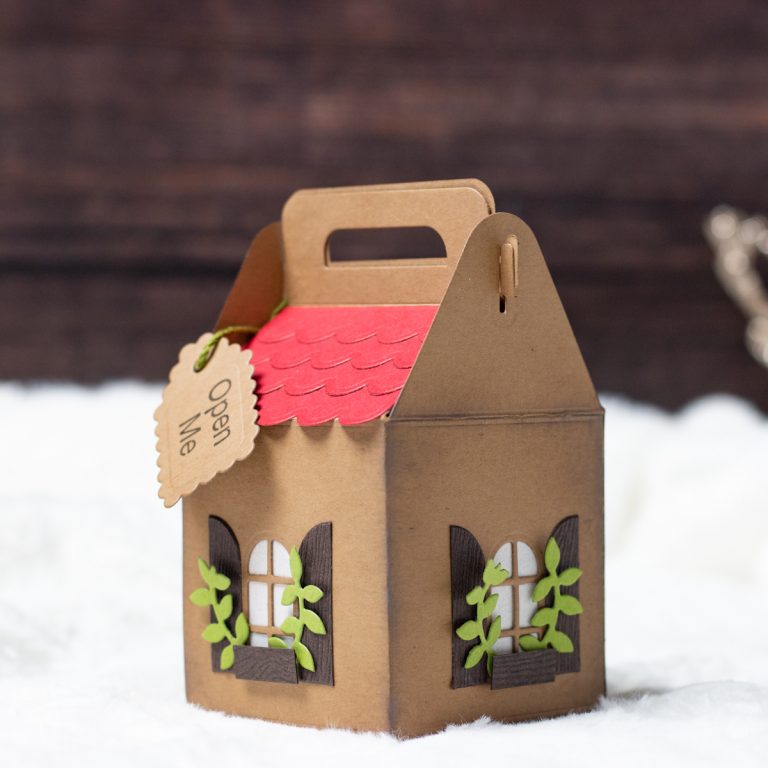
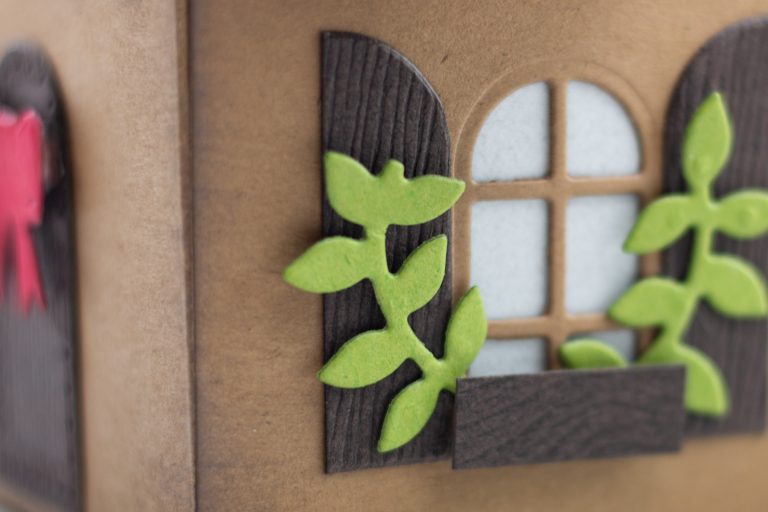
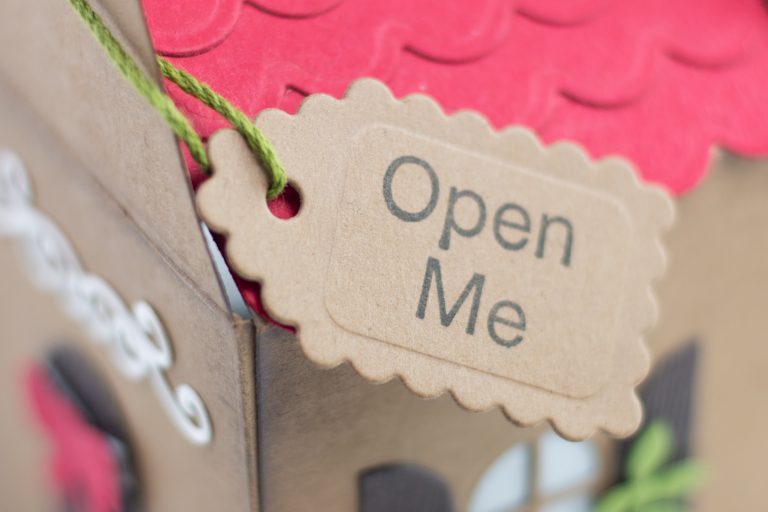
I used the largest house die as well as the gift tag die with Lawn Fawn’s Paper Bag cardstock, the scalloped roof and bow are from Paper Trey Ink’s Pure Poppy cardstock, the door, window boxes and shutters are cut from Lawn Fawn’s Wood Grain cardstock, the greenery is Stampin’ Up!’s Old Olive cardstock, and finally, the scrollwork is good old-fashioned Neenah Solar White 110lb cardstock from my stash. I used some vellum to provide a frosted window look. I also stamped my sentiment pretty early in this process, and used Spellbinders Charming Tag Sentiments and used distress oxide ink in ground espresso.
I masked the sections of the gingerbread and ink blended the edges with distress oxide ink to give my gingerbread that “baked” look. I used Ground Espresso and Vintage Photo and I think I got just the look I was hoping for!
That was it for the “prep work”. Now it was time to see it all come together. I used liquid adhesive to attach the various components to the gingerbread house, before I actually assembled the house. I had to really practice some patience while waiting for this to dry. I really didn’t want anything falling off. Once it was dry, used some 3M foam tape to pop up the bow and window boxes. I stood up the house, with some pretty intuitive folding and tucking, a touch of adhesive here and there, I quickly dropped in a battery-operated tea light candle to resemble a cozy fire, tied on the tag with some coordinating green twine, and I was proud to call this one done.
Spellbinders Supplies:
Other Supplies:
Distress Oxide Ink Vintage Photo, Distress Oxide Ink Ground Espresso, Tsukineko VersaFine Onyx Black Ink Pad, Old Olive Cardstock by Stampin’ Up!, Lawn Fawn Woodgrain Cardstock, Scotch 3M Foam Adhesive, Scrapbook.com 1/4 Inch Double Sided Adhesive, Lawn Fawn Glue Tube, Therm O Web Purple Tape, White Bristle Stencil Brush, EK Success Honey Bee Scissors, EK Success Craft Tweezers, Lawn Fawn Paper Bag Cardstock.
That’s about it for me this time, Thank you so very much for taking a look at my project. I hope you enjoyed it as much as I did, and I look forward to connecting with you again very soon!
Koren

2 Comments
Donna Goggin
Such a sweet project.
Yana Smakula
thank you, Donna! We’re glad you like it! Koren did such a wonderful job