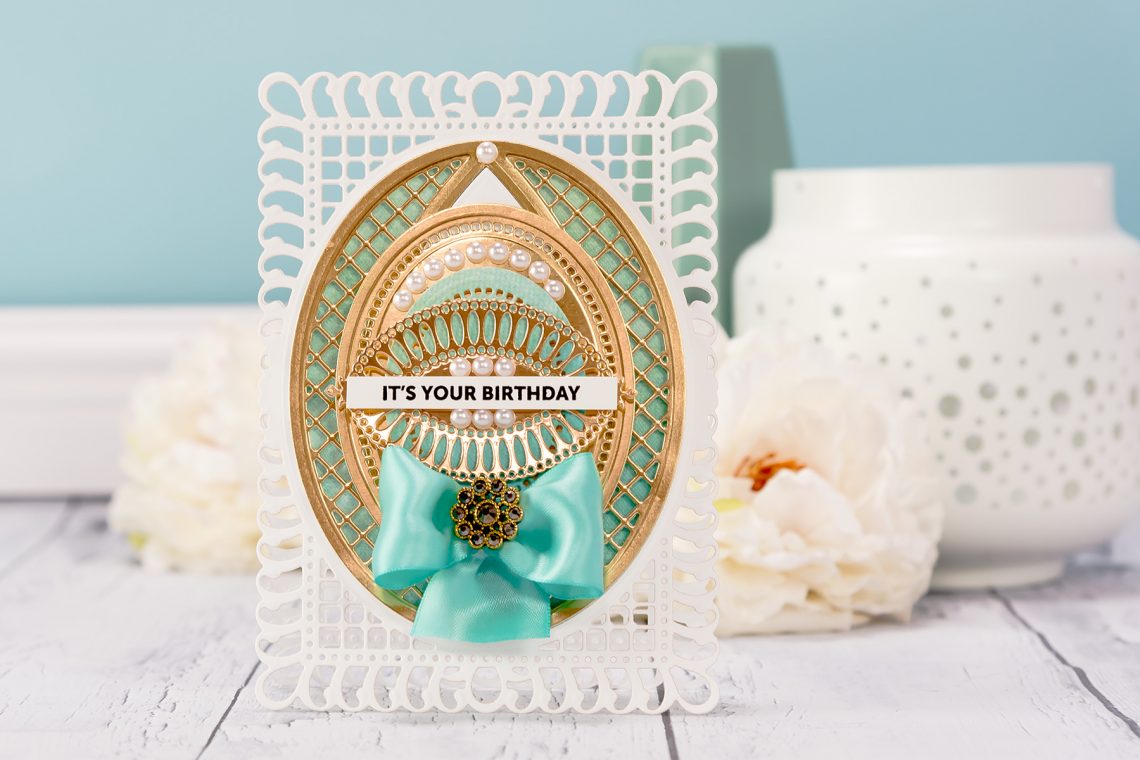
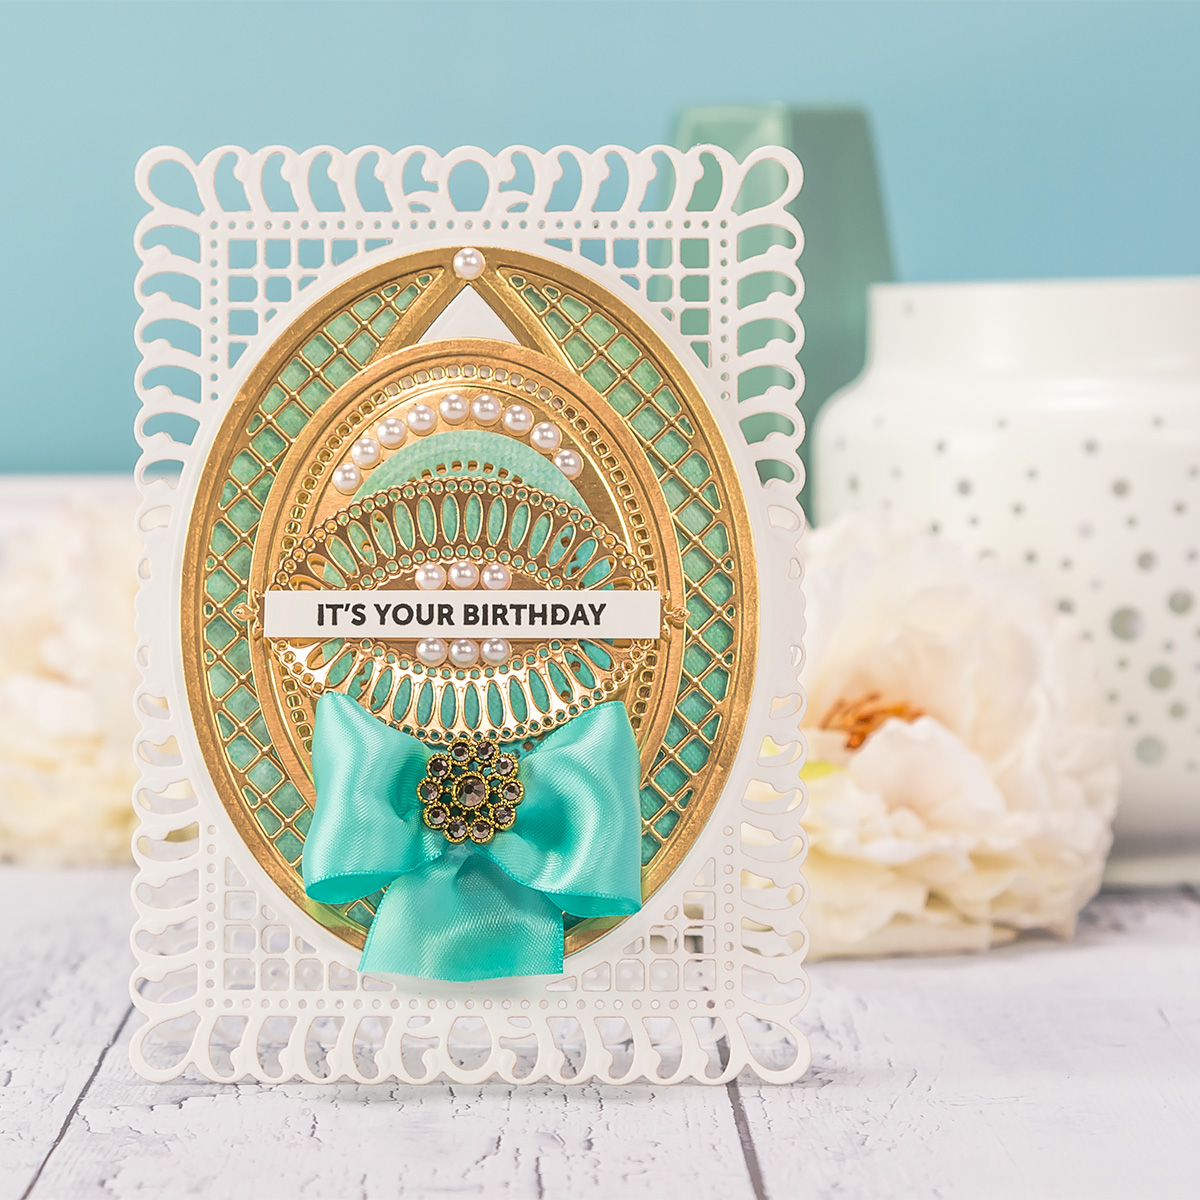
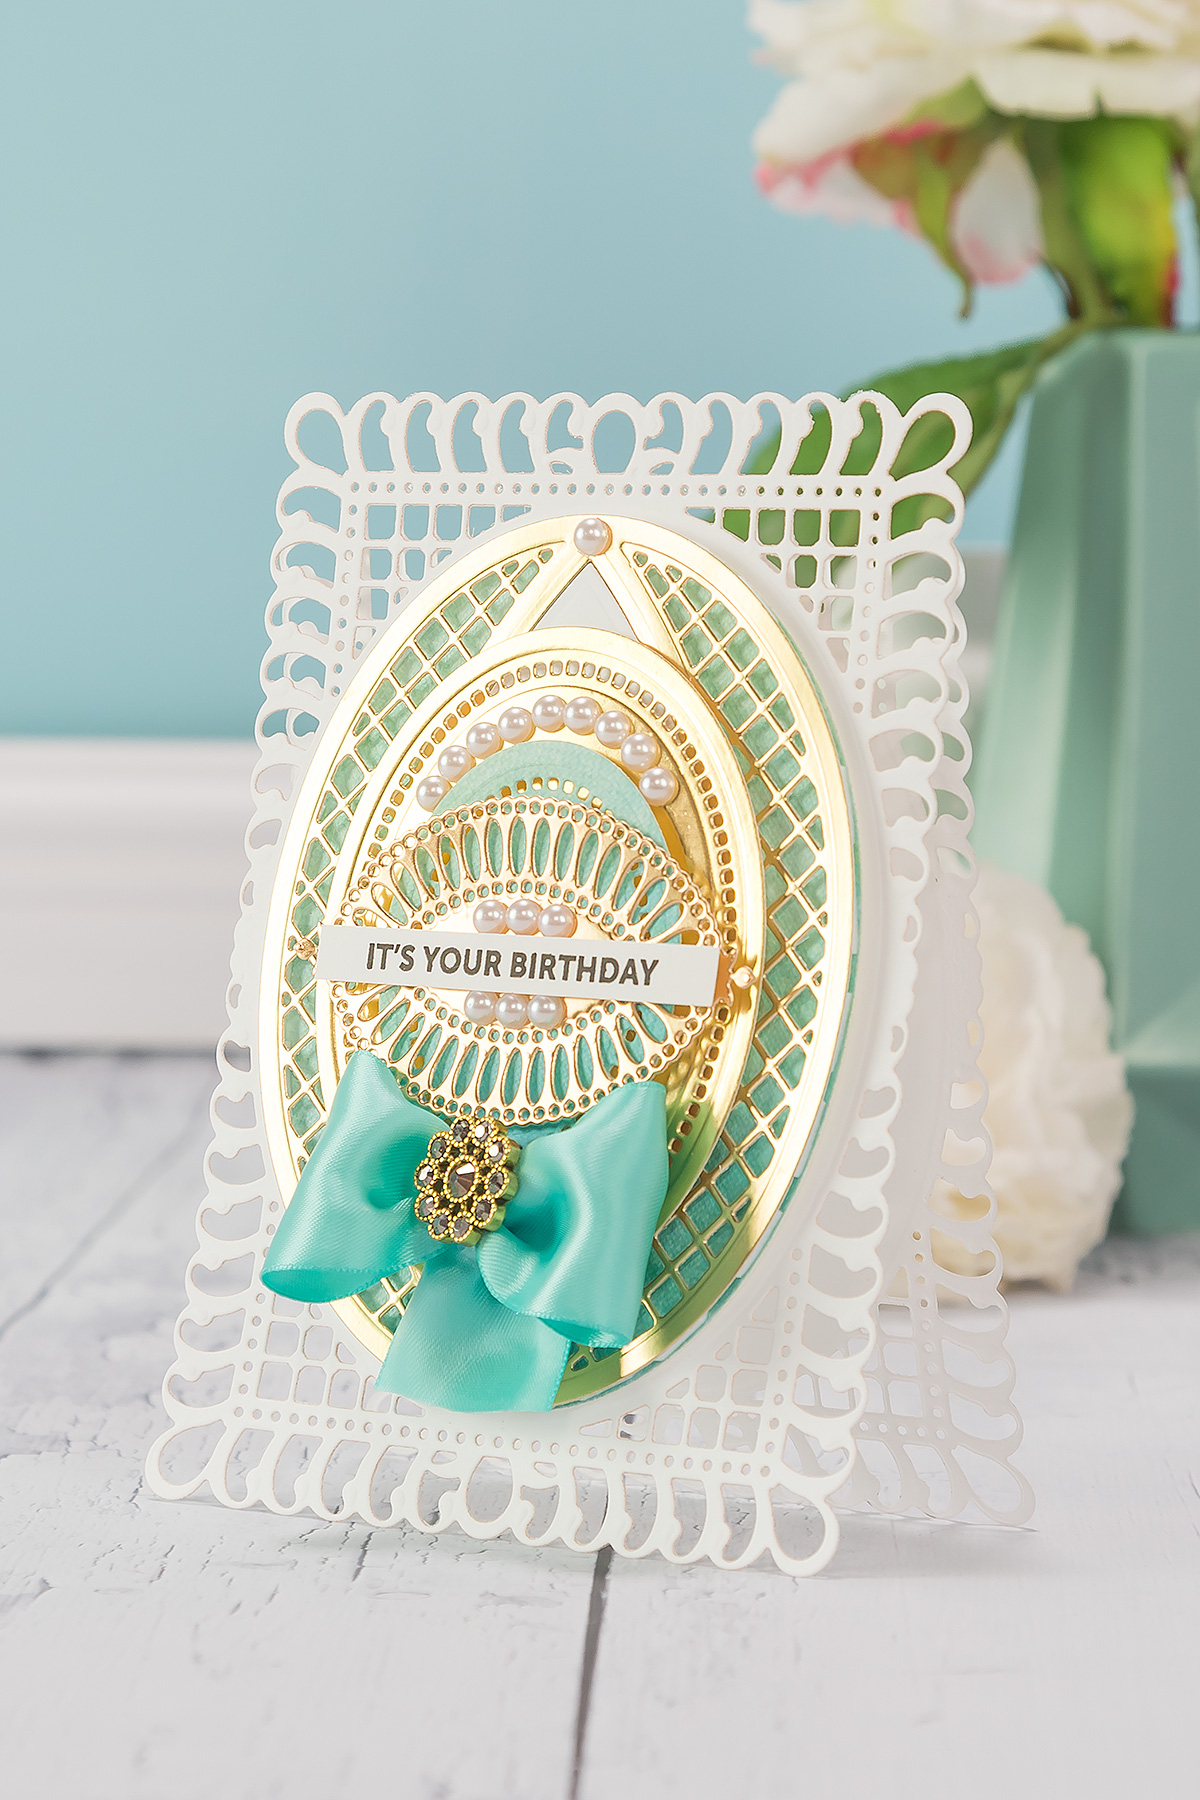
Shaped Cards Video Series. Episode #2 – It’s Your Birthday
Hello, everyone! This is Yana Smakula and thank you for joining me! This blog post and video continues the monthly feature I’m hosting on Spellbinders blog and Youtube channel called “Shaped Cards with Spellbinders”. Once a month I am posting a card and and video tutorial featuring a shaped card base using Spellbinders dies!
You can catch the first episode from this series HERE.
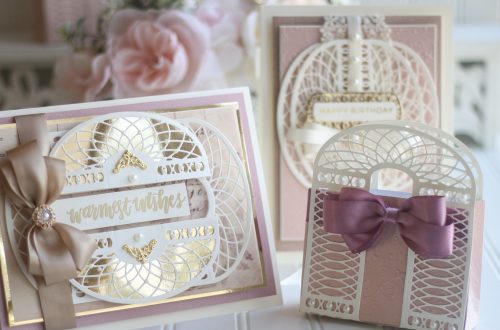
I started working on this card by creating a card base. I decided to use the largest die from the Bella Rose Lattice Layering Frame Large set – this die measures 5×7” inches so it makes a full size 5×7” card.

There are several ways to create a shaped card base. In my previous episode I was using an outer frame die, so not a detailed die, and was able to die cut through a piece of cardstock folded in half to create a base. Today, since I am using a much more detailed die for my card base I am taking a slightly different approach.

To create my card base I cut 2 identical pieces, scored one and used glue to adhere them together to create a base. Because I needed my die cut and my card base to be sturdy I used 110 LB white cardstock. Since this is an intercut die and because of how thick of cardstock I used it was a bit difficult to cut through it in a single pass, but running die through my Platinum Die Cutting machine a few times cut the piece out no problem.

I always like to tape my dies down with some low tack tape to make sure the die will not move on my paper especially when I go to die cut it second and third time. This really helps a lot and eliminates frustration.

Using a scoring board and a bone folder I added a score line about 1 ½” from the top of one of my die cuts, this gives me plenty of space to add glue and adhere my die cuts together. You can chose to set less space for glue, maybe just an inch or a half of an inch, but seeing how detailed this die is I decided I needed more space to make sure my card base would be really sturdy.
Video Tutorial
Watch my video tutorial to learn how to make shaped card base for this card and how to embellish it.
Spellbinders Supplies:
- S5-330 Lunette Arched Borders
- S5-332 Hemstitch Ovals
- S6-129 Bella Rose Lattice Layering Frame
- PL-001 Platinum Die Cutting And Embossing Machine – 8.5″ Platform
- T-001 Tool ‘N One
Other Supplies:
White Cardstock (Neenah Solar White 110LB & 80 LB); Gold Foil Cardstock; Patterned Paper (First Edition – Sweet Nothings); Fun Foam; Tape Adhesive; Clear Stamp (Simon Says Stamp – Big Birthday Wishes); Versafine Onyx Black Ink; Self Adhesive Pearls; Pearl Brad; 1 Aqua Grosgrain Ribbon
Thank you so much for stopping by today and have fun die cutting!
Yana Smakula
Hi! I'm Yana Smakula (pronounced Sma-coo-la)! I love all things handmade. My passion is cardmaking featuring some fun and simple die-cutting and stamping techniques!
8 Comments
Barb MacAskill
Wow! This green and gold color combo is amazing! Refreshing and brilliant! The shape of the card is also quite lovely! You are a magician with any products you are given to use and always leave me breathless! TFS!
Barb MacAskill
This comment is for a different post! Not sure how it got here! LOL
Both of your cards are breathtaking! Love the open feel of the card and would love to receive either one! TFS!
Barb MacAskill
Wow! This green and gold color combo is amazing! Refreshing and brilliant! The shape of the card is also quite lovely! You are a magician with any products you are given to use and always leave me breathless! TFS!
Pam
Hi Yana love your cards the colours are gorgeous you have done
Becca’s dies proud !
Thank you for your info on how to make the card , your easy to follow instructions
are much appreciated Hugs Pam
Marjorie Dumontier
This is a stunning card !
Diane Brown
Hi Yana,
Absolutely stunning card, love Becca Feeken dies and you certainly use them in aa beautiful way. Gorgeous!
BethAnn Marczak
Gorgeous card, Yana! I love the gold and blue together, and you really made these dies shine!
Michelle
Yana, this is gorgeous card. I love the layout and colors used. Thank You