Bold Type Inspiration | Sentiment Dies 5 Ways with Marie Heiderscheit
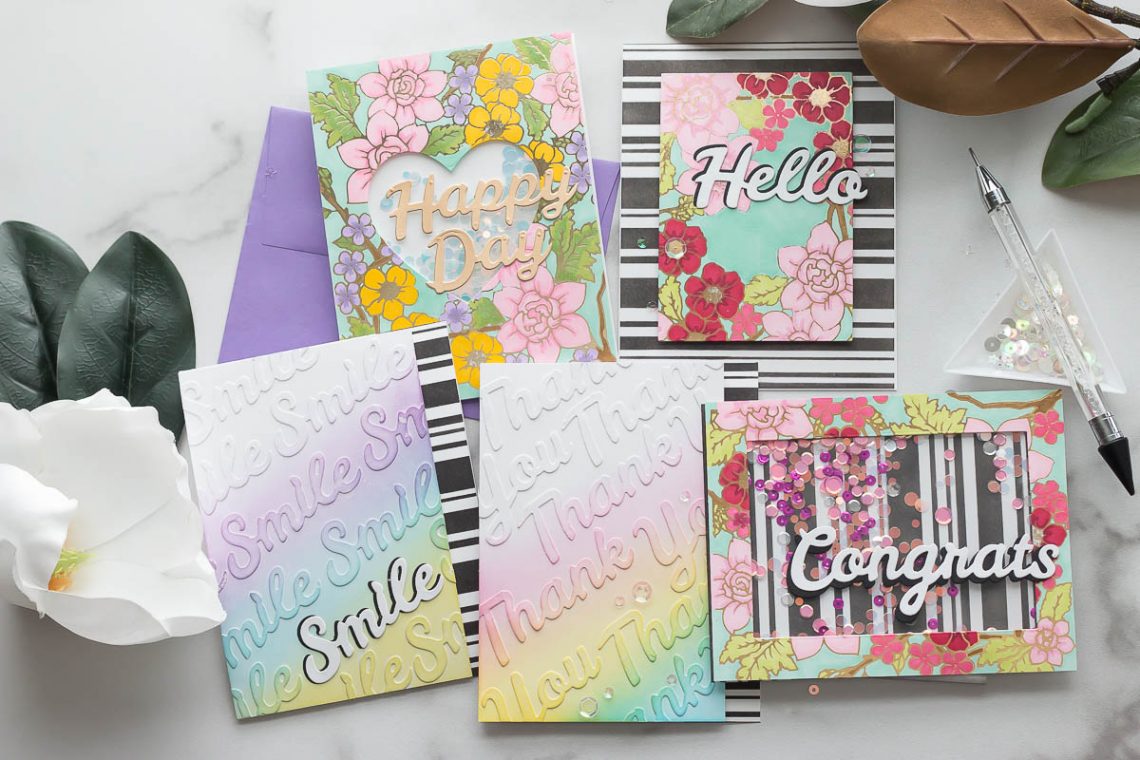
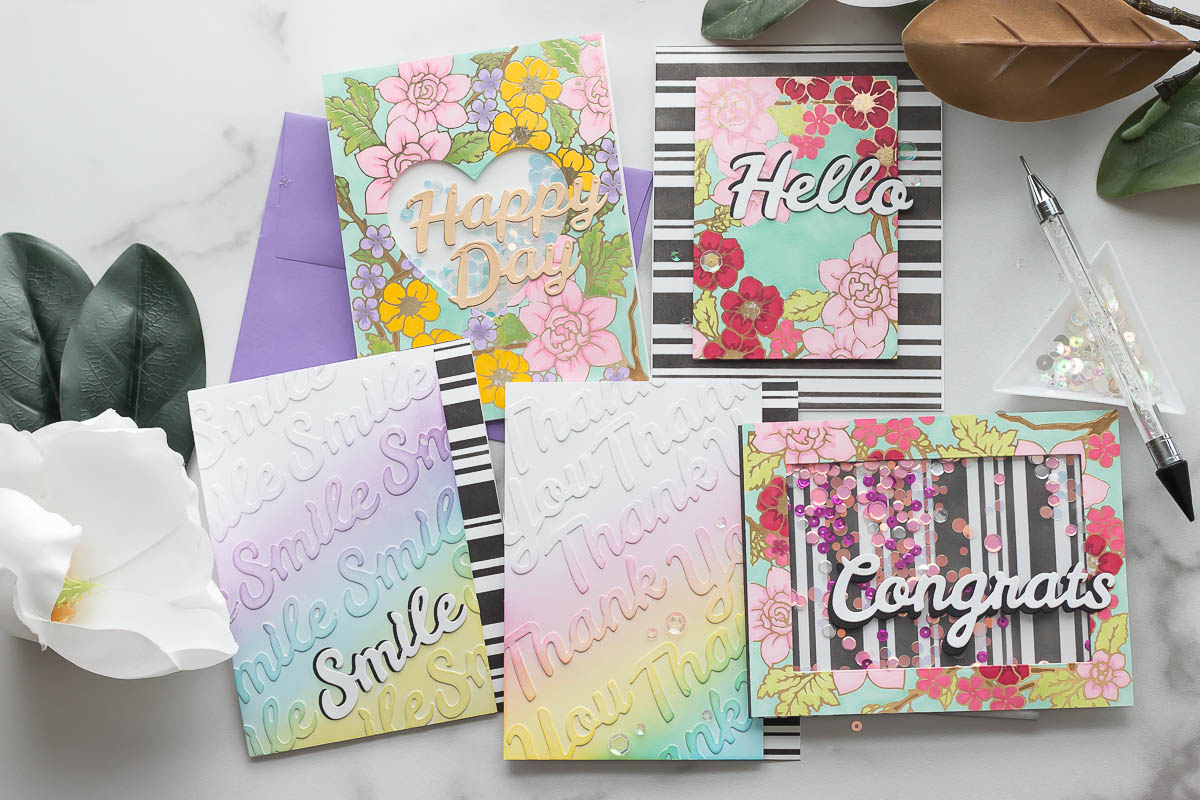
Hello, crafty friends! It’s Marie here again from Marie Nicole Designs. I’m happy to be on the Spellbinder’s blog to share their new Bold Type Dies, which are some fantastic sentiment dies that have the shadow piece that you can layer the top piece on. I’ll be building a variety of cards with these dies in my blog post today!
Use Your Sentiments as a Background
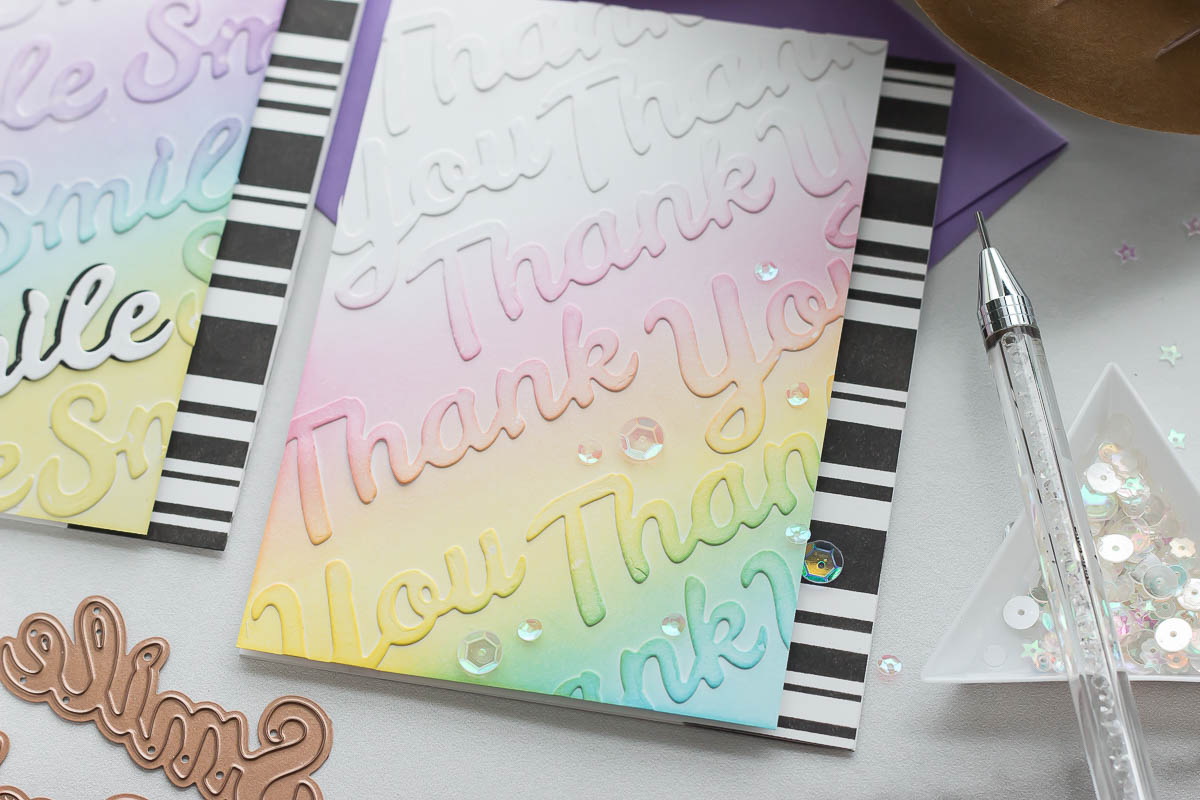
For my first set of cards, I used my Bold Type sentiments as backgrounds! This is so easy to do, and gives a unique look to your cards. I simply cut a good supply of my sentiments from white cardstock, glued them onto my white cardstock card base, and then ink blended over them.
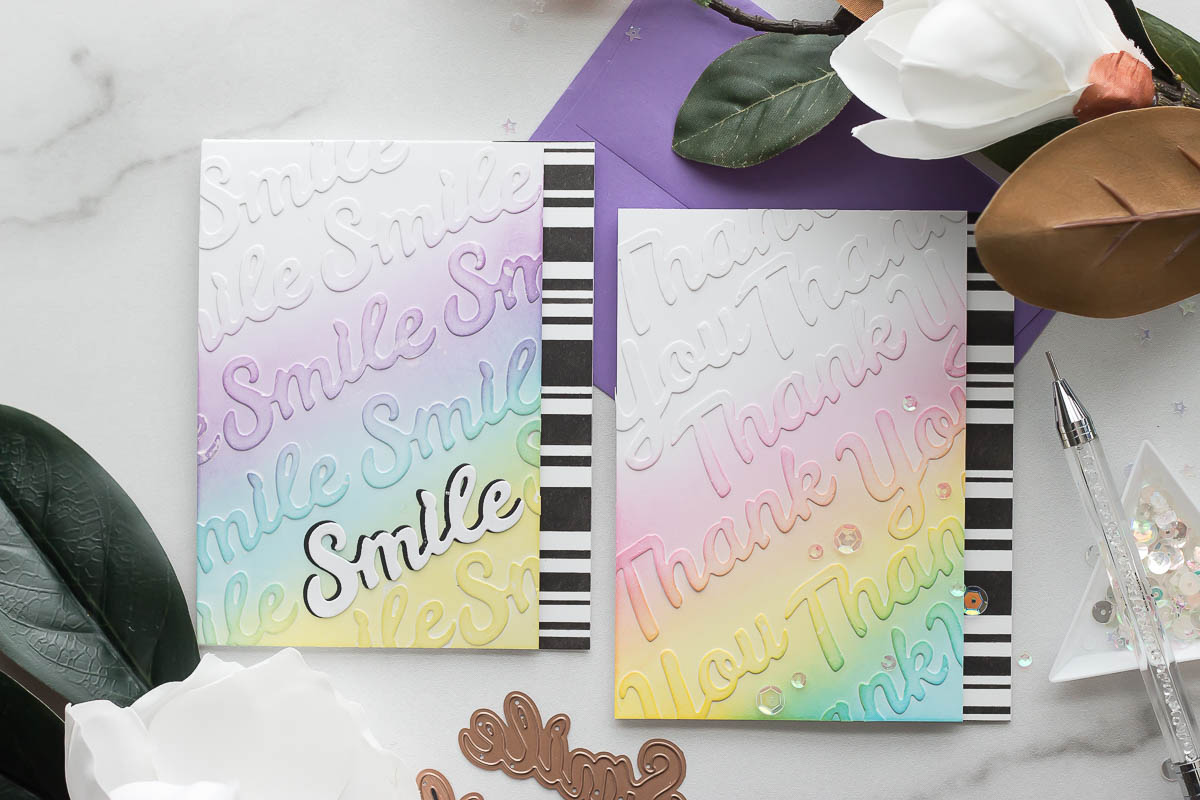
You can simply ink blend over all of the sentiments, like I did with my Thank You card, or you can add the shadow piece behind your sentiment to make one sentiment pop out and become the focal point. I also added a little bit of ink blending through a stencil on the sides for some bold stripes to pop against the colors on the card.
Spellbinders Supplies:
Other Supplies:
White cardstock, black cardstock, black ink, striped stencil, ink blending tool, foam adhesive, sequins.
Glimmer a Background
I love that these sentiment dies are so easy to add onto any card you create. The sentiments are so versatile, and will work for most occasions that you would send a card for. This makes it easy to create a background, and then just simply finish it off with your Bold Type sentiments.

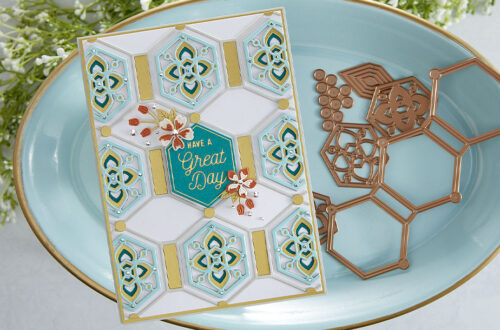
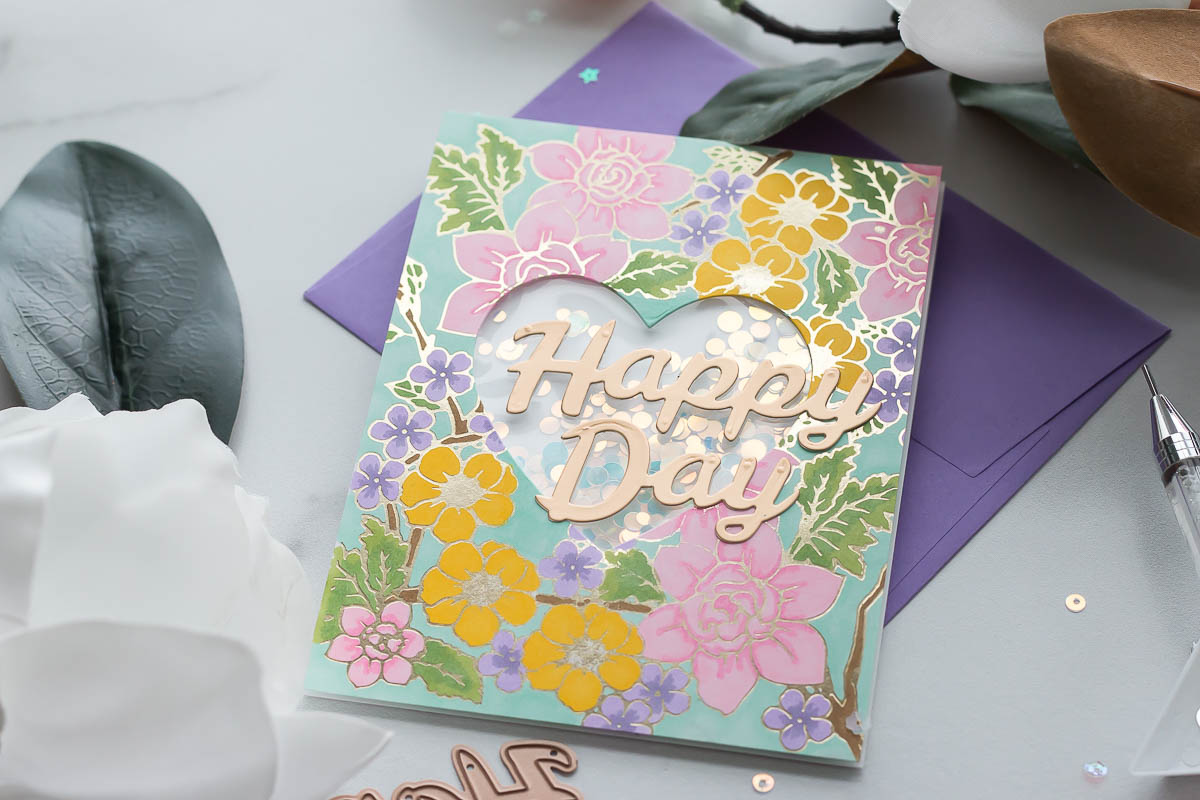
For this card, I glimmered a background using the Flower Pattern Hot Foil Plate. This foils a beautiful floral design onto your background. Then, you can simply color in the flowers and add a sentiment. I went one step further with this card and cut out a window to turn this background into a shaker card. I finished it off by adding the “Happy Day” sentiment cut from gold cardstock. Easy and pretty!
Spellbinders Supplies:
Other supplies:
Alcohol markers, plastic sheet, foam adhesive, shaker confetti.
Two Cards, One Background
My next two cards are also created with the Flower Pattern Glimmer plate. I wanted to show how you can get two cards from one background. I glimmered and colored the background again, and then simply used a rectangle from the Modern Essentials dies to cut the inside out of the background.
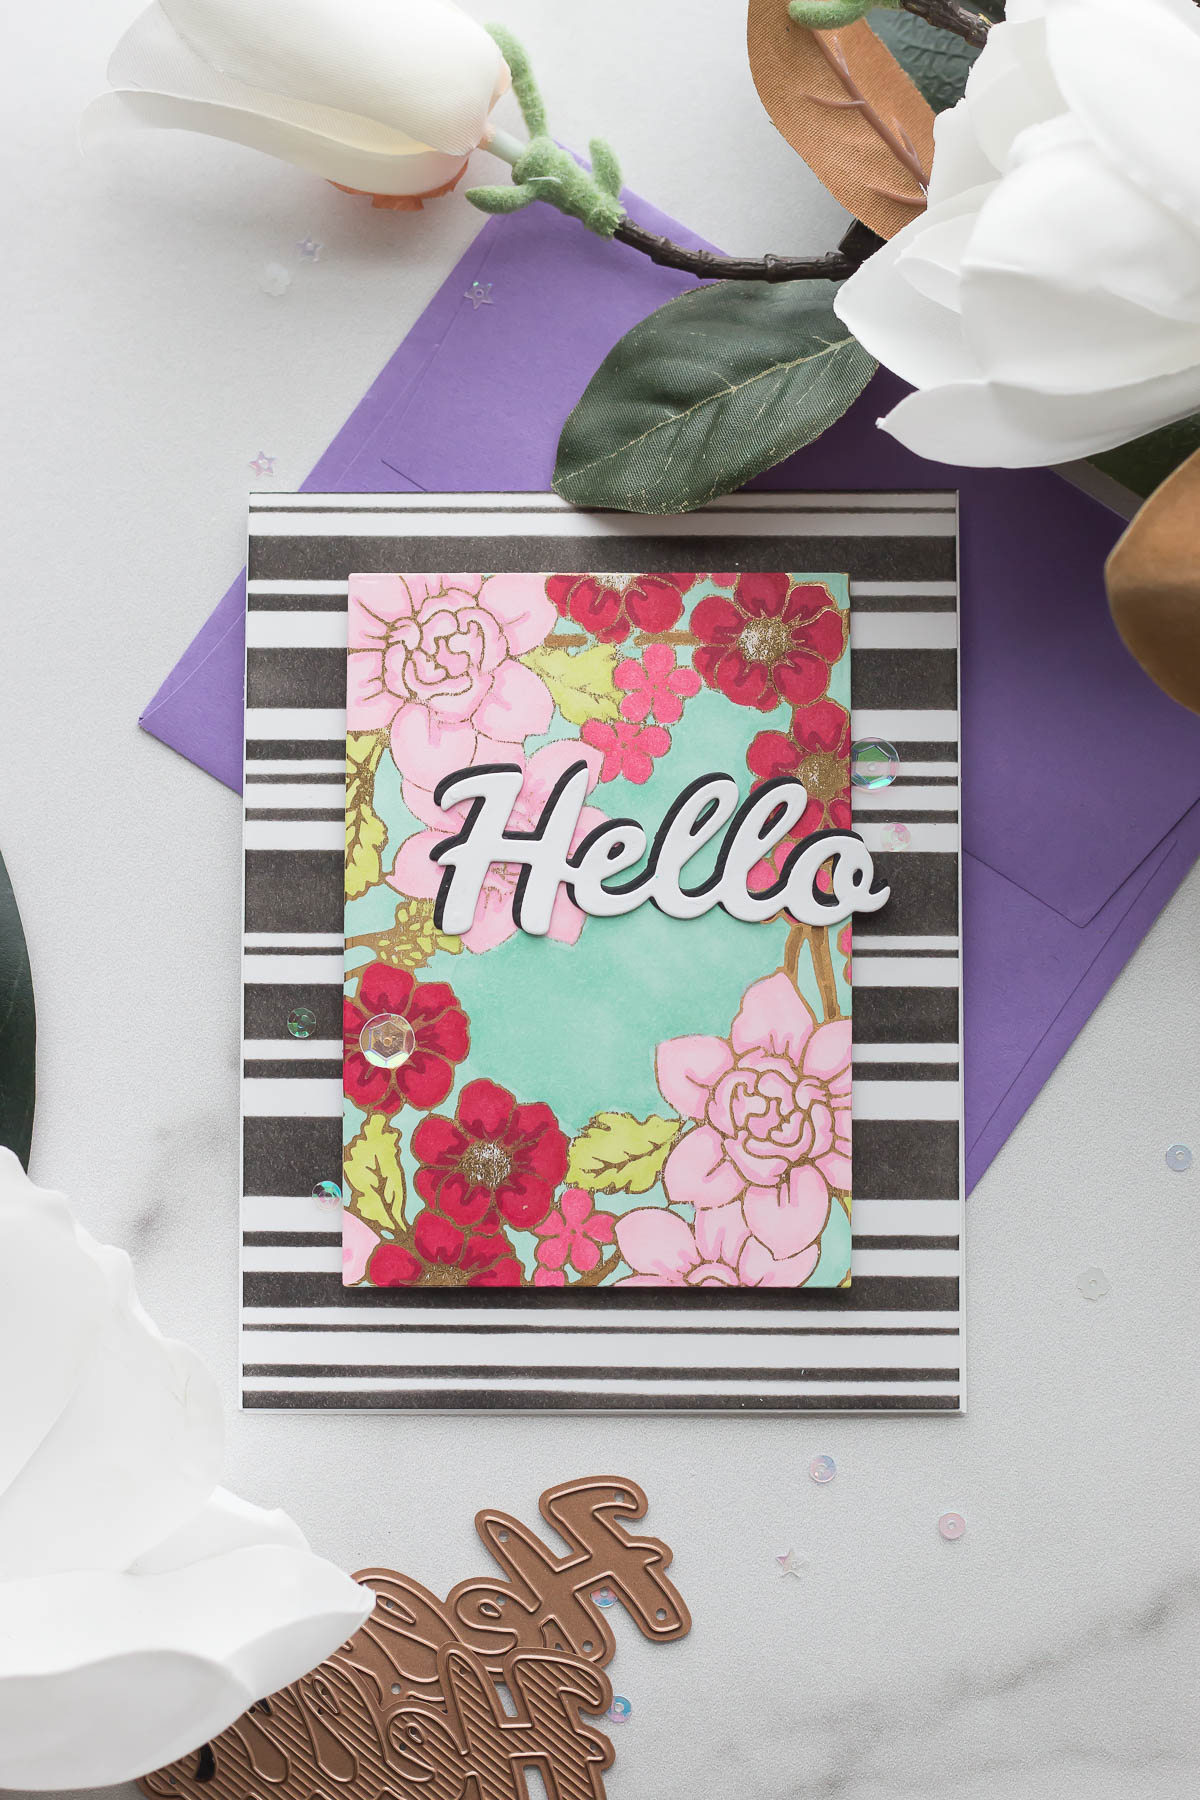
With the center rectangle that I die cut, I layered it over a striped background with some foam adhesive. Stripes and florals are always a win! I then added the “Hello” from the Bold Type dies, both the shadow and the top layering piece. I love the bright colors of this card, and how the sentiment stands out! I added a few clear sequins to finish this one!
My next card is made with the frame that I was left with after cutting out the rectangle piece inside my background. I used this frame to create another shaker card. I added a plastic sheet for a window, foam tape around the frame, and then filled the window with shaker bits. Then, I added the striped background and my card was mostly finished.

All that was left to do was add the Bold Type “Congrats” to the front of my card and it was finished! I love how the congrats fits with this colorful and fun shaker card.
Spellbinders Supplies:
Other supplies:
Foam adhesive, black ink, stripes stencil, ink blending tool, sequins, black cardstock, white cardstock.
That’s a look at the Bold Type Sentiment dies! I hope this post has given you some ideas and inspiration on how to use these versatile sentiments in your own crafting.
Thanks for stopping by,
Marie Nicole

3 Ways to Use the ColorSparx® Watercolor Powders with Tania Ahmed

It’s an “Add to Cart” Kind of Day! | Spellbinders Live