March Dies & Glimmer Plates┃Inspiration with Yasmin
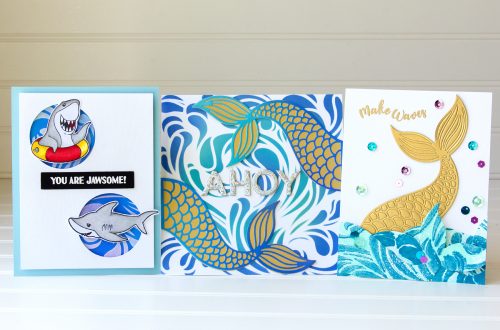
Hello, Spellbinders’ and FSJ friends! Yasmin here sharing with you these 2 Thank you inspiration projects showcasing the new March Dies & Glimmer Plates. These dies and glimmer plates are so versatile that, I’m sure you’re going to love them! So, without further ado, let’s jump to the step by step on how I made them ↓.
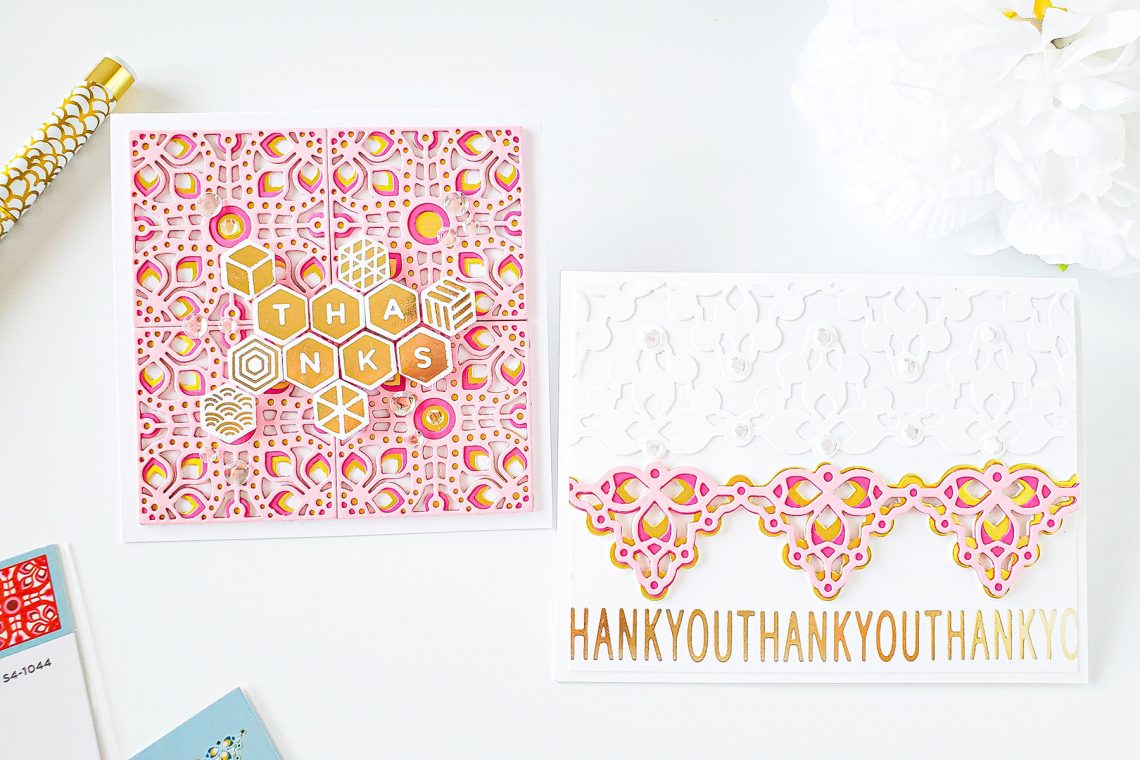
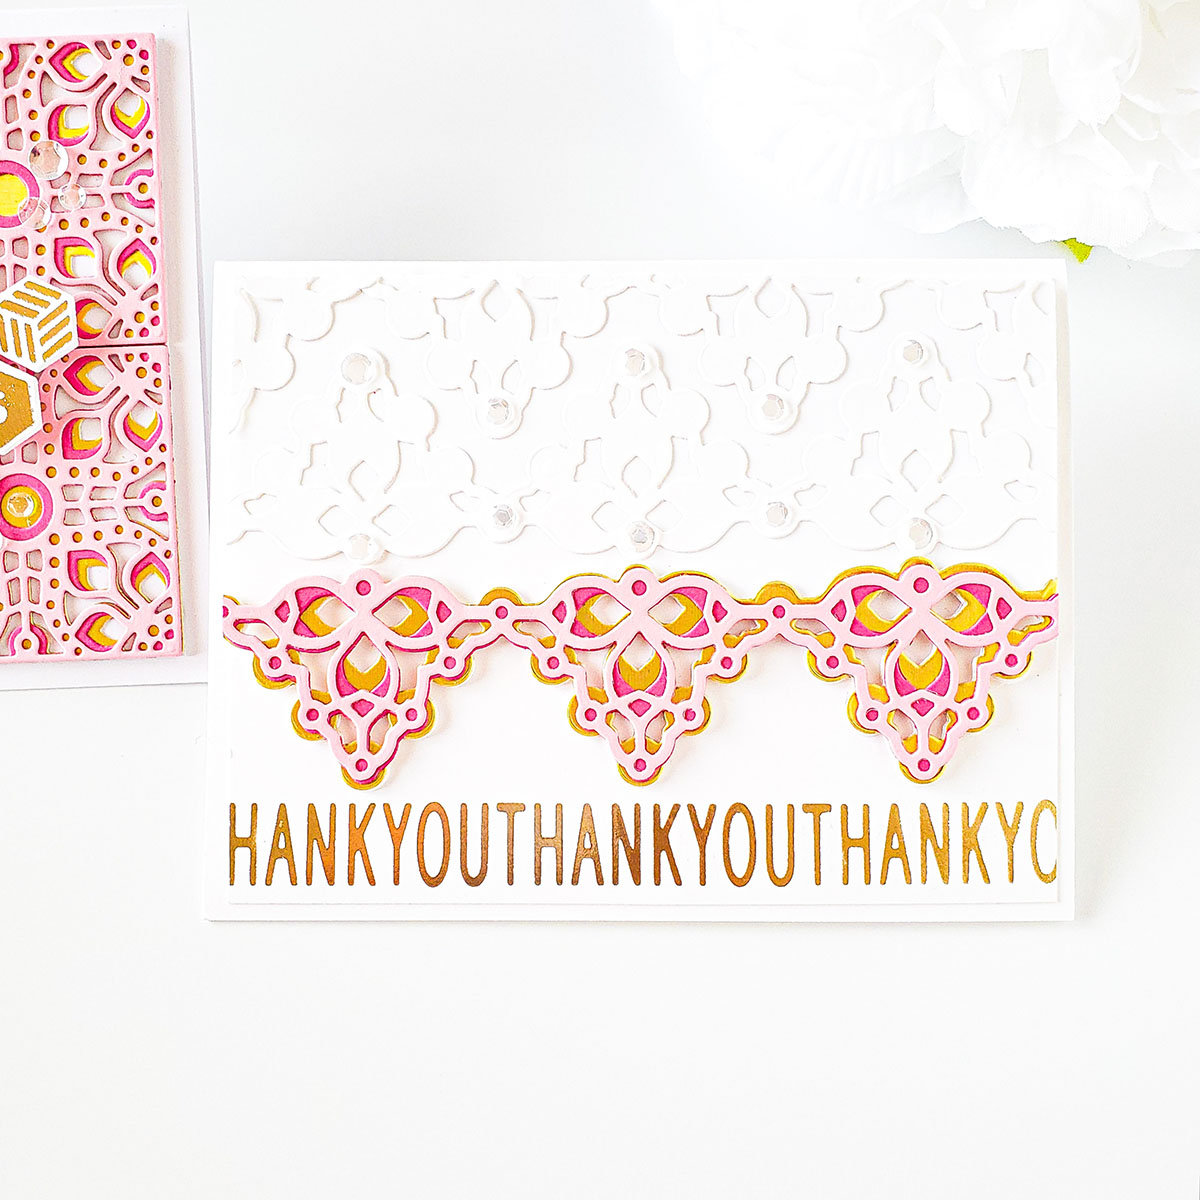
Kaleidoscope Laced and Half background, Thank you Card
To begin with, I started by setting the Glimmer Hot Foil System Platform and the Platinum 6 Die Cutting and Embossing Machine on my crafting table. Next, I turned on the glimmer hot foil platform and while the platform was heating up, I lined up over a white card panel the bottom layer from the 3-Laced Banner dies, and the bottom edge die, both dies from the Kaleidoscope Strip Etched Dies. Once, I have them lined up 3/4 from the card panel, I ran them through the die-cutting machine. Right after, I set the card panel aside then, I lined up the top edge die from the set because, I wanted to die-cut the full laced strip 2X out white cardstock and 1X out gold cardstock.

Lastly, to finish the die-cutting process off, I ran through the die-cutting machine the middle layer die to die-cut it out from Watermelon Fusion Cardstock and the top layer die to die-cut it out from Bubble Gum Cardstock. By the time that I was done die-cutting each piece the platform was ready to foil so therefore, I lined up over the bottom edge of my landscaping white card panel the Thank you border plate from the Border Greetings Glimmer Hot Foil Plates and I foiled the greeting with Glimmer Hot Foil Roll – Champagne.
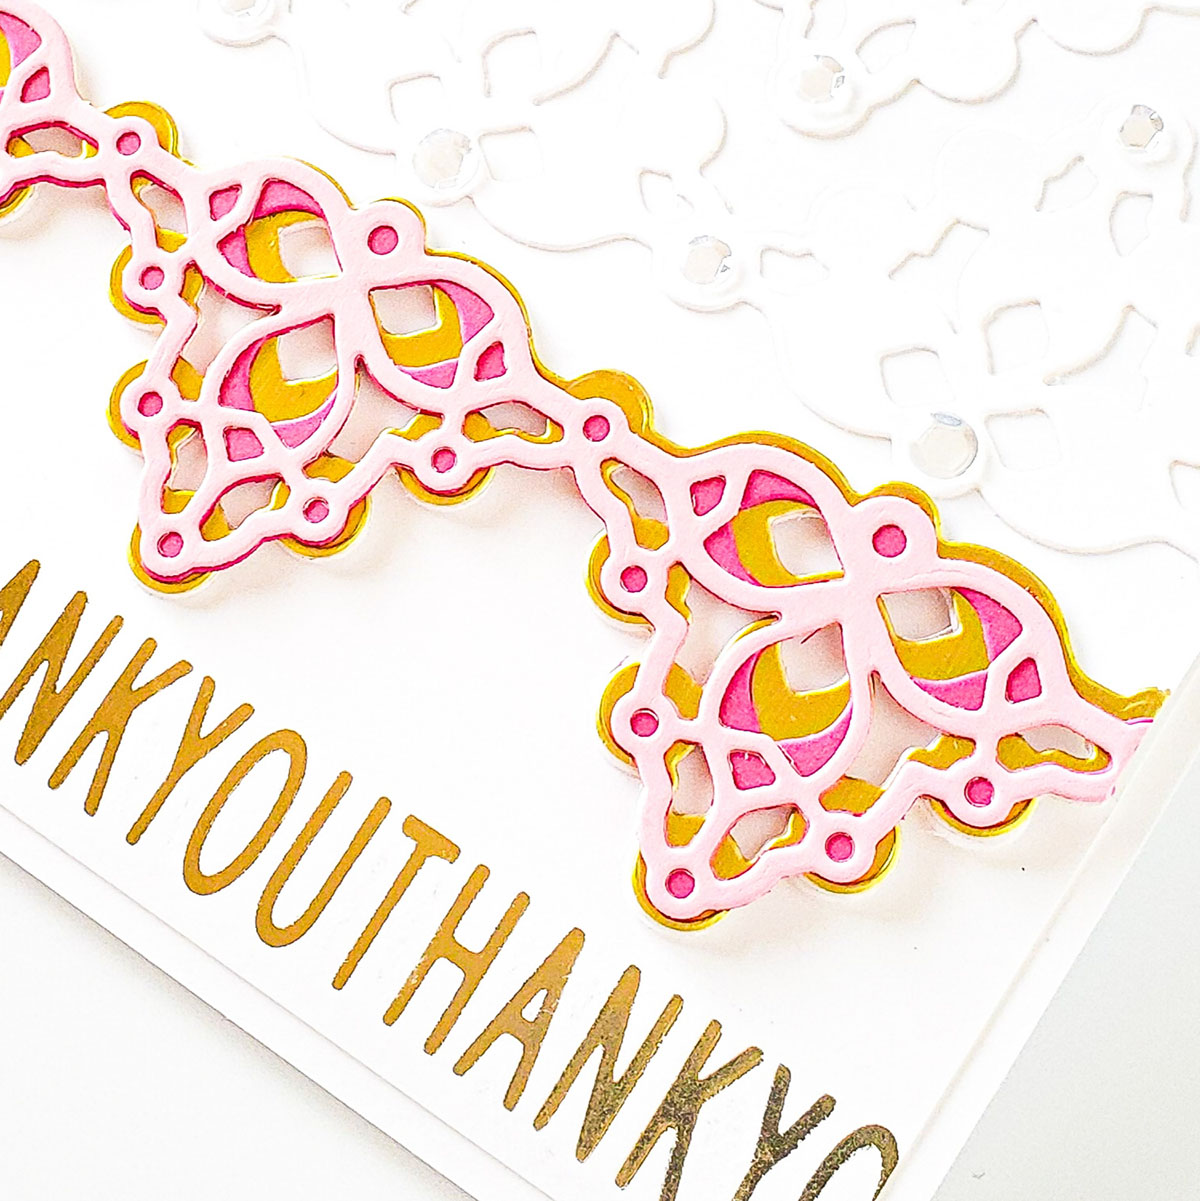
Finally, to assemble the card first; I carefully glued down with liquid glue the 2-white die-cutting edges as shown above to create the half-patterned background design. Second, I stacked the layers from the laced edge, and I glued them down to the edge of the card panel. Third, I mounted with foam adhesive the background textured card panel to the foiled white card panel. Last but certainly not least, I trimmed the edges down from the card panel, and I adhered the backing of it with double-sided tape to an A2 side folding white card base.
Kaleidoscope Tile Square, Thanks Card
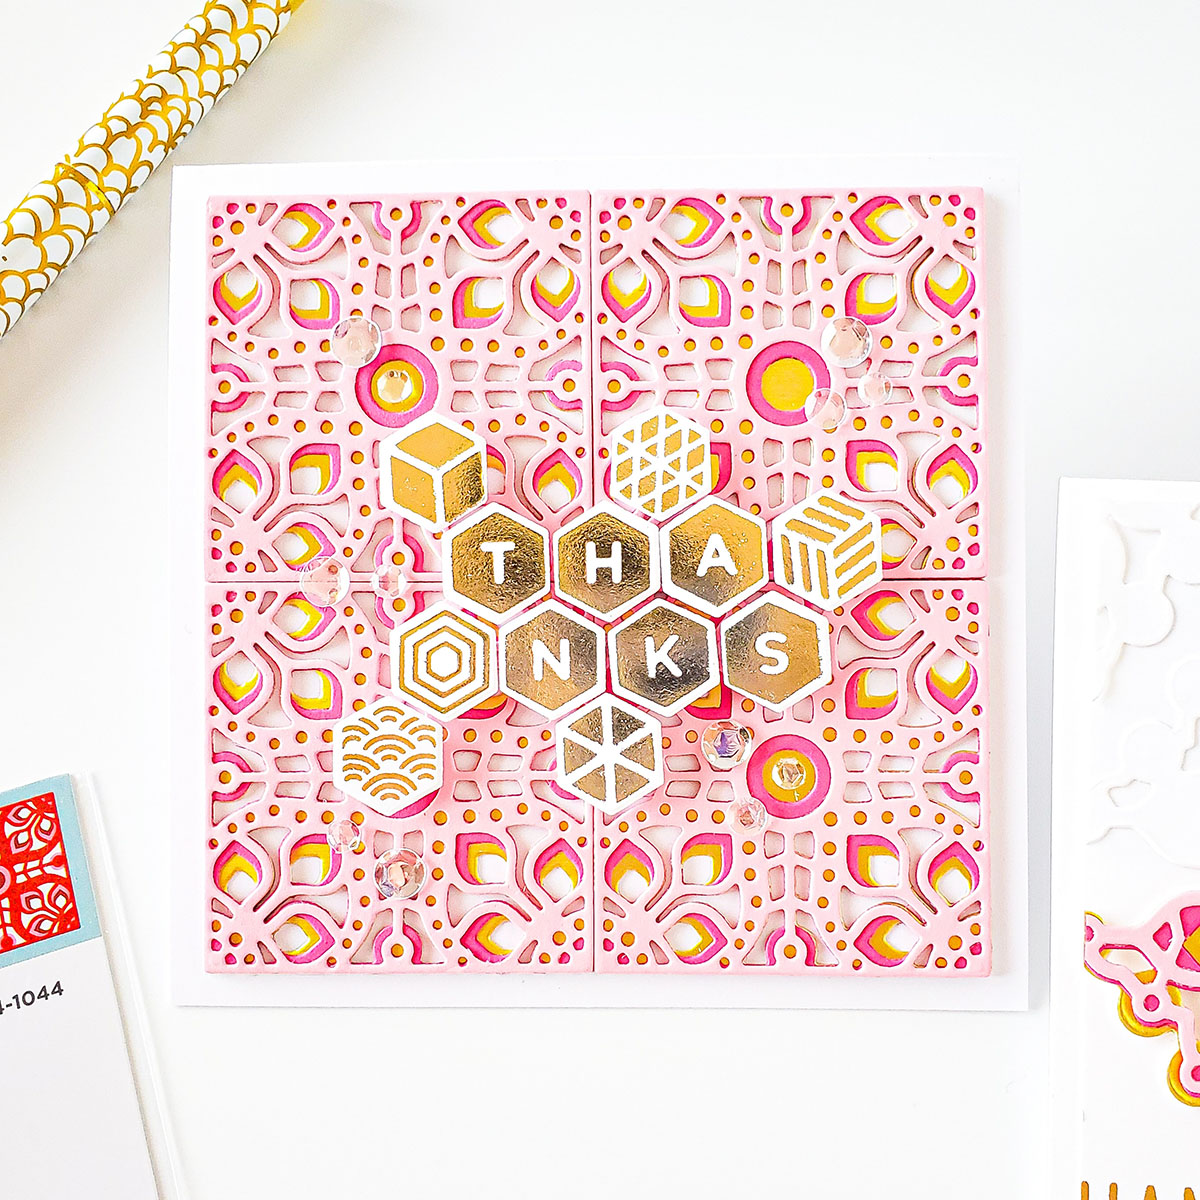
To keep it simple for the second project, I kept the same color cardstock combination however, instead of using the edge laced die, I used the Kaleidoscope Tile Etched Dies. So therefore, I ran through the die-cutting machine 4X each of the dies to create 4 kaleidoscope tiles.
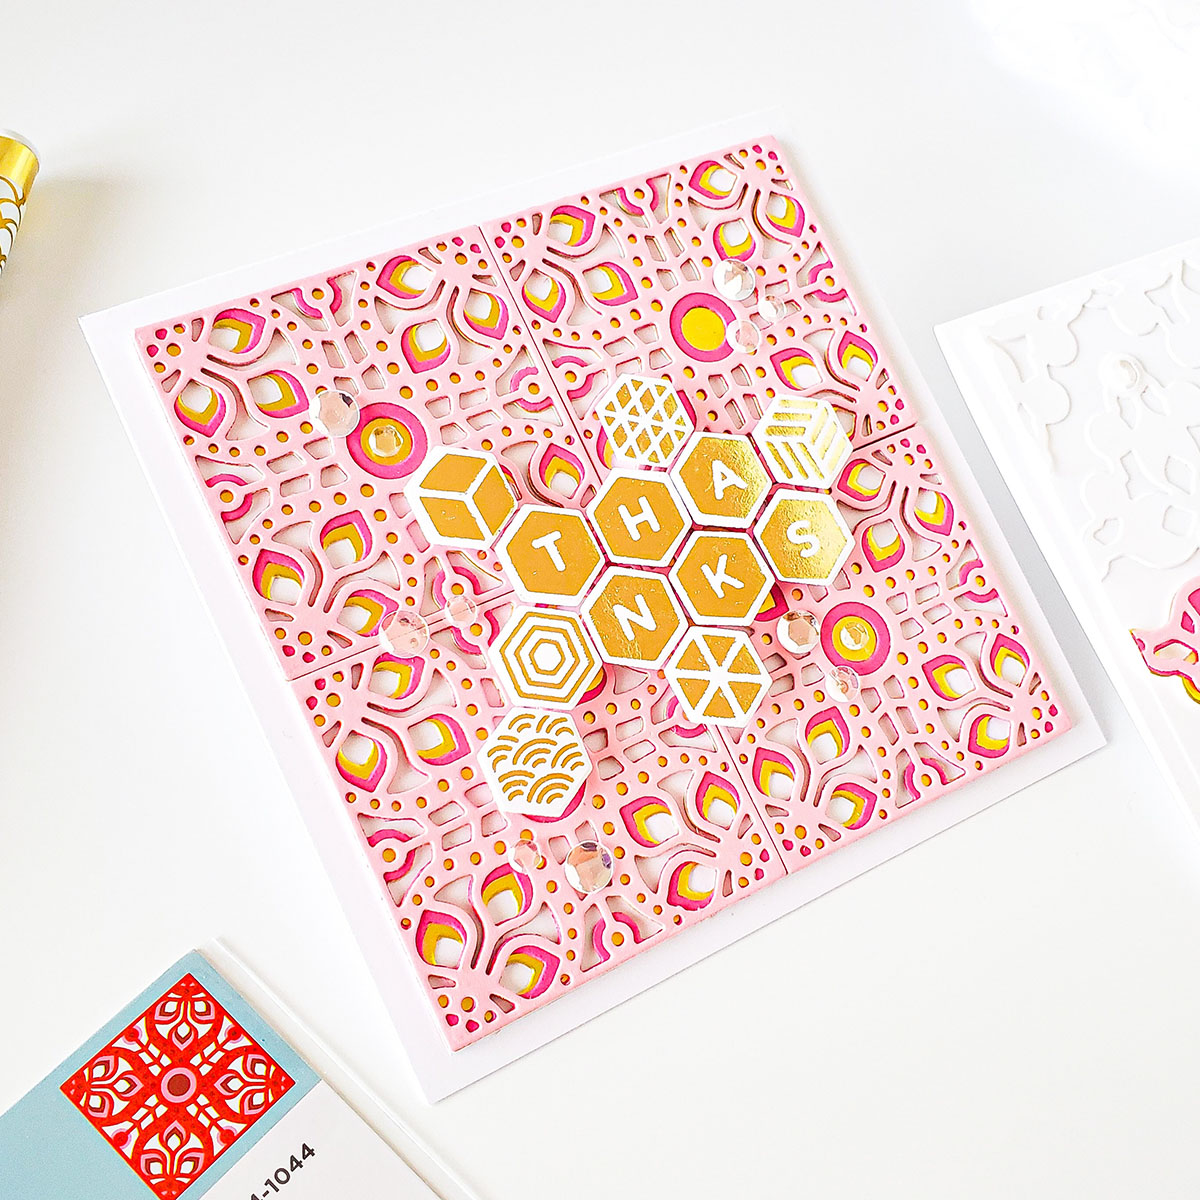
So, after that the die-cutting process was done, I stacked each of the layers from the tiles, and I adhered them down with liquid glue to a 4-1/2’’x 4-1/2’’ white card base. Next, I used the Honeycomb Alphabet Glimmer Hot Foil Plates and once again Glimmer Hot Foil Roll – Champagne to foil the letter and the honeycomb designs. This set also includes 3 honeycomb dies so, as soon as I was done foiling the letters, I ran the foiling along with the dies to die-cut the letters and designs out of the white cardstock.
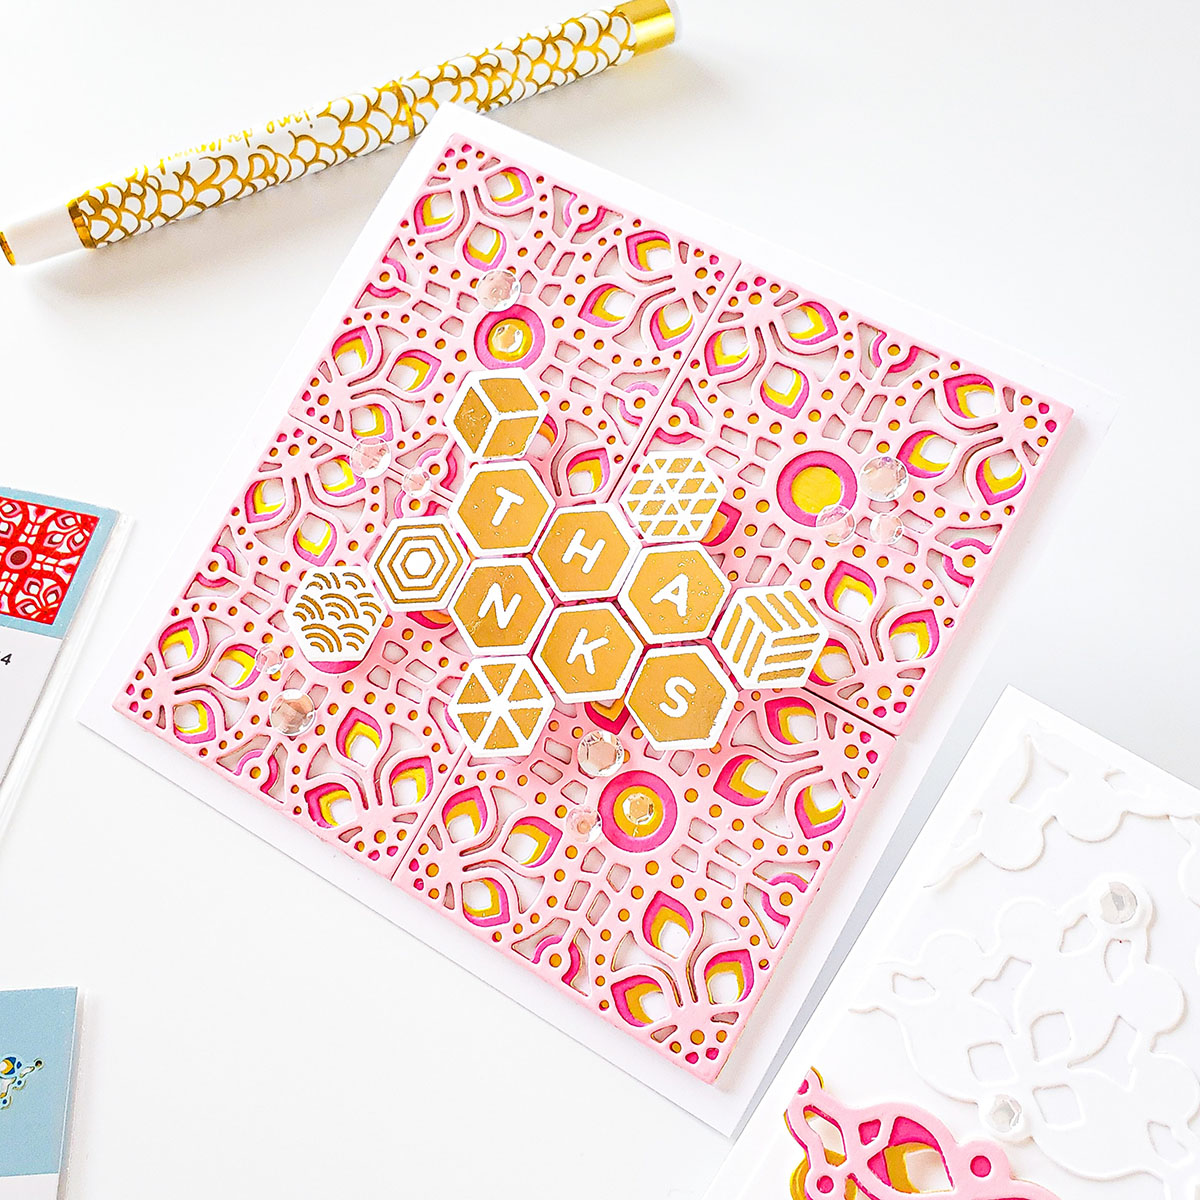
Finally, after playing around for a little while with the honeycomb letters and designs, I ended up placing the Thanks sentiment as shown above but, to create dimension, I adhered each of them down with foam mounting adhesive squares.

To add a touch of shine, I glued down with liquid glue here and there a few crystal-clear sequins to complement the shine from the foil. With that being said, I hope that you’ve enjoyed learning about how, I’ve created these 2 projects featuring the new; March Dies & Glimmer Plates.
Spellbinders Supplies:
If you get inspired be sure to tag us in your social medias using the hashtags #Spellbinders #NeverStopMaking and #GlimmerHotFoilSystem when sharing your creations so, we can see what you are creating with these beautiful sets.
Thanks for stopping by we hope to see you soon but most of all, we hope you and your family to stay healthy and safe.
With love, Yasmin

May 2023 Large Die of the Month Preview & Tutorials – Balloons & Birthday Wishes

Video: Die D-Lites Animal Scene Cards with Nichol