Wedding Season Collection | Wedding Cards with Koren Wiskman | Video
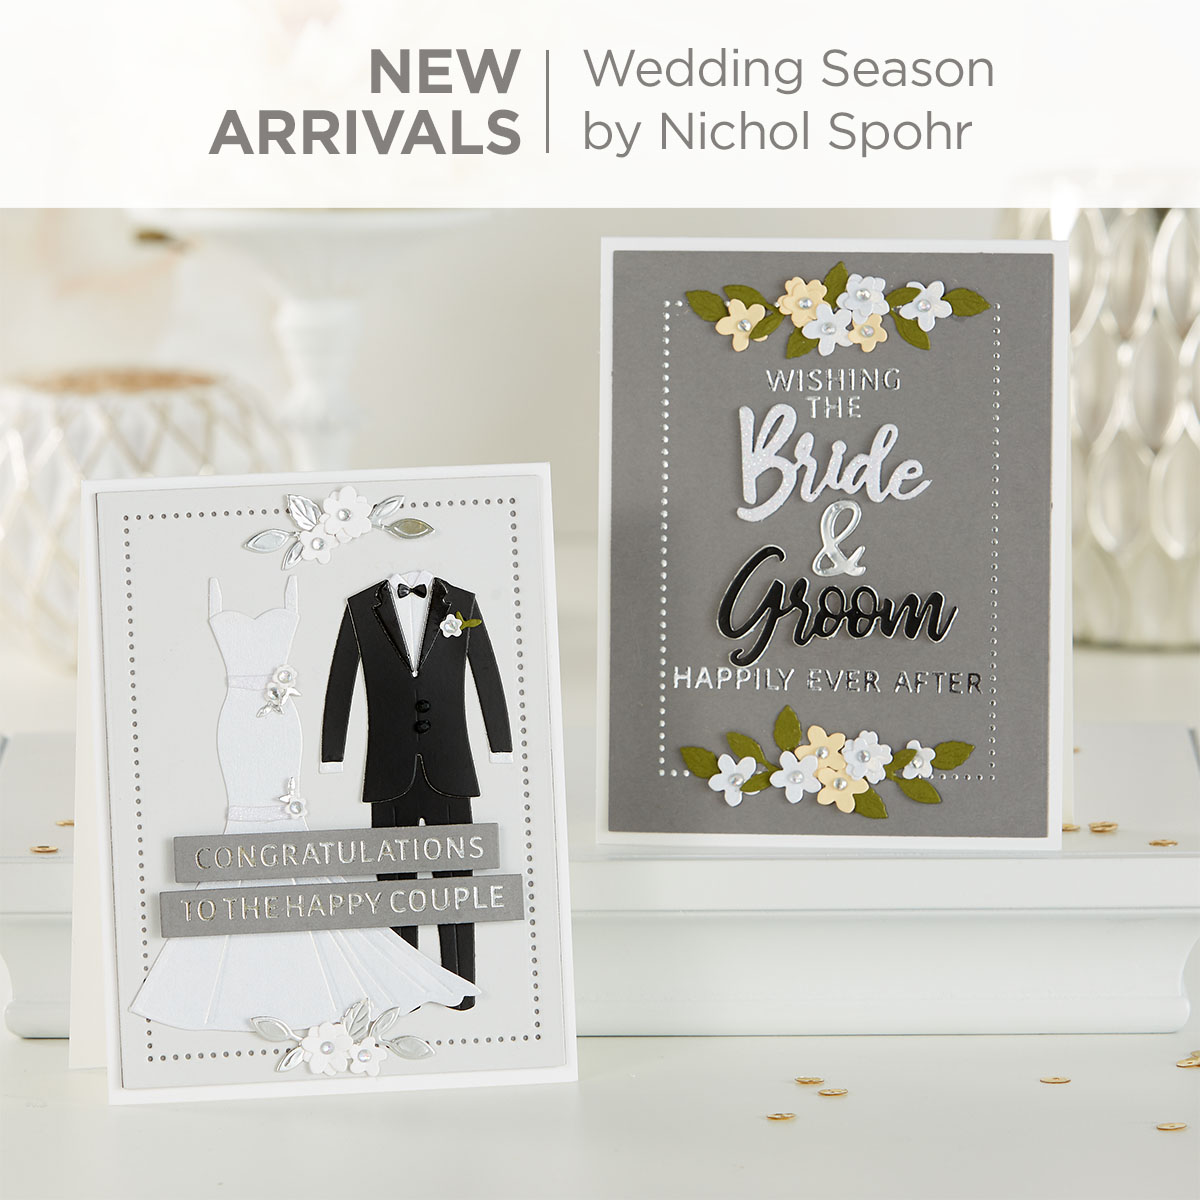
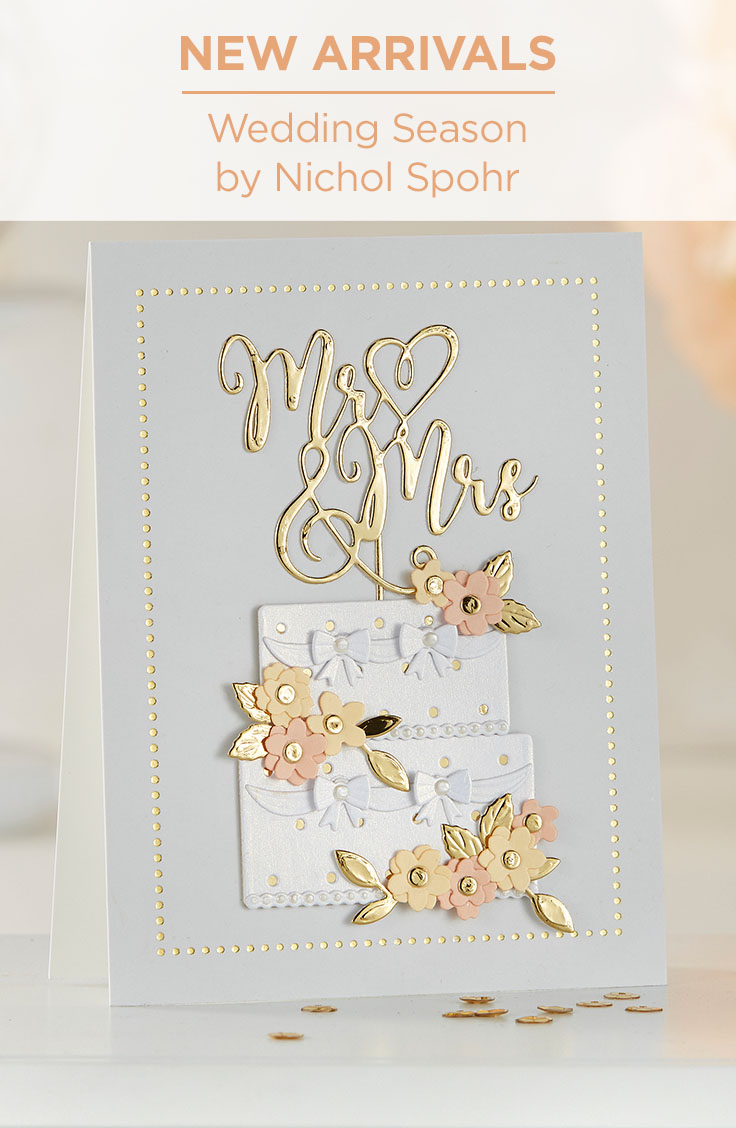
The Wedding Season collection by Nichol Spohr is here! Wedding Season by Nichol Spohr reflects a clean and contemporary look to that all-important life event. Mix and match with the other sets in the collection to create a wonderful array of projects for the happy couple!
Join designer Koren Wiskman as she shares 3 beautiful wedding cards created using this collection. Watch video below or on Youtube:
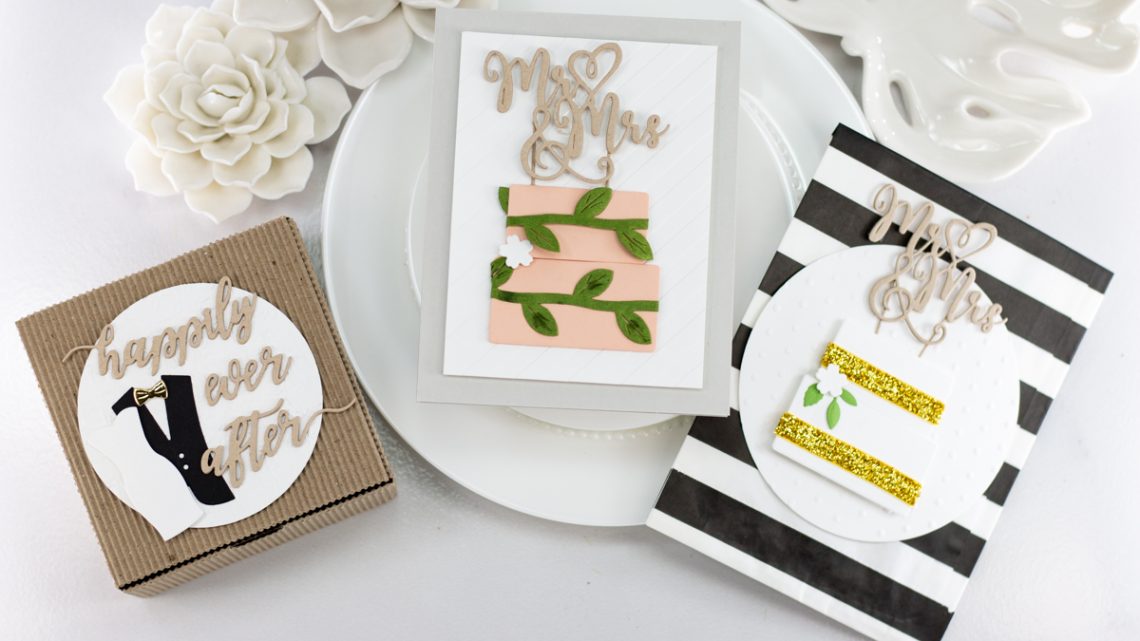
Treat Box
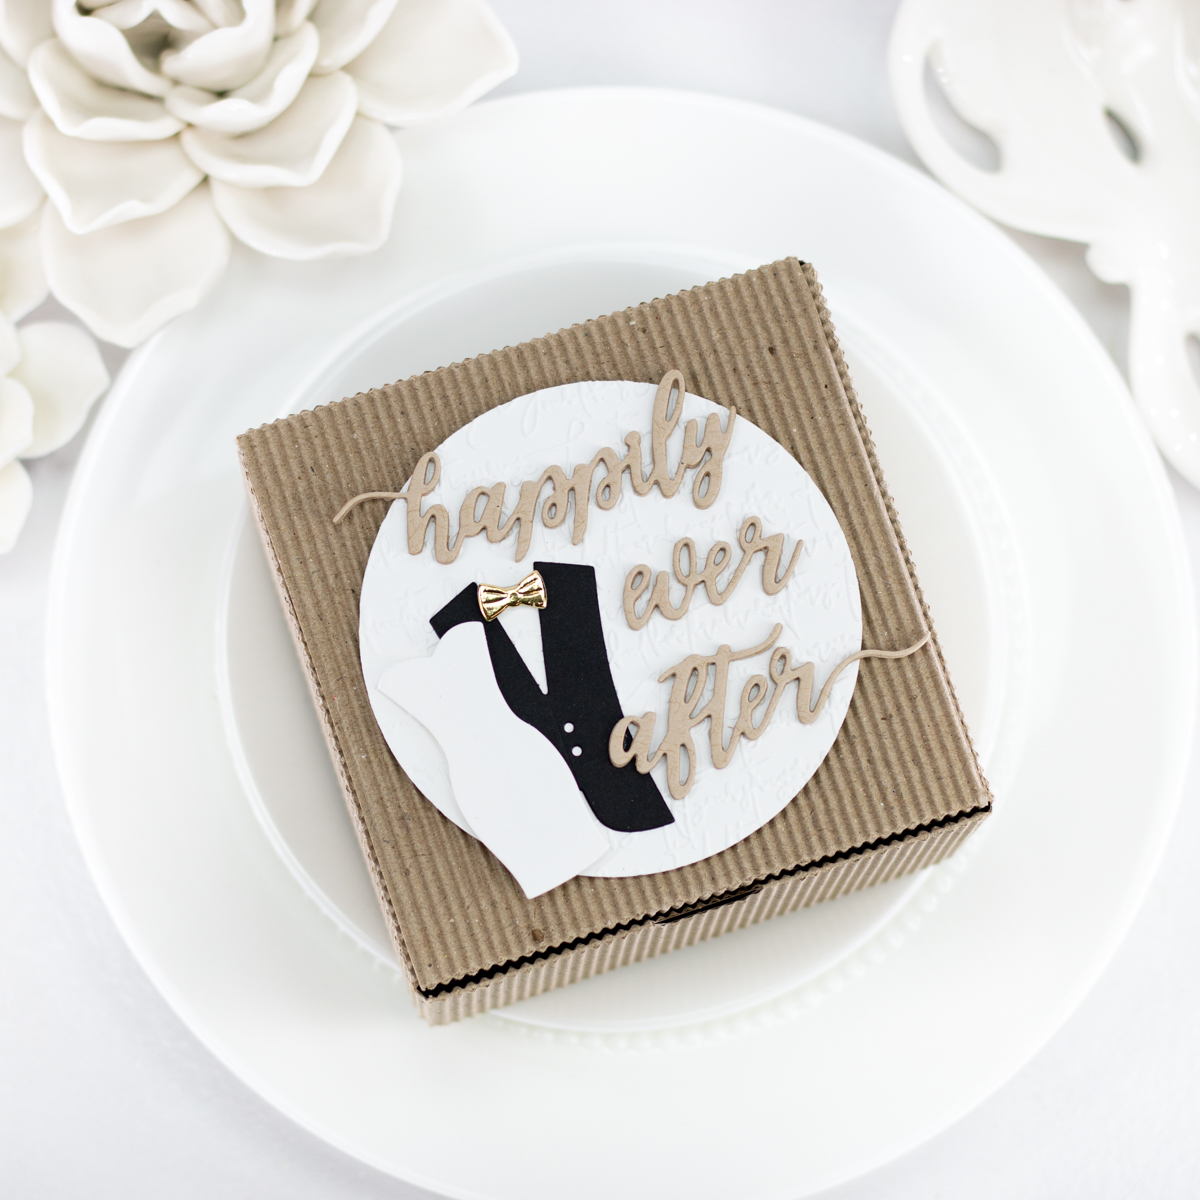
- Assemble Treat Box.
- Cut circle with basic circle die using white cardstock.
- Emboss circle using Inspire Embossing Folder and adhere to the top of the Treat Box.
- Cut vest, bow tie and top of dress using preferred or coordinating color cardstock.
- Cut “happily ever after” word dies using Kraft or your preferred color of cardstock.
- Adhere vest using liquid adhesive directly to the circle die cut.
- Attach bow tie using a small amount of foam adhesive.
- Adorn vest using supplied gold enamel embellishments if desired.
- Adhere dress using foam adhesive.
- Apply liquid glue in small increments to the back side of the “happily ever after” die cuts and adhere them flat to the circle die cut.
Romance Treat Bag
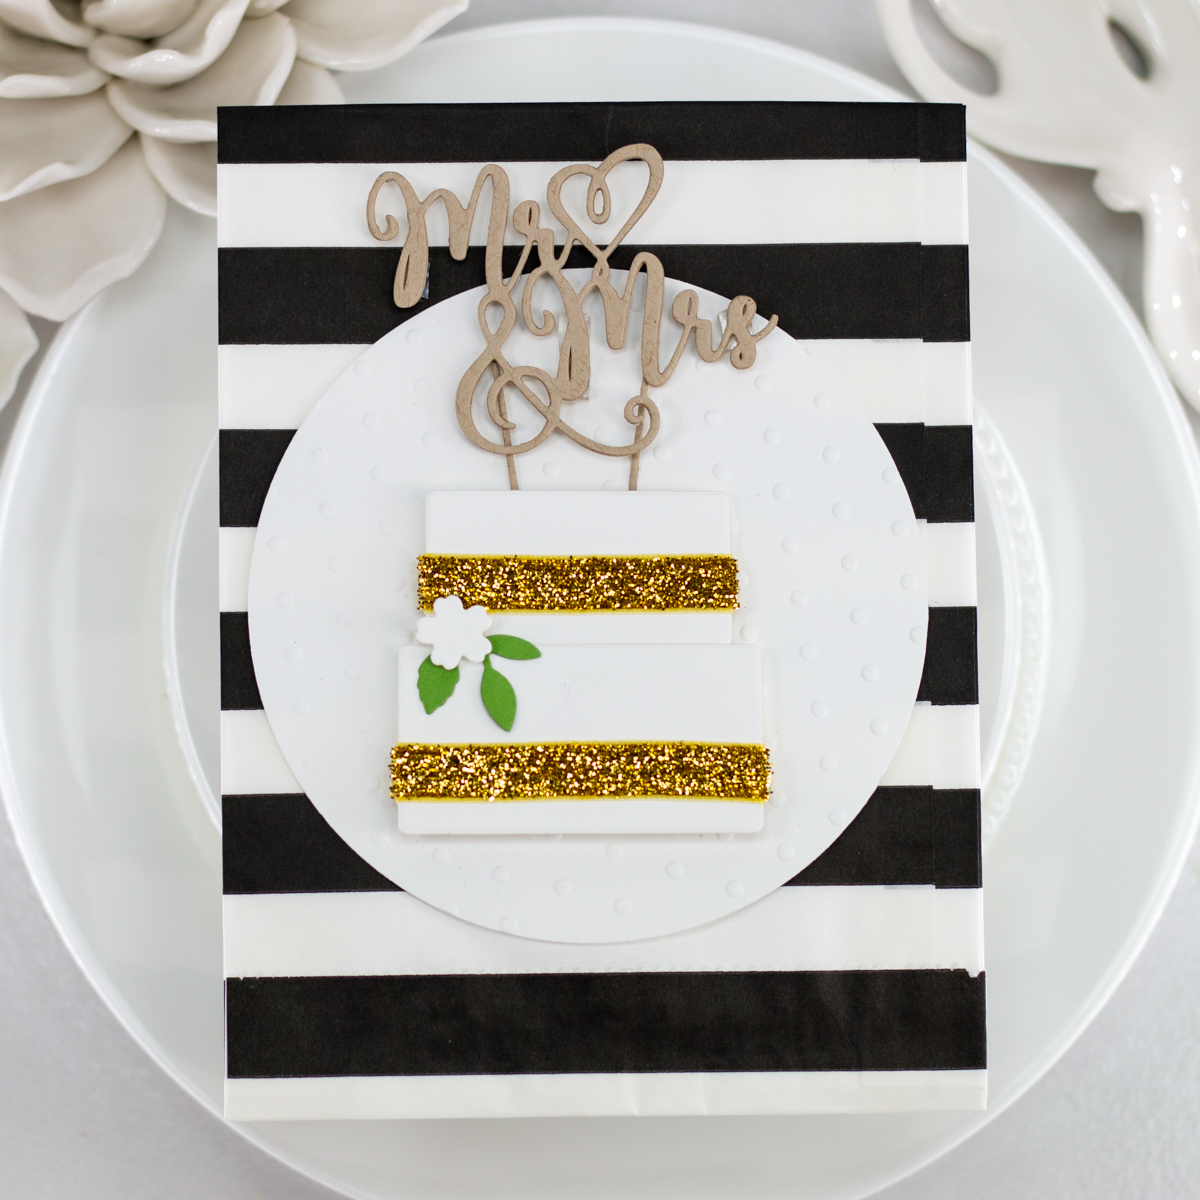
- Cut circle using basic circle die using white cardstock.
- Cut both layers of cake using white or coordinating color of cardstock.
- Use the Tiny dot embossing folder to embossing the circle die cut.
- Adhere it to the treat bag with foam tape or your preferred method of adhesive.
- Use tear tape adhesive to apply to the back side of the gold trim in the Boho Trim Pack.
- Adhere the trim to the layers of cake die cuts to decorate your cake.
- Using foam tape, pop up the layers of cake onto the circle die cut.
- Adorn with provided die cut embellishments if so desired.
- Use small amounts of clear adhesive to attach the “Mr. & Mrs.” word die and the two small legs.
Mr & Mrs Card
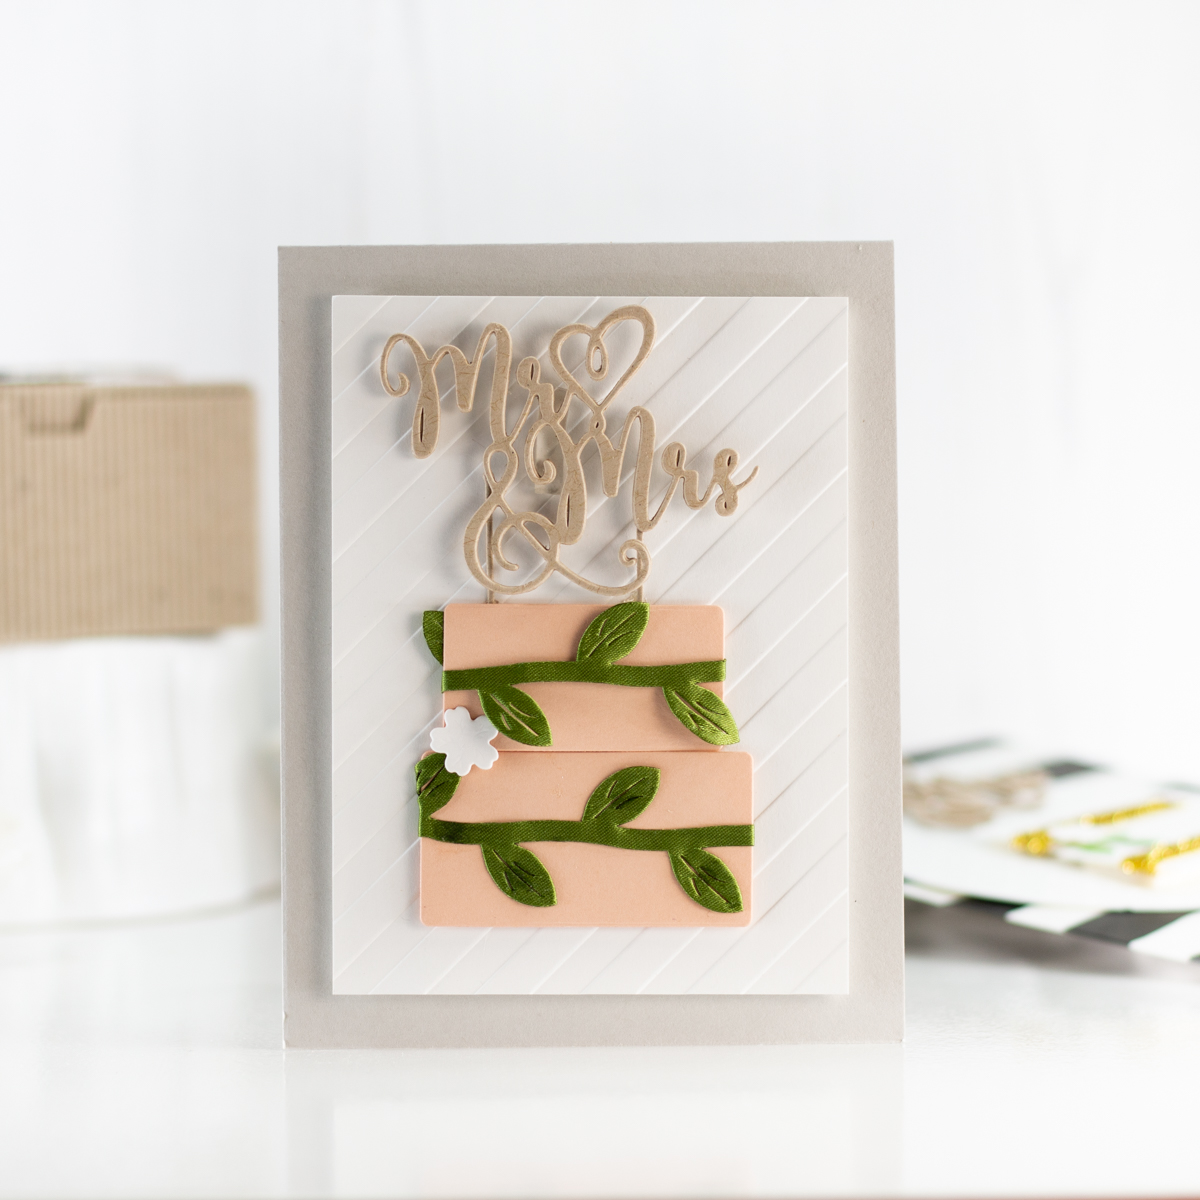
- Cut a piece of white cardstock to 3 1/2 by 4 3/4 and use the Love Stripes Embossing Folder to emboss the background.
- Cut both layers of cake using Peaches and Cream Cardstock.
- Use the vine twine from the Boho Trim Pack to wrap around both layers of cake using tape to adhere it on the backside.
- Pop up both layers of cake onto the embossed background using foam tape.
- Cut the “Mr. & Mrs.” word die, and the legs, from Kraft cardstock.
- Adhere it in place using a small amount of clear foam adhesive.
- Adorn the cake additionally with provided floral or decorative dies if so desired.
- Adhere the background to a light gray card base cut to size A2 and scored in a top folding portrait orientation.
Spellbinders Supplies:

2 Comments
Linda Israels
Will your dies work in the Sissix Big Shot?
Yana Smakula
Linda, yes, our dies are compatible with the Sizzix Big Shot machine.