The Warm Holiday Wishes Project Kit | Cardmaking Inspiration with Amanda Korotkova | Video
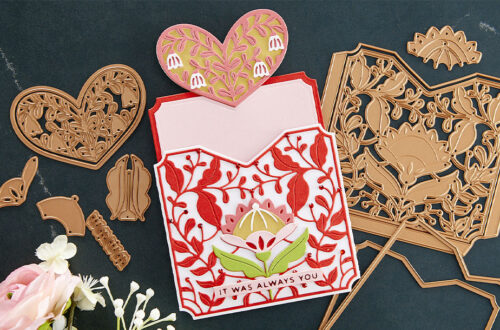
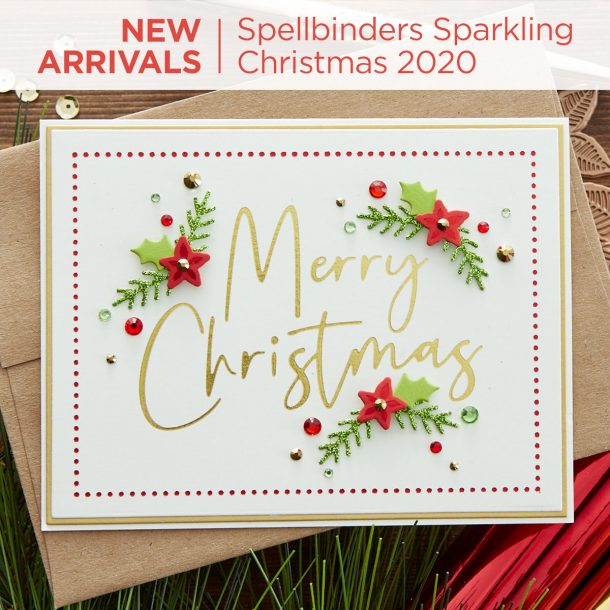
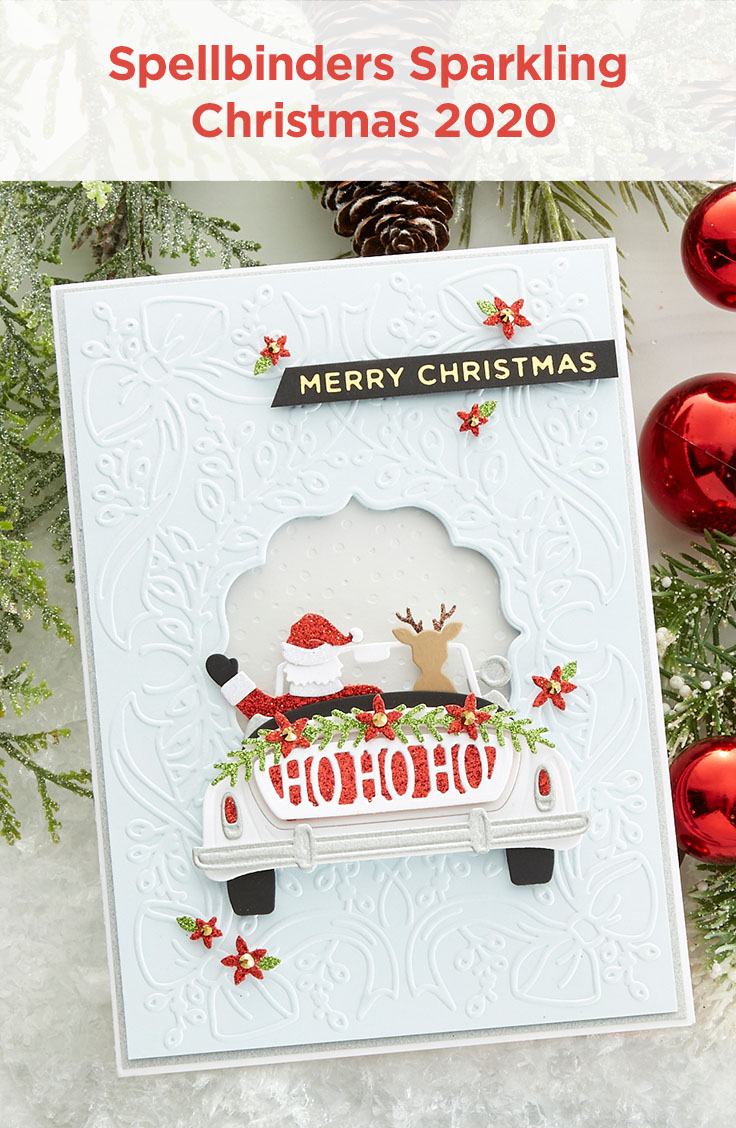
The Sparkling Christmas collection is HERE! The 2020 Spellbinders collection of 10 etched die sets, 13 Glimmer plate sets and a clear stamp set will knock your Christmas Stockings off this year! There’s something for everyone and they’ve been meticulously designed to work together in oh so many ways.
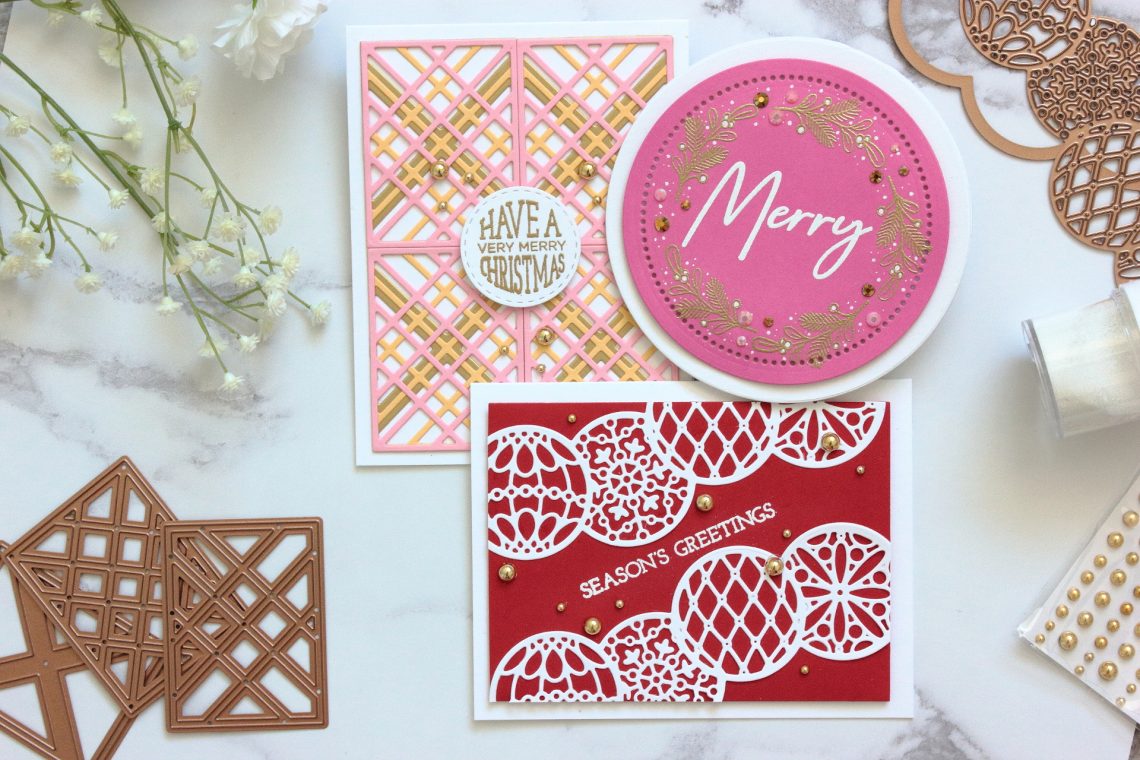
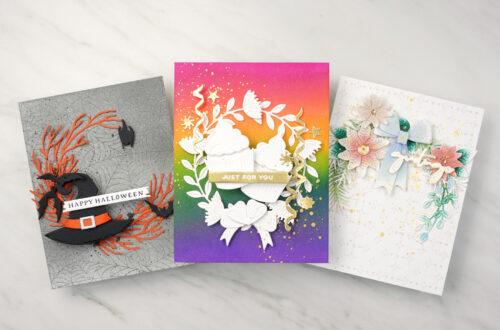
Join designer Amanda Korotkova as she shares 3 beautiful cards created using our Warm Holiday Wishes Project Kit (sold out). This kit was designed as a preview of the new Sparkling Christmas collection. Watch video below or on Youtube:
Have a Very Merry Christmas Card
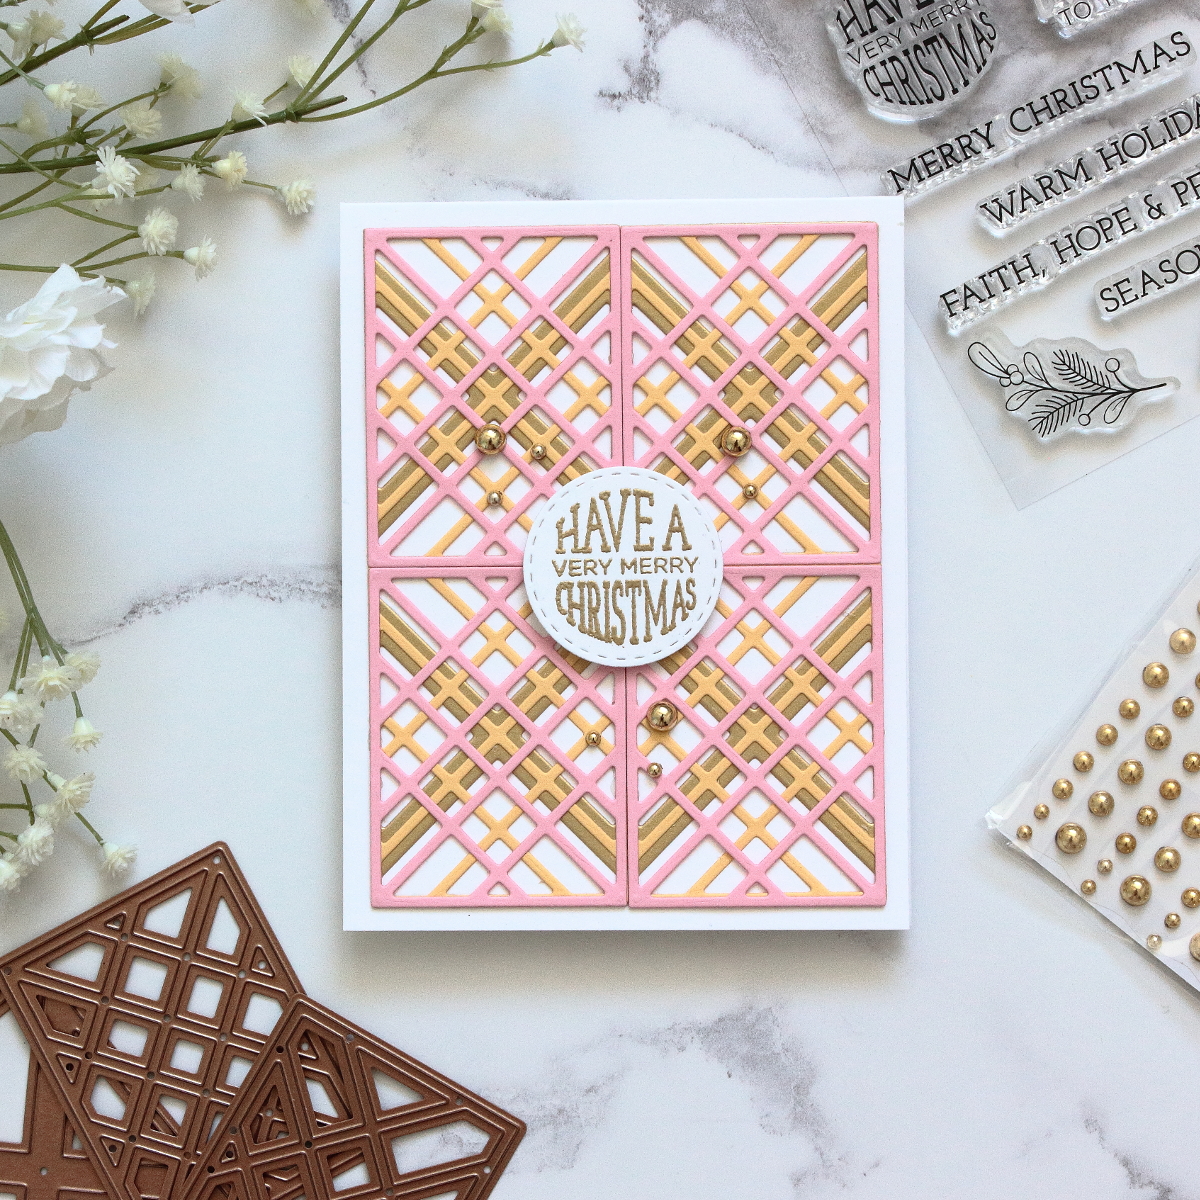
- Take three colors of cardstock that would work well together and die cut Kaleidoscope Plaid 4 times (each die 4 times on one of the colors).
- Take a 4 ¼ by 5 ½ card base and start building your pattern starting from the bottom die and creating a centered rectangle.
- Stamp the round sentiment from the stamp set “To You and Yours” on a piece of white cardstock using Clear Pigment Ink.
- Use Gold Embossing Powder over the stamped area and heat emboss the sentiment using a heat gun.
- Die cut the sentiment using a fitting round die.
- Place it on the center of the rectangle you created earlier using foam squares.
- Add Fashion Gold Embellishments as a final touch.
Season’s Greetings Card
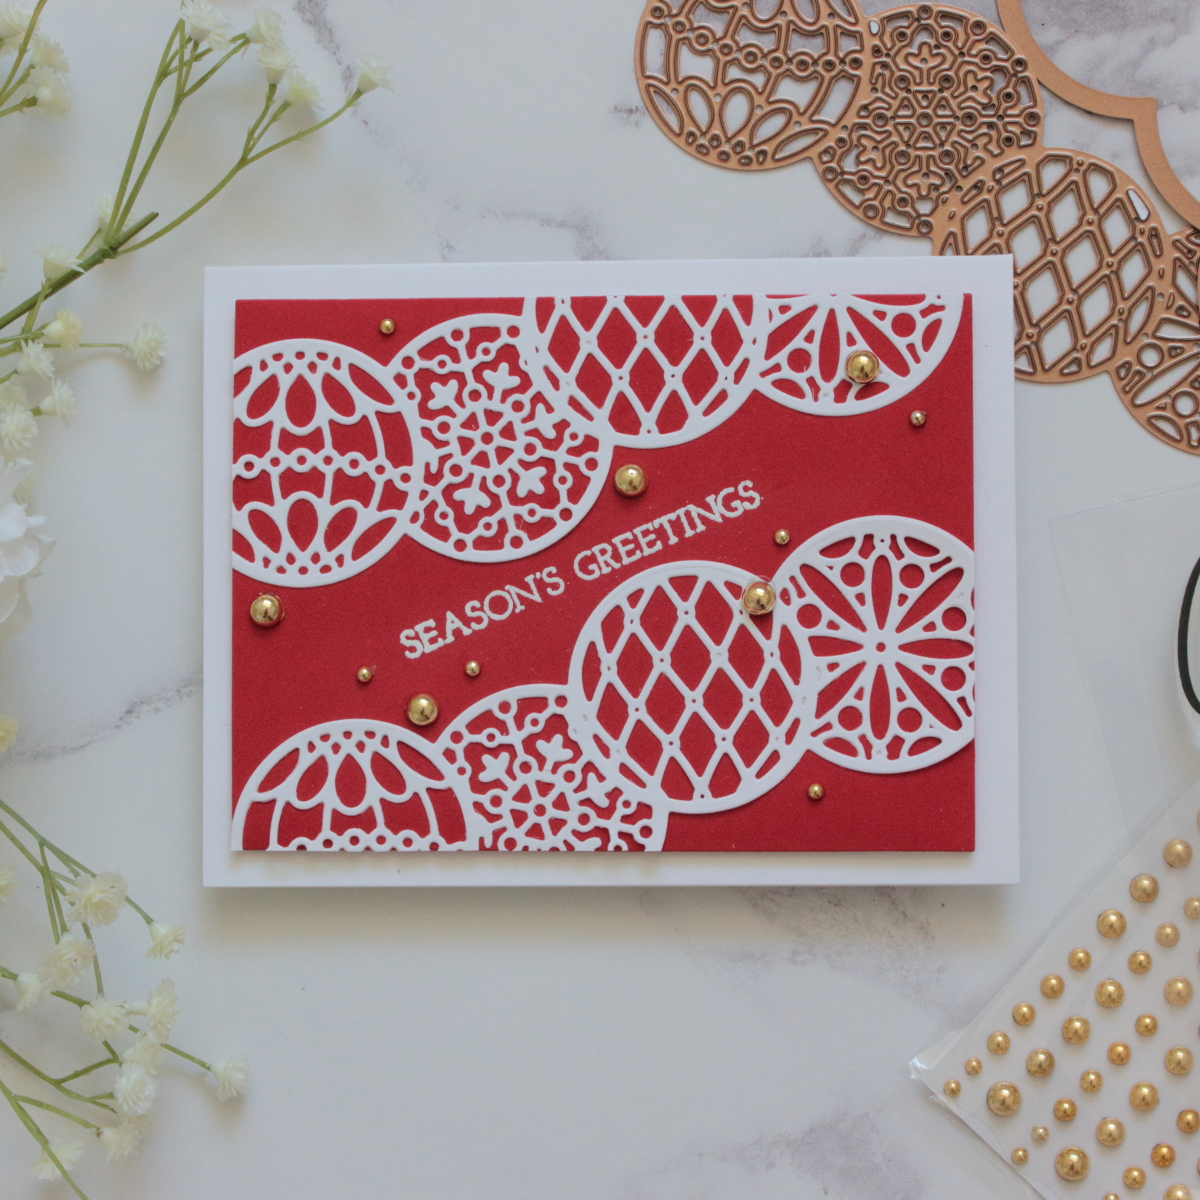
- Cut out the Christmas Ornament Border twice on a piece of white cardstock.
- Take a 4 ¼” by 5 1/2” piece of red cardstock and white heat emboss a stripe sentiment in the center (diagonally).
- Cut the red panel to a smaller size to allow a frame around it when we stick it to the base card.
- Use the Ornament Borders to “frame” the sentiment on the card. Place them perpendicular to the sentiment, one on the top, one on the bottom. The Borders will come out of the card, that’s ok.
- Glue the Ornament Borders to the card and cut out the excess around it with scissors.
- Use craft foam to stick the panel to a white base card.
- Use Fashion Gold Embellishments to finish up the card.
Merry Card
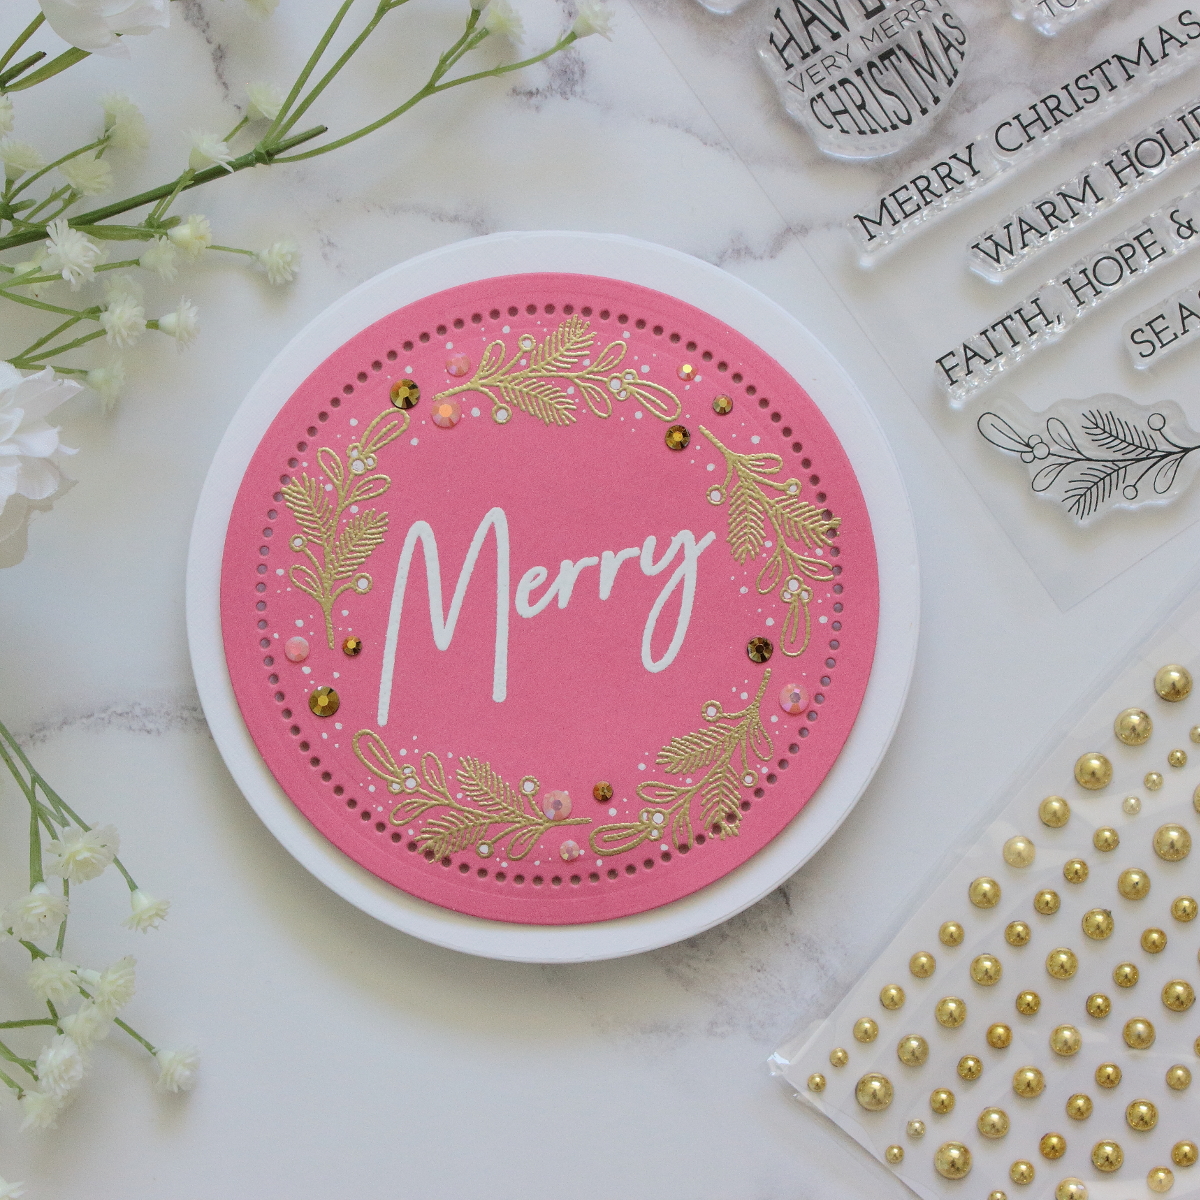
- Die cut a circle using the Spellbinders Essentials Circles and piece of dark pink cardstock.
- Heat emboss the sentiment stamp “Merry” from the “To You and Yours” stamp set using white embossing powder.
- Heat emboss the larger leaves from the same stamp set creating a circle around the word “Merry”. Use gold embossing powder.
- Die cut a white circle larger than the pink one. Use craft foam to stick the both circles together.
- Create a round card base the same size than the larger circle and glue main panel to it.
- Add dots with a white gel pen.
- Add jewels as a final touch.
Spellbinders Supplies:
Becca Feeken Shadowbox Release. Blog Hop + Giveaway (Now Closed)
Embrace Every Season with 3 Gorgeous Die Cut Wreath Cards