Celestial Zodiacs Collection – Inspiration with Marie Heiderscheit
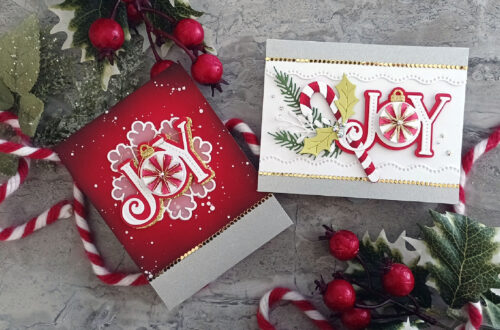
Hello, crafty friends! Its Marie here from the blog, MARIE NICOLE DESIGNS. I was so excited to see the new Celestial Zodiac collection. It is full of starry, sparkly craft supplies that you can use to create gorgeous cards or other projects. I created a set of three cards with this collection and I’m excited to share them with you today!

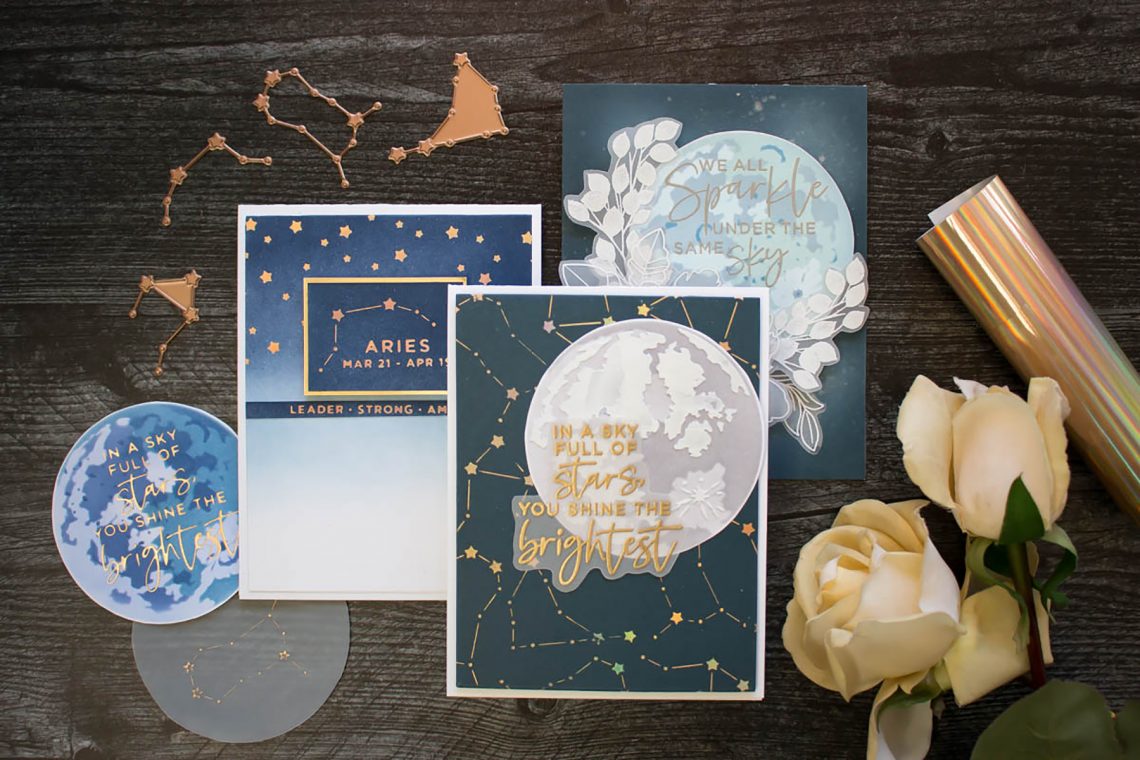
I wanted to create a set of cards that coordinate, but with each one being unique. I have found that the easiest way to make cards together that look like a set is to choose a few colors and stick with them. This way, they look like they all go together even if they are different designs. My colors for these cards are navy, gold, and white.
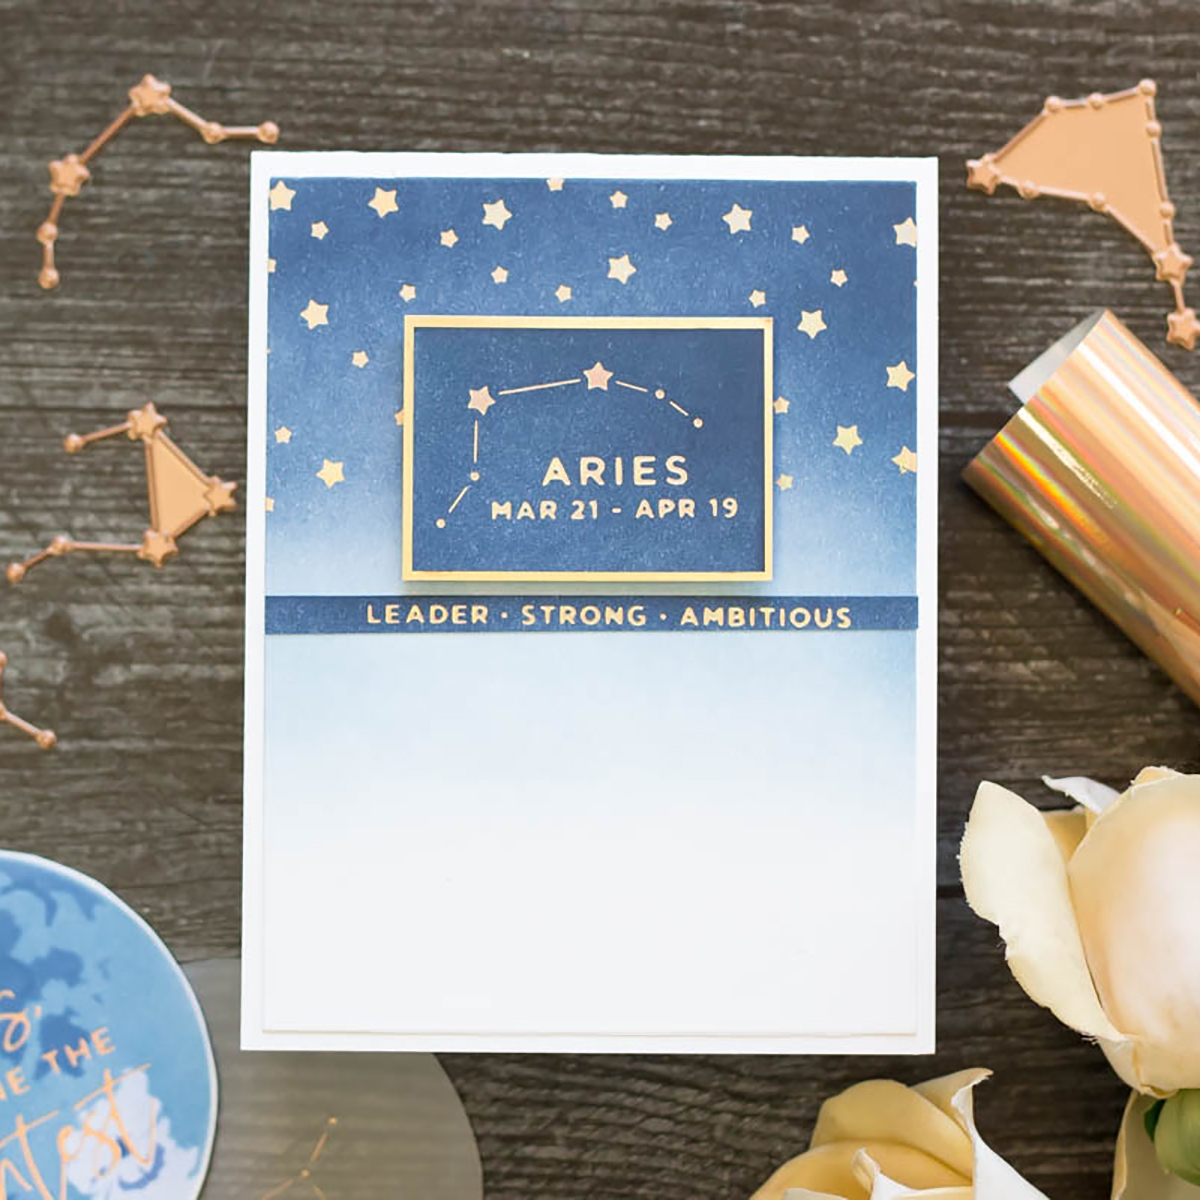
Glimmer a Starry Sky
For my first card, I wanted to use that gorgeous starry glimmer plate! I ink blended a simple background, fading out into the white cardstock, and then glimmered the stars using some Aura hot foil. Then, I glimmered the Aries, mounted it onto gold cardstock, and added it to the card. Simple, but gorgeous!
Create a Constellation Background
I absolutely love these constellation glimmer plates. I can’t say that enough! Spellbinders has all the Zodiac signs available as glimmer plates, and I have four of them. So, I decided to layer them over some navy blue cardstock and foil a full background with them.
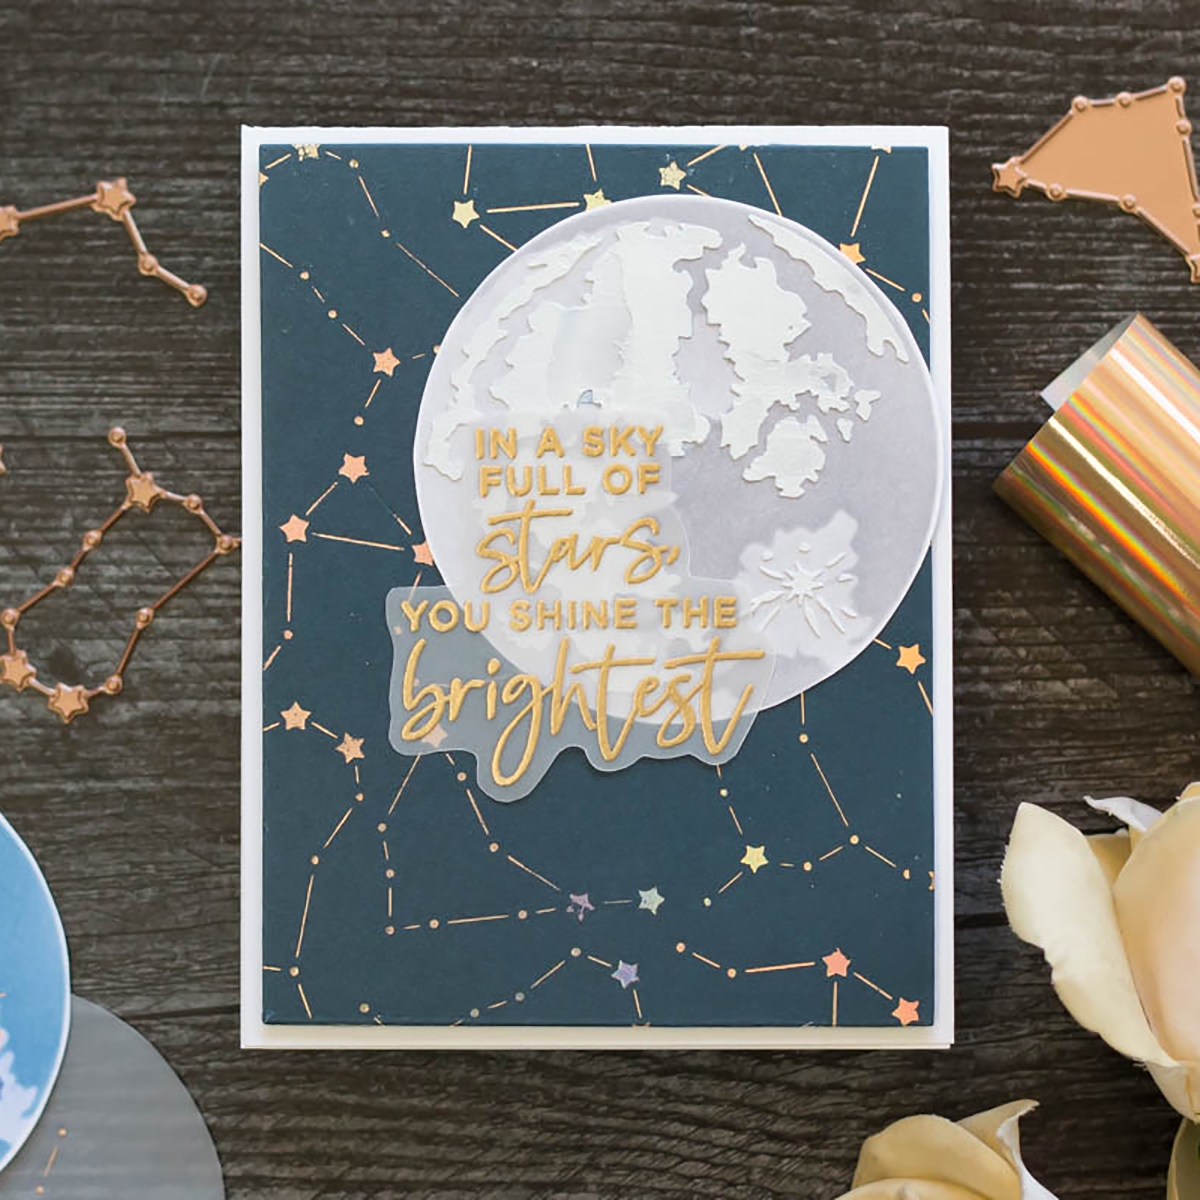
First, I placed my plates onto my cardstock where I wanted them to be glimmered. Normally, I add a bit of washi tape as use it as a “hinge” to flip the glimmer plate up and add foil underneath. With using a number of small dies, I thought this would be tedious, so instead I picked up all of my glimmer plates with some Press N Seal. This kept all my plates together while I added the foil, so the plates would be pressed into the paper exactly where I wanted them to go. Then, I could just rearrange the plates and glimmer again until I finished a full background.
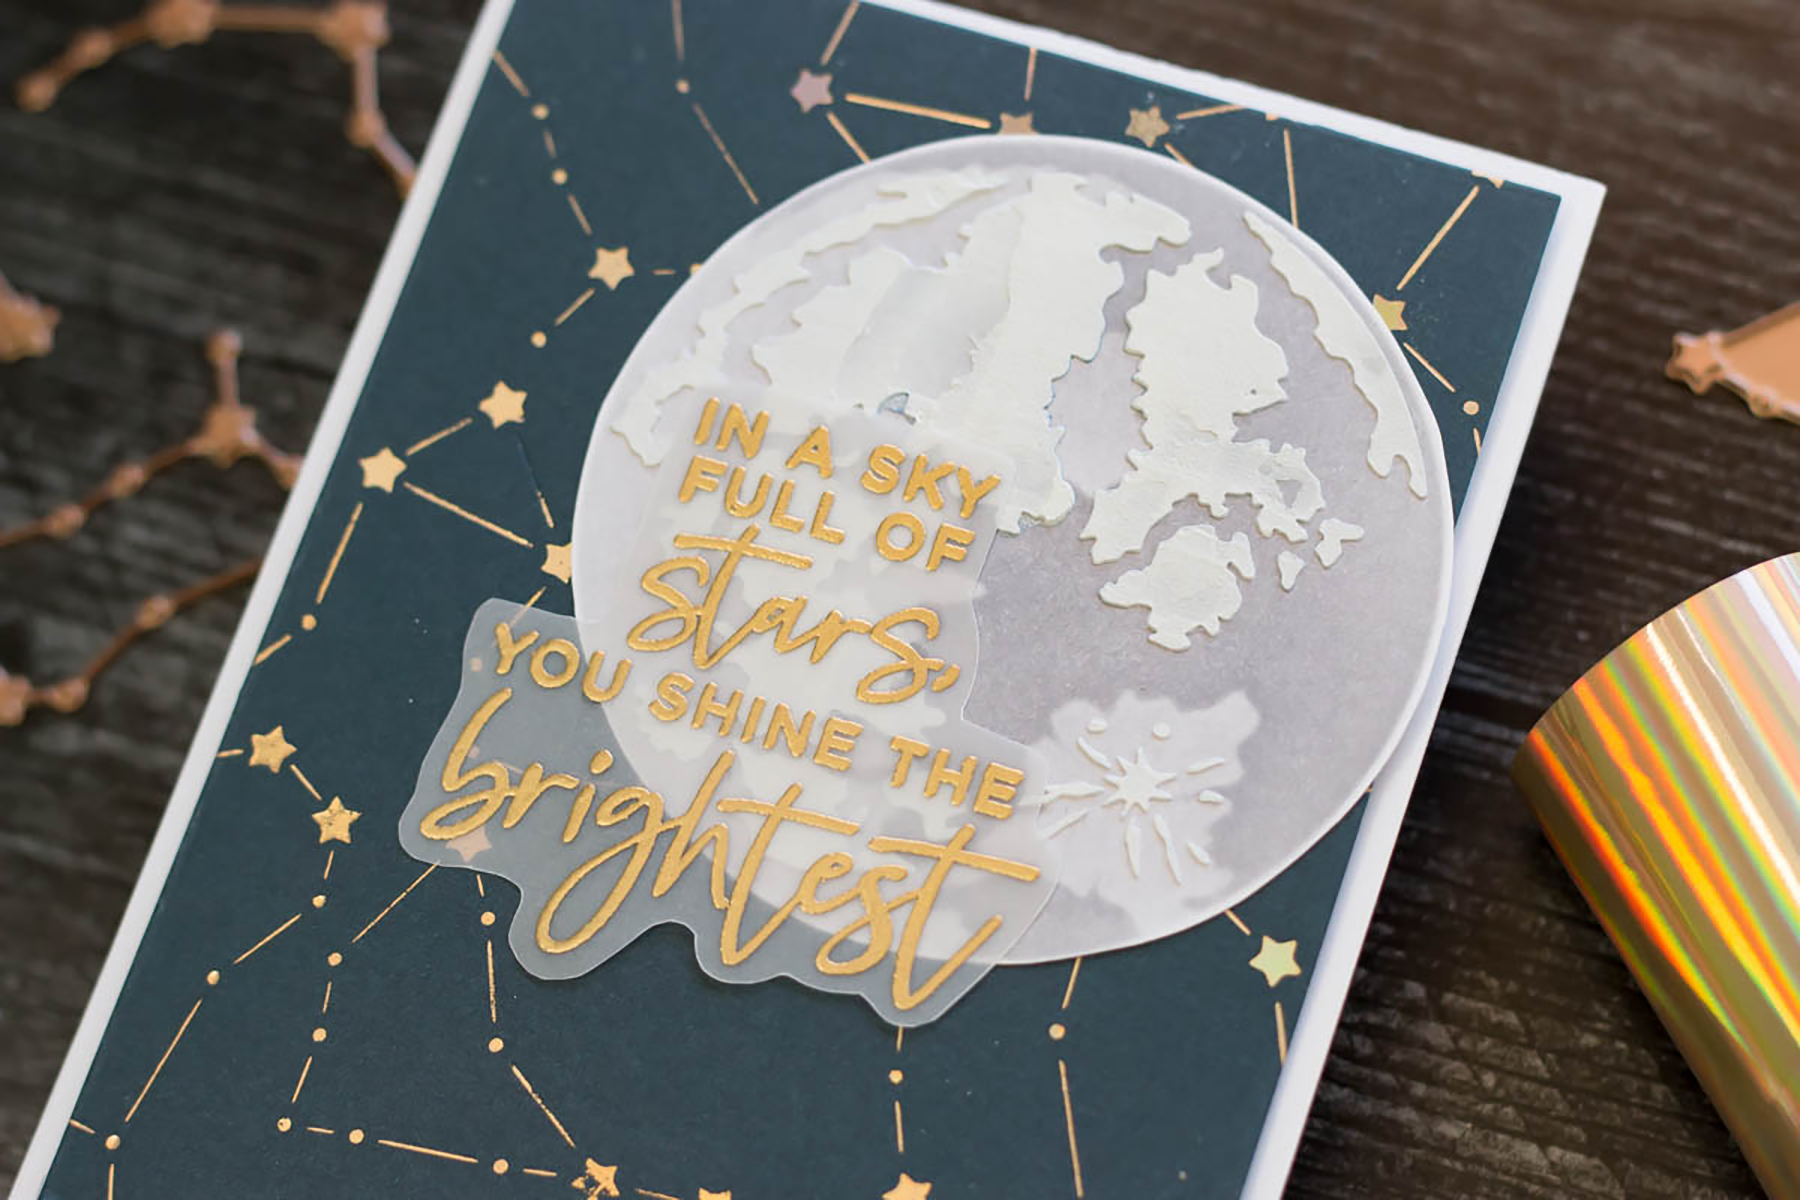
With my background glimmered, I was able to add the moon that I created using the layering stencils from the collection, and a stamped and embossed sentiment.
Mix the Celestial Zodiac Collection with Other Stamp Sets
For my third card, I wanted the stenciled moon to be the focus, surrounded by gorgeous florals. I stenciled the moon and fussy cut it out. I stamped and embossed my florals on vellum and then fussy cut them, as well. My flowers are from a Fun Stamper’s Journey stamp set, Sweet as Honey.
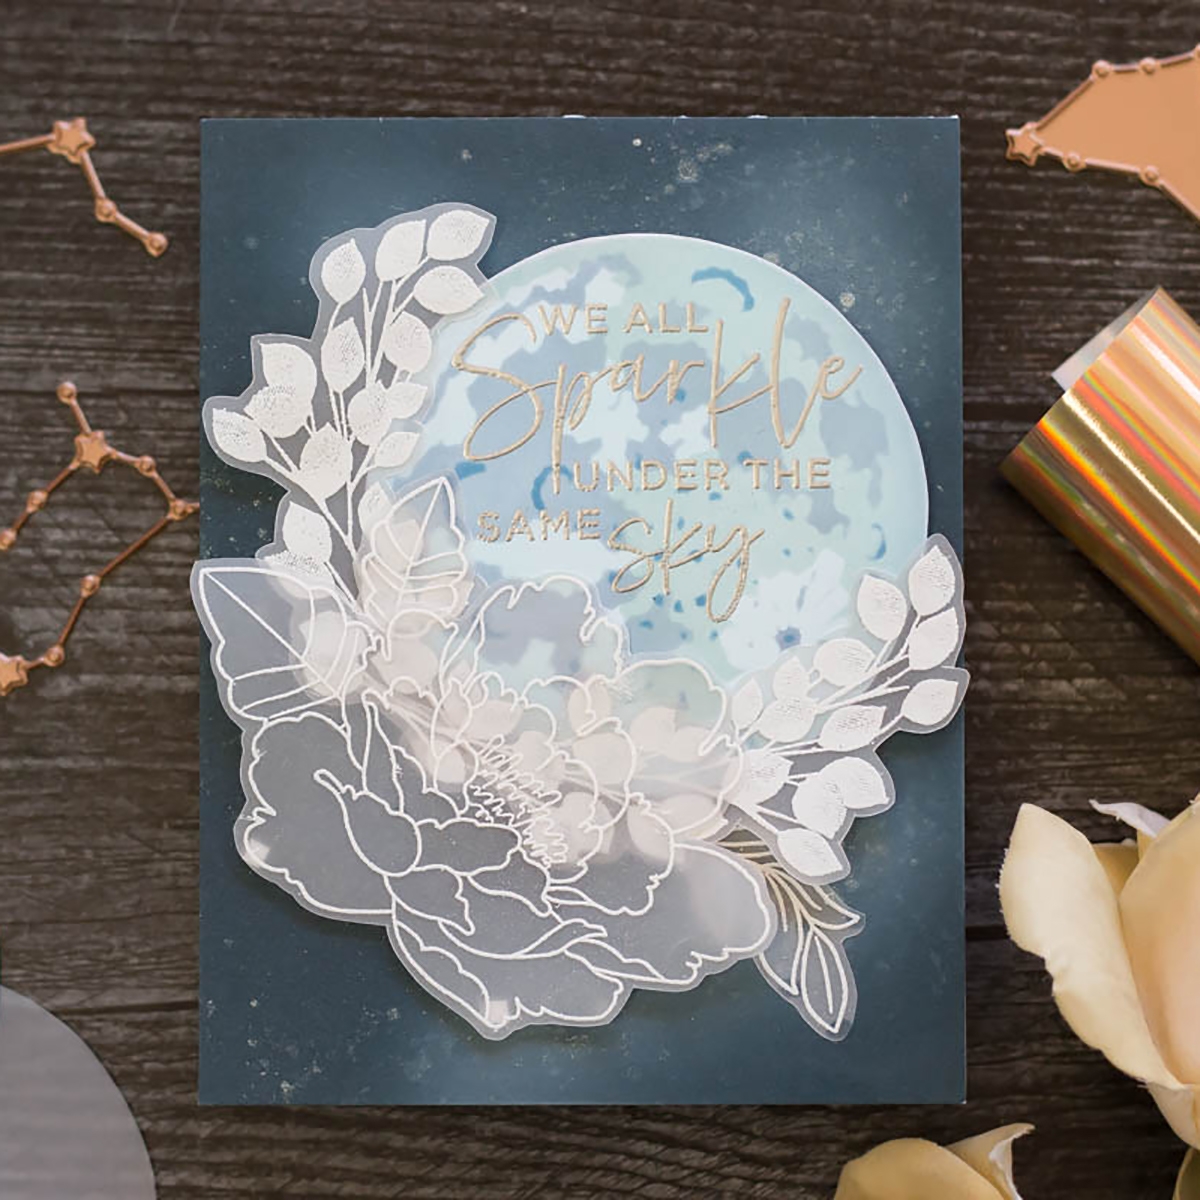
With all my pieces created and cut out, I layered them on top of a navy blue background that I had added white pigment ink and Sparkle Silk splatters to. This gave the background a night sky look to it.
The sentiment on the moon is also stamped and embossed.

Thanks for stopping by to see the new Celestial Zodiac collection! For more inspiration, I have a full process video over at my YouTube channel, MARIE NICOLE DESIGNS.
Spellbinders Supplies:
Other Supplies:
Vellum, navy cardstock, white embossing powder, gold embossing powder, silver embossing powder, navy blue ink, embossing ink, white pigment ink, blank card bases, ink blending tools, variety of ink colors for layering the moon stencils, glue, foam adhesive, scissors, paper trimmer.
July’21 Release Party – Booth Tour & Collections Overview
March 2021 Clear Stamp of the Month is Here – Wonderful Spring