Delightful Darlings Collection – Card Inspiration with Annie Williams
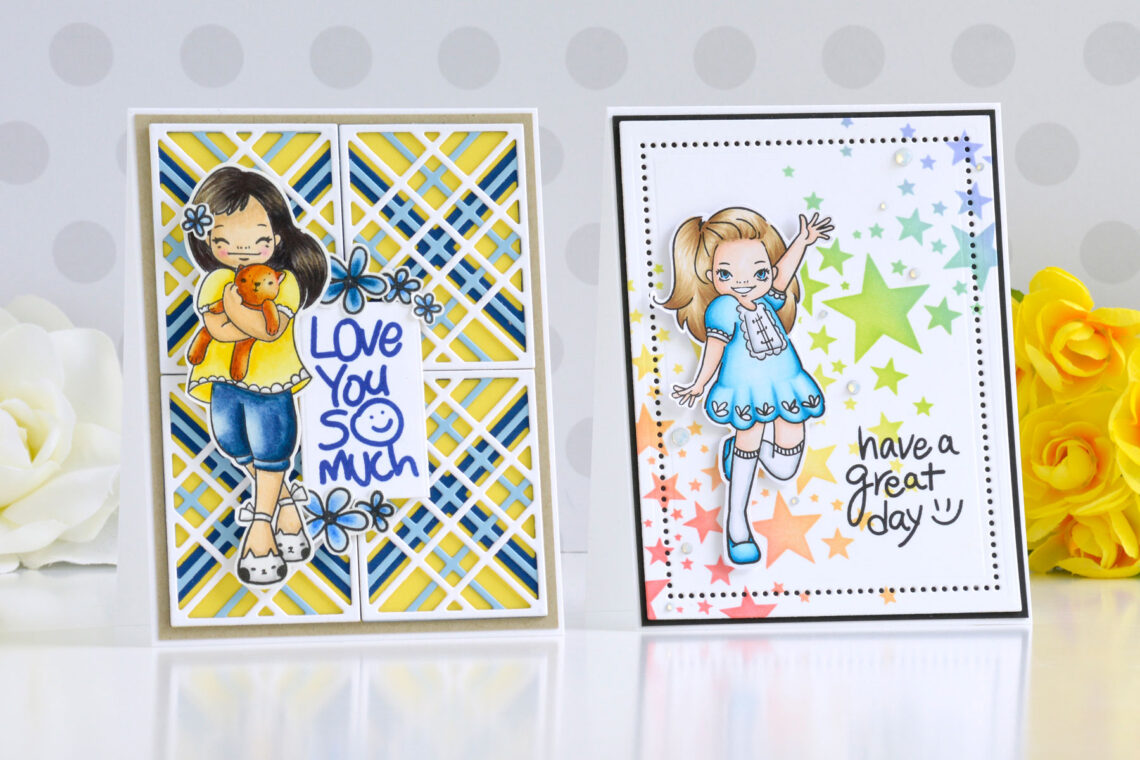
Hi there, this is Annie Williams and I’m excited to be back today to share a couple of projects using the new Delightful Darlings Collection by Mayline Jung. The adorable images in this collection inspired me to create two bright and fun cards perfect for sending a little cheer.

The little girl image in the Darling Hello Stamp Set reminded me so much of my own daughter that I knew I had to stamp and color it to look like her right away. I added a rainbow star background for a bright and cheery card to send just because.
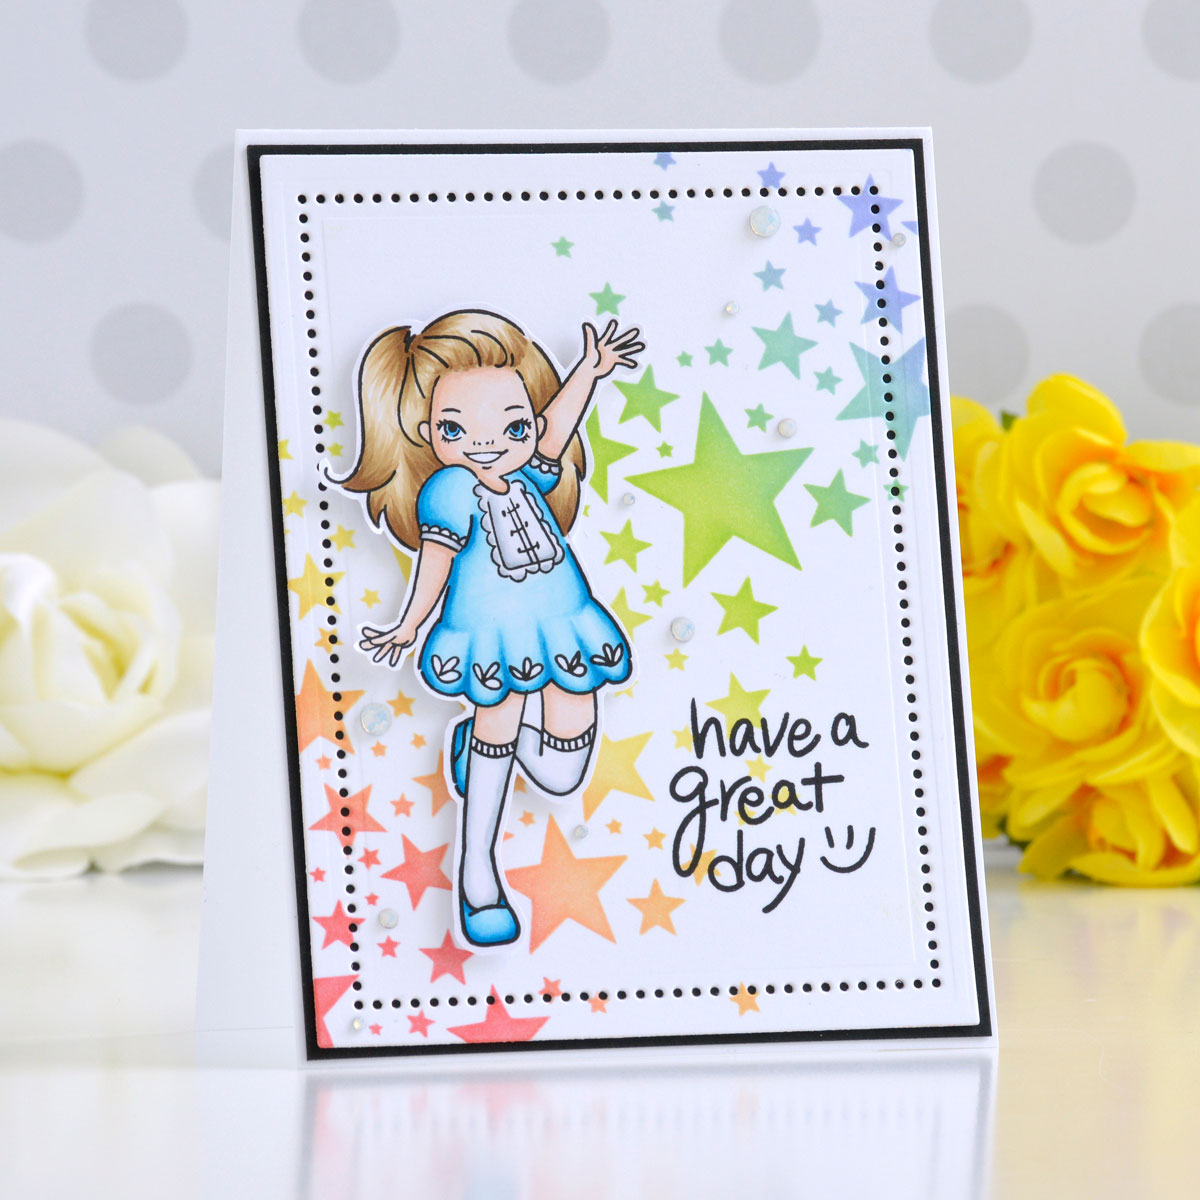
- Stamp the girl image from the Darling Hello Stamp Set onto white cardstock with black ink.
- Color the image in using Copic markers and fussy-cut it out with scissors.
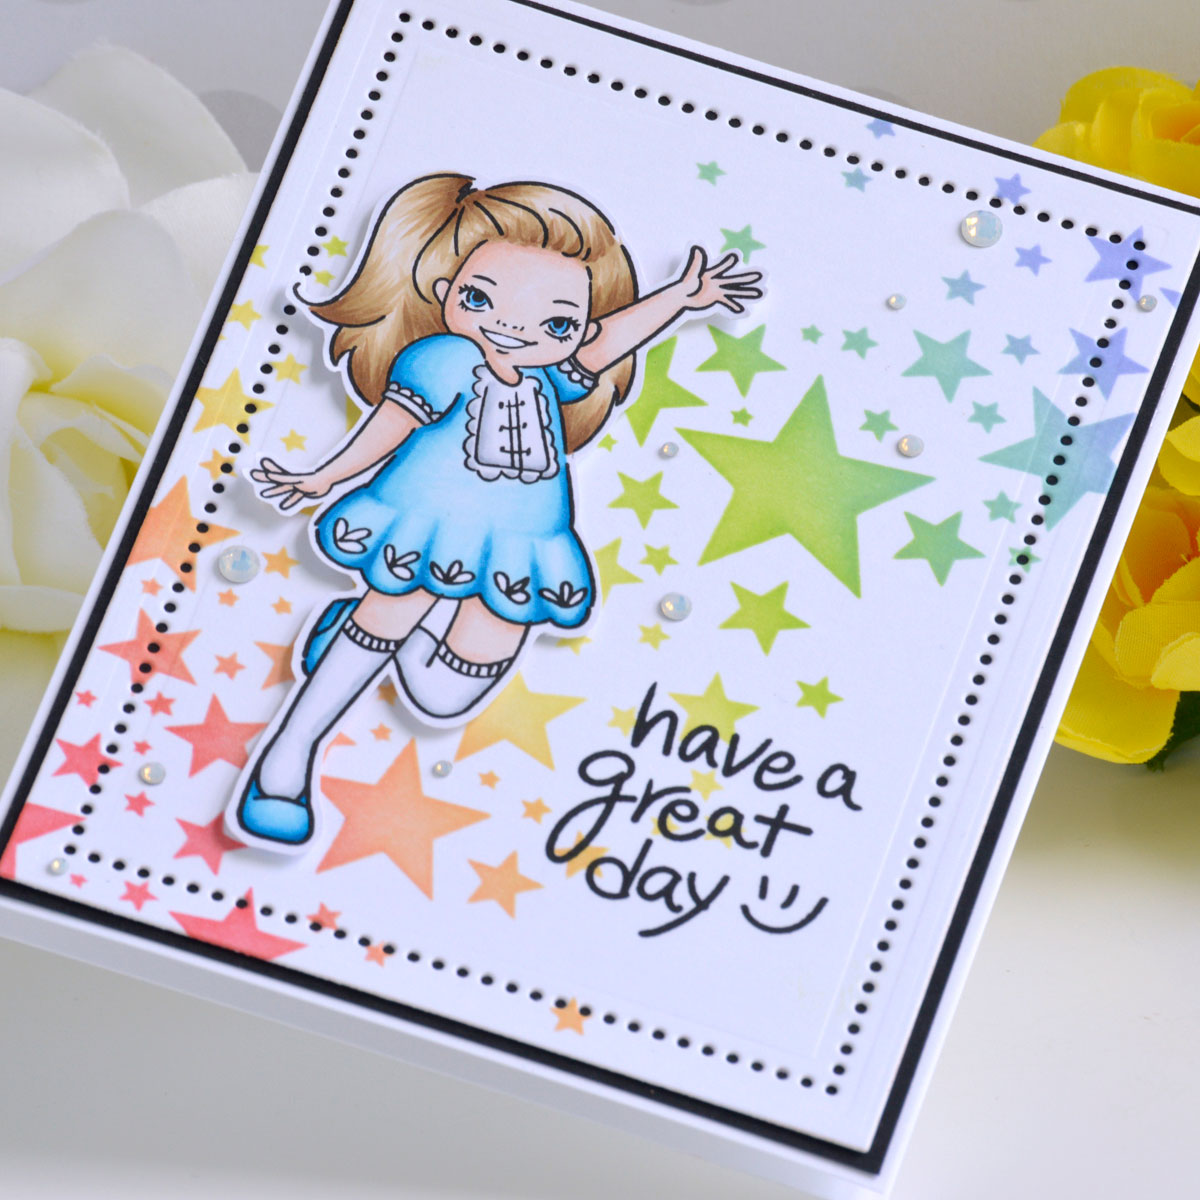
- Die cut white cardstock using the Extra Large and Extra Large Pattern Dies from the Essential Rectangle Die Set.
- Secure the Star Bright Stencil on top of the white panel and blend a pastel rainbow over top using Abandoned Coral, Dried Marigold, Squeezed Lemonade, Twisted Citron, Tumbled Glass, and Shaded Lilac Distress Inks and blending brushes.
- Stamp the sentiment from the Darling Hello Stamp Set onto the lower right corner using black ink.

- Mat the white background panel with black cardstock and adhere it to a top-folding A2-sized white card base with tape runner.
- Pop the colored image up on the left side of the card with foam adhesive.
- Add Crystal Mix Color Essentials Gems to the starry rainbow to embellish.
Spellbinders Supplies:

Other Supplies
Heavyweight white cardstock, black cardstock, Copic markers, Gina K Designs Obsidian Amalgam Ink, Abandoned Coral, Dried Marigold, Squeezed Lemonade, Twisted Citron, Tumbled Glass, and Shaded Lilac Distress Inks, blending brush, tape runner, foam adhesive
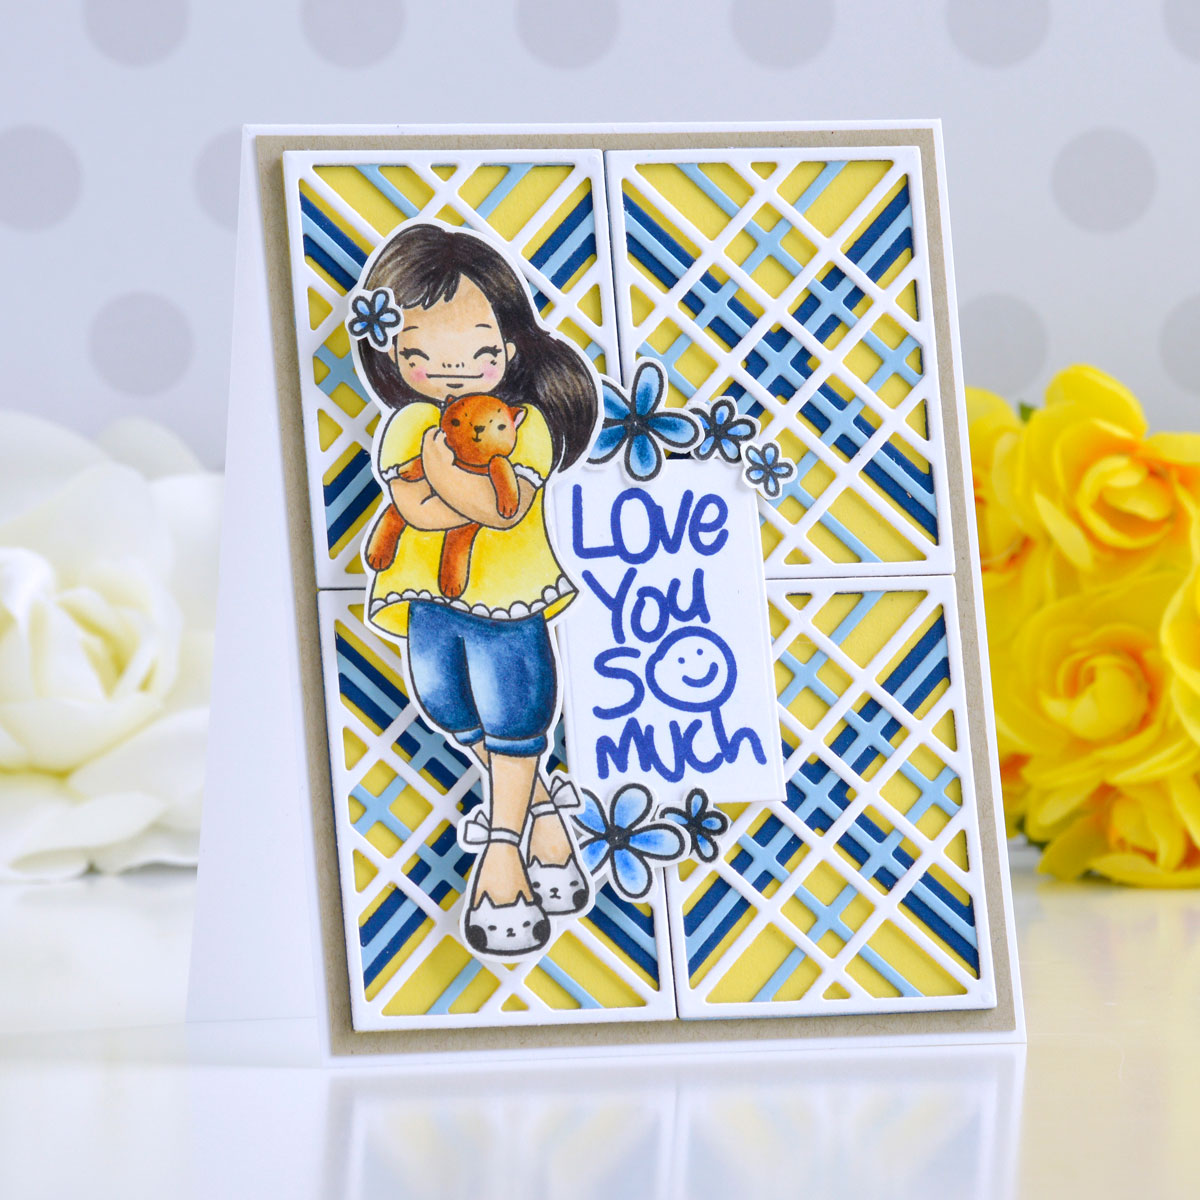
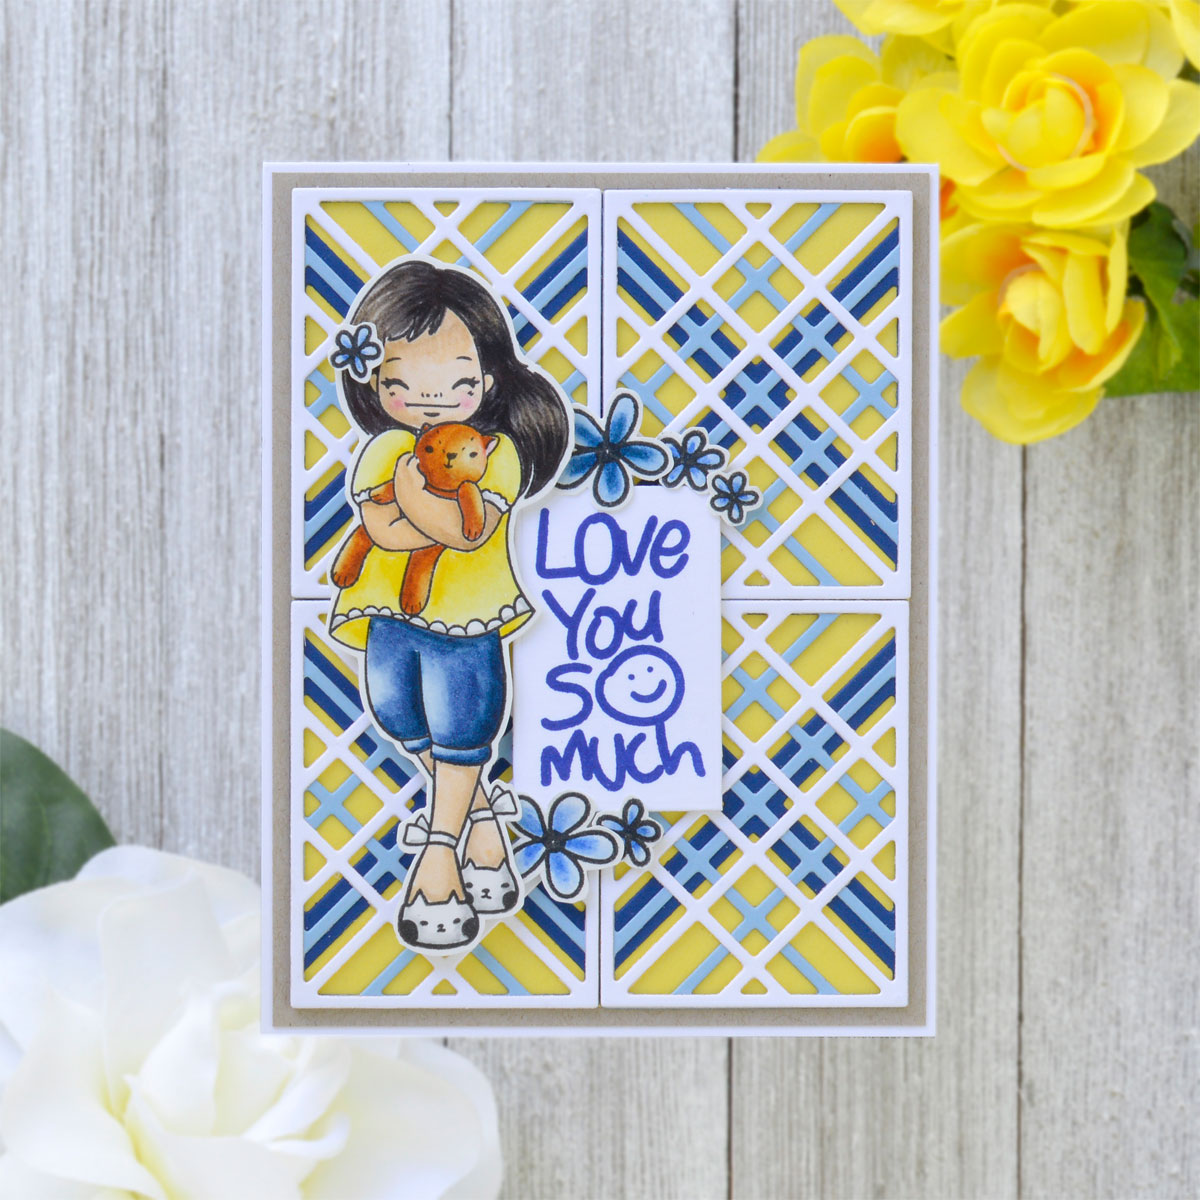
This sweet image from the Darling Hugs Stamp Set stole my heart! After coloring it to look like my friend’s daughter, I added a bright plaid backdrop for a fun summertime love card.
- Stamp the girl from the Darling Hugs Stamp Set and several of the flowers from the Darling Bouquet Stamp Set onto watercolor or marker paper using black ink.
- Color the images in with Zig Clean Color Real Brush Pens and fussy-cut them out with scissors.
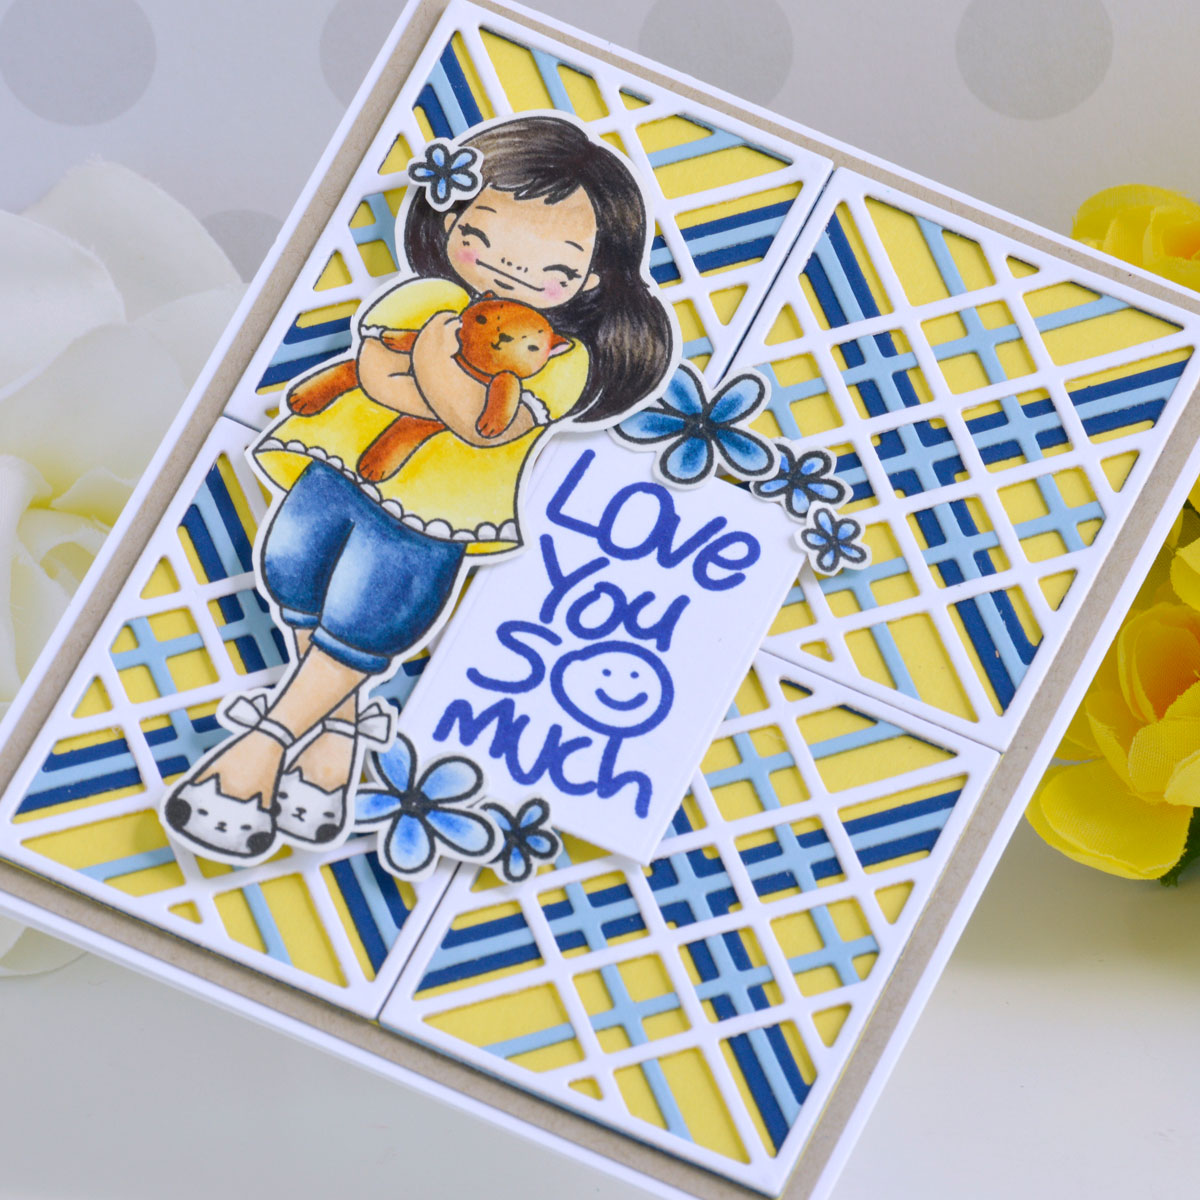
- Die cut Cosmic Sky, Raindrop, and Snowdrift Cardstocks with the Kaleidoscope Plaid Die Set. Repeat this four times and then adhere the layers together using liquid glue.
- Trim yellow cardstock to 3.875” x 5.125”. Adhere the four layered plaid die-cuts on top of the yellow cardstock with liquid glue.
- Mat the plaid background with kraft cardstock before adhering it to a top-folding A2-sized white card base with tape runner.
- Stamp the sentiment from the Darling Hugs Stamp Set in blue ink onto white cardstock and trim it out.
- Pop the sentiment up in the center of the card with foam adhesive and add the little girl to the left with with more foam adhesive.
- Add flowers around the sentiment strip and in the girl’s hair to embellish.
Spellbinders Supplies:
Other supplies
White cardstock, kraft cardstock, Stampin’ Up Pineapple Punch cardstock, Bristol Smooth Paper, Zig Clean Color Real Brush Pens, Versafine Clair Nocturne and Blue Belle Inks, tape runner, liquid glue, foam adhesive

I hope you enjoyed this duo of bright and cheery cards and thanks so much for stopping by today. You can find more inspiration over at my blog AnnieBWills.com.
One Comment
Andre M.
Lovely backgrounds and colouring to bring these sweet girls to life!