Snowy Background Tutorial | Spellbinders Live
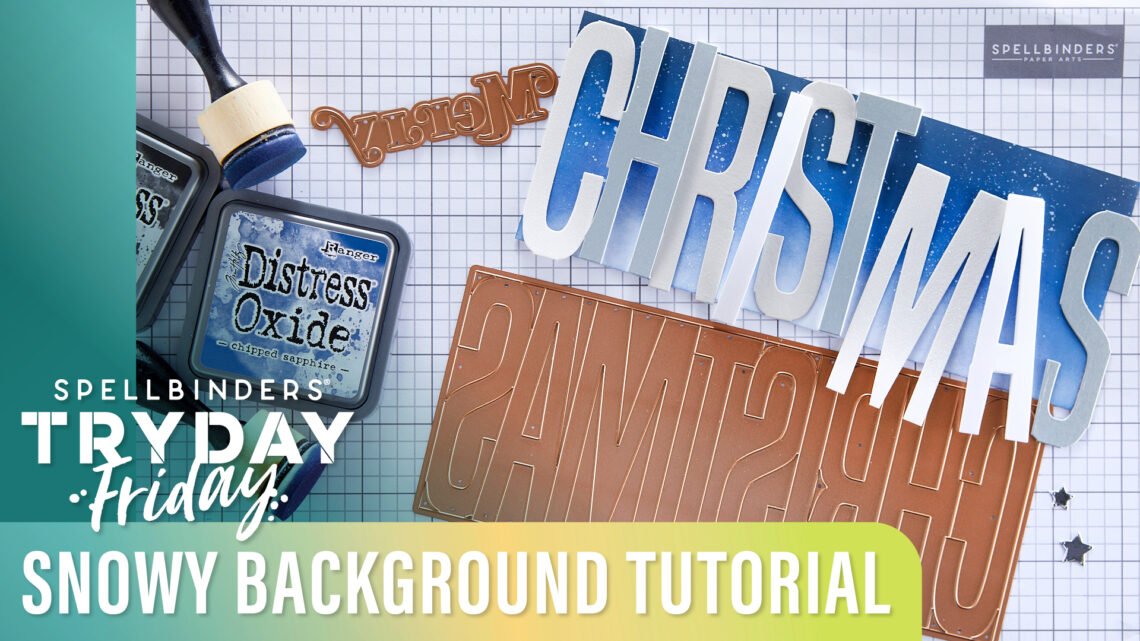
Join Kim Kesti in the Creative Classroom as she creates a festive slimline Christmas card with a cool snowy technique. Today’s card features the Color Block Merry Christmas Dies which cuts the exact size of a slimline card. It also includes the Merry accent dies.
In today’s video, Kim shares a beautiful card that is paper pieced together in gold, green, and red. This card includes both the positive and negative pieces cut from the die and it’s all about the contrast of traditional Christmas colors.
Watch video below or on our Youtube channel:
Another way to use the Color Block Merry Christmas die is to add each die cut letter onto a card letting the card base show through. Have fun with embossing, inking or stenciling the letters to add fun textures and details.
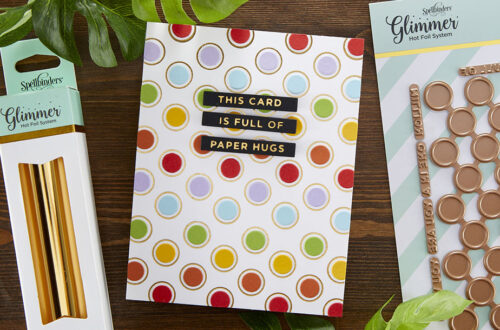
Kim shares a super fun sneak peek in today’s video of the newest Color Block word die, just in time for Valentine cards. Grab the Love You Dies now in the Spellbinders shop. The diagonal striped embossing folder and gold letters make this card extra special.
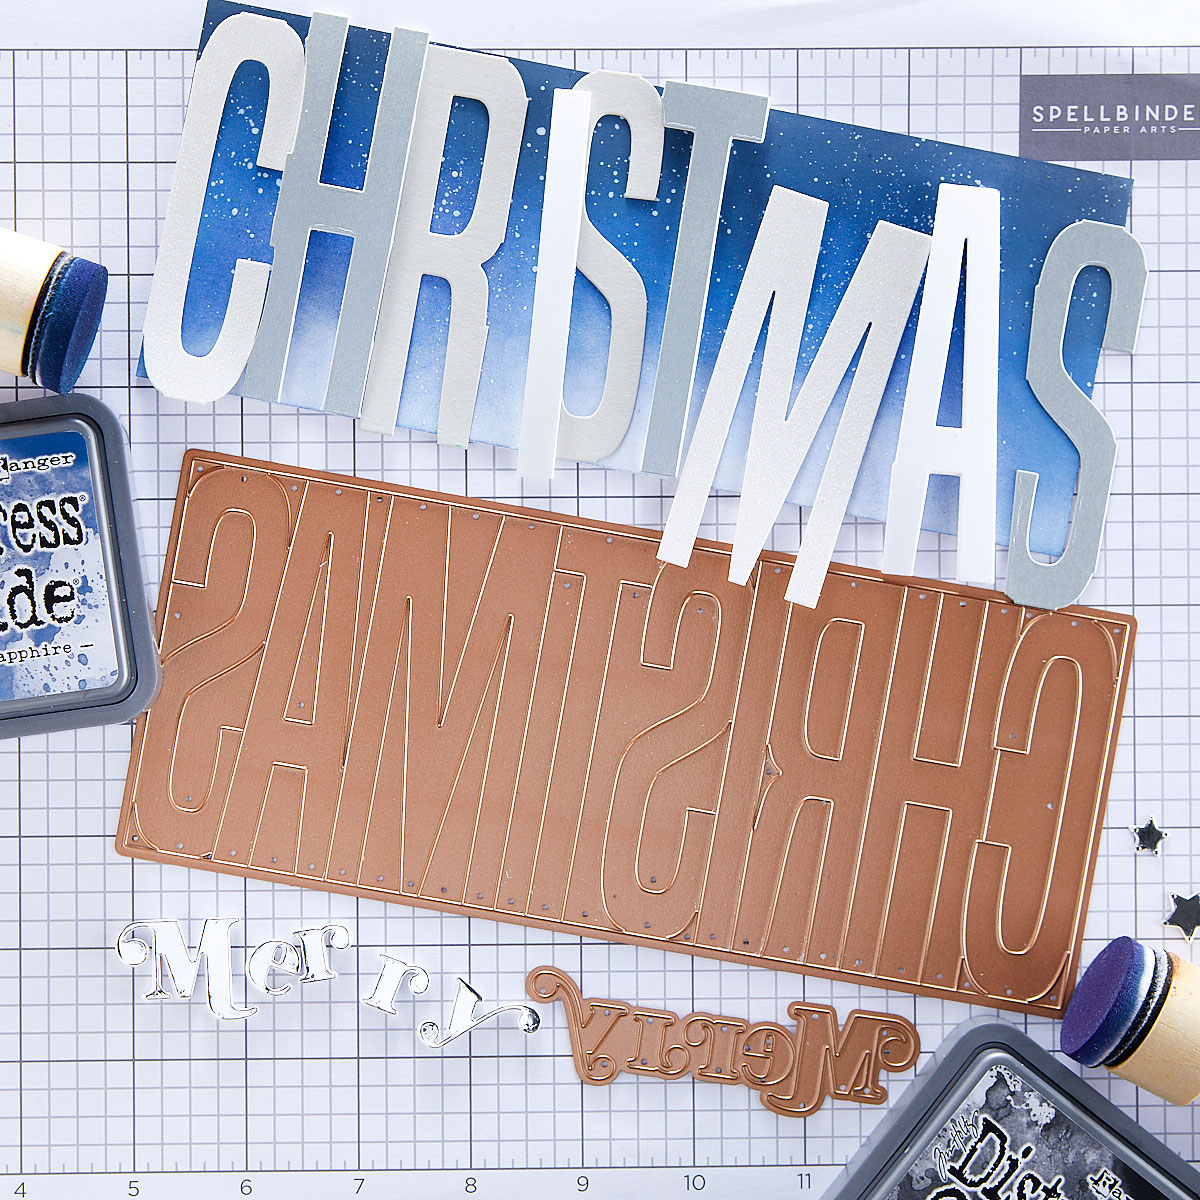
For today’s card, Kim uses Distress Oxide inks to create a snowy sky background. To create this look, Kim first creates a dark blue sky, moving from lightest to darkest shades, sponging ink across the cardstock panel. She started with Picket Fence at the bottom, then moves to the darker blue shades of Faded Jeans and then Chipped Sapphire. Kim finishes by adding the darkest shade, Black Soot, along the top edges of her cardstock.
To add snow to her card, Kim starts with a small dollop of white acrylic paint. She wets her brush and dilutes the paint just a bit. Watch today’s video to see her flicking technique to create a cool snowy sky. Whether you want to create a few flurries or a whole blizzard, you’ll love playing with this technique.
Using neutral tones of cardstock, (including sparkle paper from the Sparkle Trio Specialty Paper) Kim die cut the letters from the Color Block Merry Christmas die. For extra dimension, try die cutting our Pop-Up Die Cutting Foam Sheets and layering it under die cut letters. The letters in this die set fit seamlessly so they’re simple to place tucked in together.
To finish off this card, Kim layers the letters MERRY on top from Mirror Silver Cardstock, and then she die cut stars from the Holiday Decorations Dies and Fashion Silver Embellishments.
Be sure to visit Spellbinders Paper Arts to see all of the latest and greatest products for all of your card making, scrapbooking, and paper crafted projects. You’ll also find us live each week on the Spellbinders Facebook page and YouTube channel every Friday at 10 am MST for tutorials and inspiration live from the Creative Classroom.
3 Comments
saloniiguptaa
What if we don’t hv a spellbinder … Is there any alternative or paper cutting trick?
Yana Smakula
you need to have a die cutting machine to be able to use our dies. You can’t use the dies without the machine
MaryH
Love the cards done with the color blocking! Video really helped me see the potential!