-
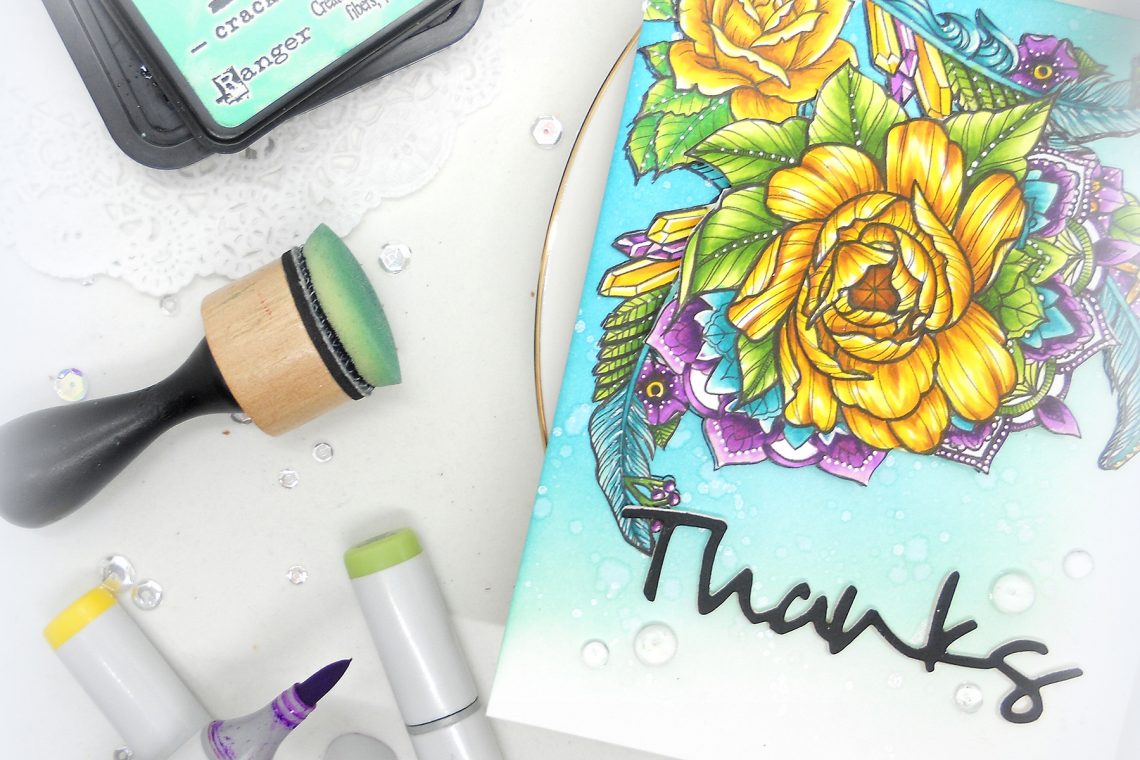
Video Friday | Feathers and Florals with Kelly
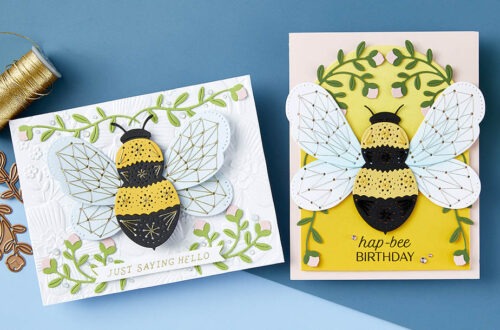
It’s Kelly Latevola here and I’m back with a fun floral arrangement that uses a ton of products from Stephanie Low’s Cool Vibes Designer Series. I love so many of the elements in this series it was hard to choose which to use! I started by stamping out all my images in Copic safe ink then I dove right into the coloring. I went with a golden yellow and then added purple since they are complimentary colors. I love purple with teal and bright green so those were easy additions to round out my color palette. Once the coloring was finished I put the coordinating dies in place and ran…
-
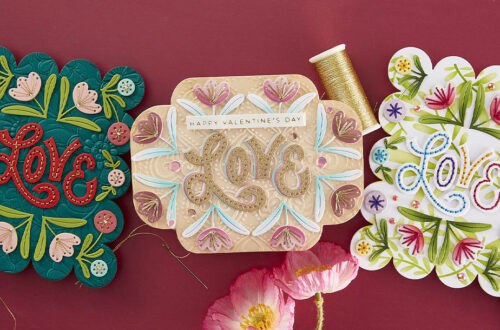
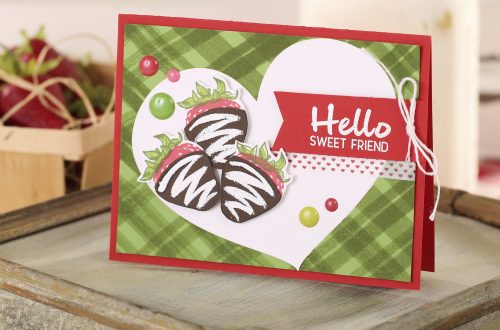
Love, Set, Match and Ready for Creativity by Debi Adams
Hi friends! I’m designer Debi Adams and I just had to show you a few projects from my past collection, “Love, Set, Match” by Spellbinders. This all-occasion line was created to put a smile on your face and bring some happiness to the recipient. I loved putting punny sentiments into each stamp and die set so that the collection is complete in itself. Here are three different card/project ideas I created just for you. Would love to hear what your favorite is! Not much of a scientist here but loved the silly sentiment and had to do a collection around it. This stamp and die set is called Reaction and…
-
How to Make a Simple DIY Get Well Care Package
As the seasons change, those pesky colds and cough are easy to catch. Send a friend extra tender love and care with a personalized get well care package. Join us for this fun tutorial.
-
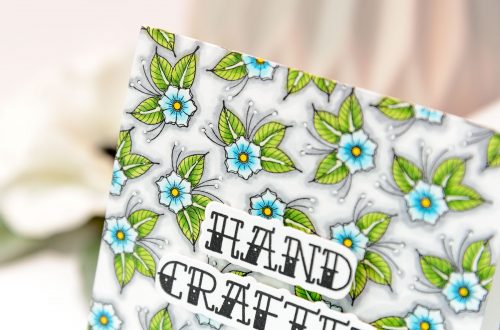
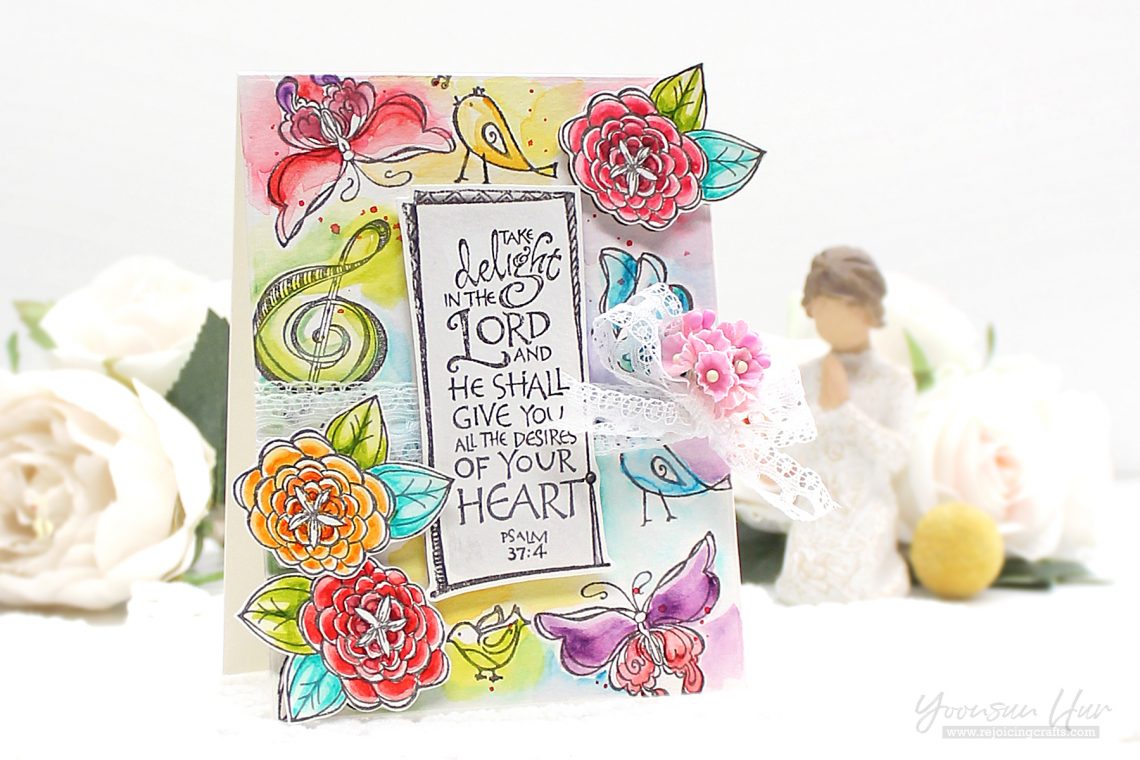
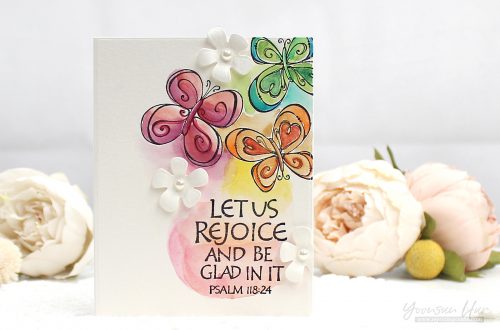
Bible Journaling Inspiration | Lord is My Strength with Yoonsun
Hello crafty friends! Yoonsun is here. Thank you so much for joining me! Today I will be sharing with you my colorful (and cheerful) watercolor card with some Joanne Fink Bible Journaling collection products. I started by stamping the sentiment from the Take Delight stamp set on the center of the watercolor paper panel using gray pigment ink. I randomly stamped flowers, butterflies, birds, treble clef around the edges of the panel using gray pigment ink as well. I stamped the sentiment & flowers on a separate watercolor paper in gray for adding dimensions to my card later. I brushed over the stamped images with clean water first, and then…
-
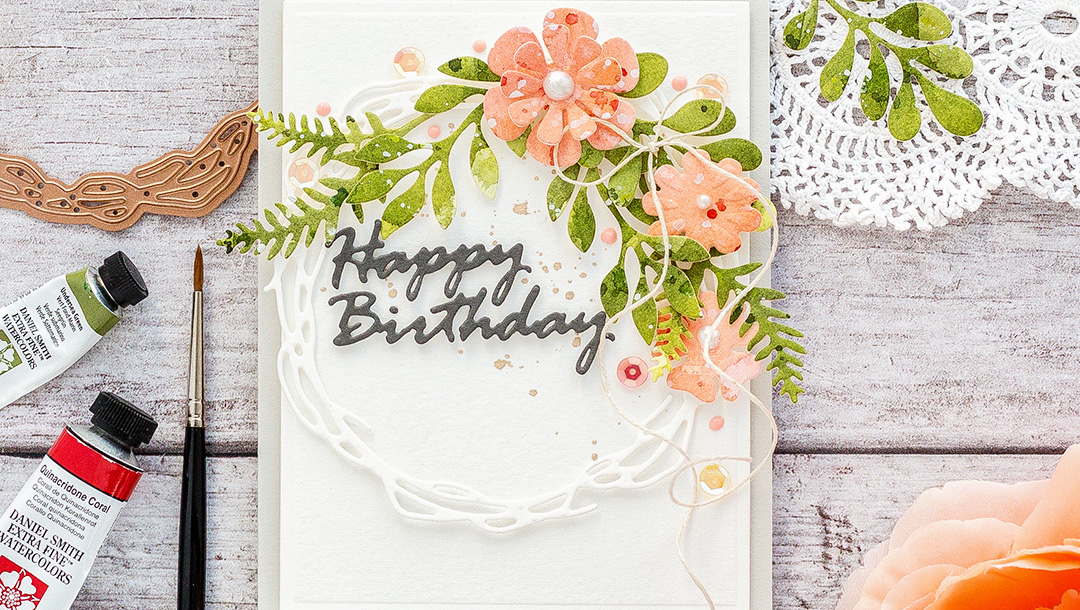
Video Friday | Watercoloured Die Cut Wreath with Debby
Hello, and thank you for joining me. My name is Debby Hughes, and you can find me blogging at Lime Doodle Design. I have been paper crafting for a while now, since 2006. Spellbinders dies were some of the first I bought, and so I’m delighted to be sharing this video tutorial with you today. My project concentrates on creating a classic wreath with lots of layers and dimension. I love to watercolour, and so I painted panels of watercolour to use with my die cuts. However, this wreath would look lovely cut from patterned paper or cardstock too. In the video, I show a quick unboxing of the Platinum…
-
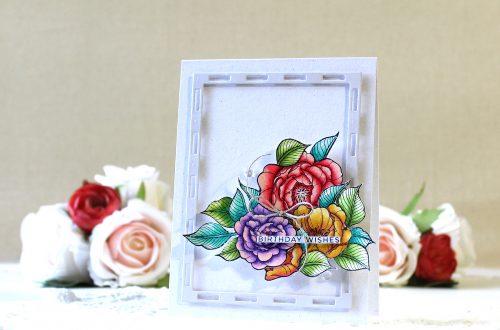
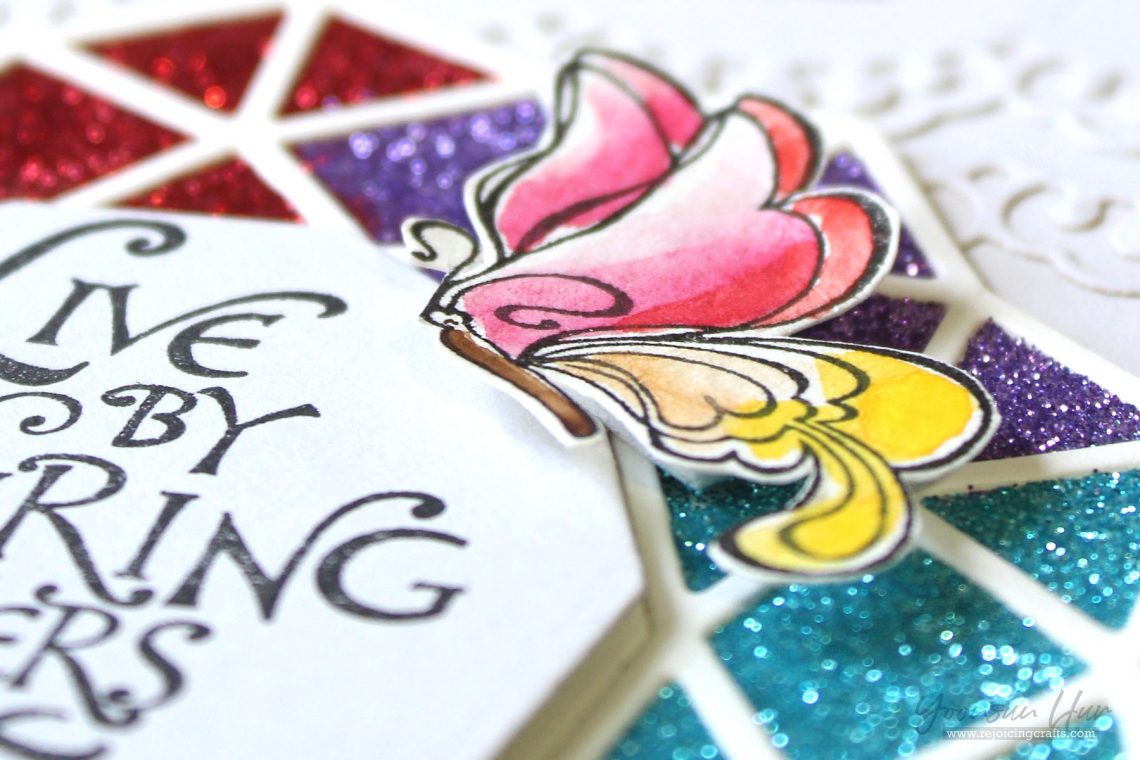
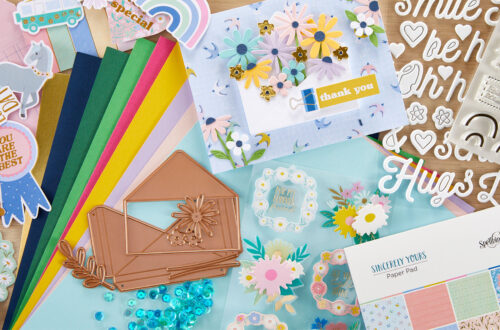
Bible Journaling Inspiration | Live By Inspiring Others with Yoonsun
Hello crafty friends! I’m Yoonsun Hur and am so happy to be a guest designer here on the Spellbinders blog. In February, I will be sharing greeting cards with you using so beautiful Bible Journaling collection by Joanne Fink. It is so inspiring! For my card today, I’m featuring the Inspiring Others Stamp Set along with other Spellbinders dies. Instructions: Die-cut Geo Flower die from the Kaleidoscope collection from pale grey card stock. Make own adhesive panel using double-sided tape. Overlap the tapes carefully so there are no gaps. Adhere Geo Flower die cut on adhesive panel. Trim outside of the die cut out using a scissors. Apply glitters onto…
-
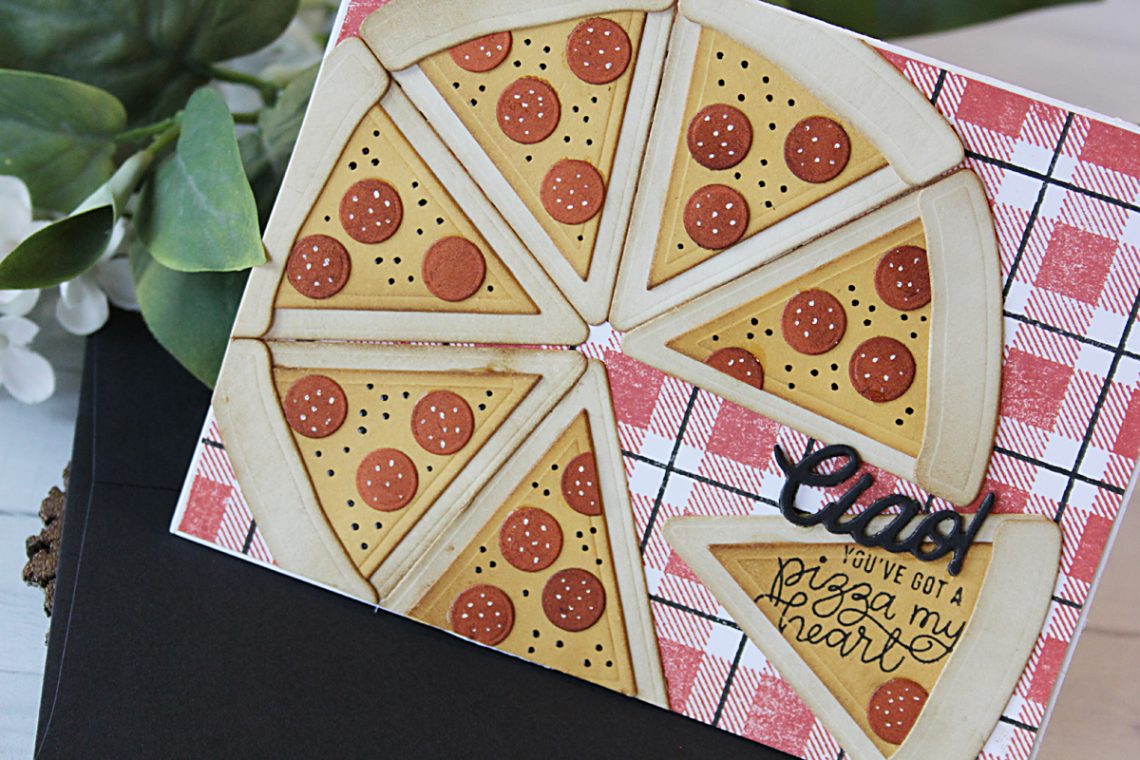
Die D-Lites Inspiration | Pizza My Heart Party Food. Video
Hello everyone. This is Nichol Spohr and I’m thrilled to be guest designing for Spellbinders! Today I’m sharing how to die cut multiples of an image to create a larger overall element for your design with the new Party Food Dies! I started my card by stamping a plaid “tablecloth” background for my pizza using Fired Brick and Black Soot Distress Oxide Inks with the Concord & 9th Plaid Background Stamp. The Party Food Dies were die cut seven times from ivory, yellow, and pumpkin cardstock and inked with Gathered Twigs Distress Ink. Each pizza slice was assembled and adhered to the tablecloth background as shown. By combining multiple pizza…
-
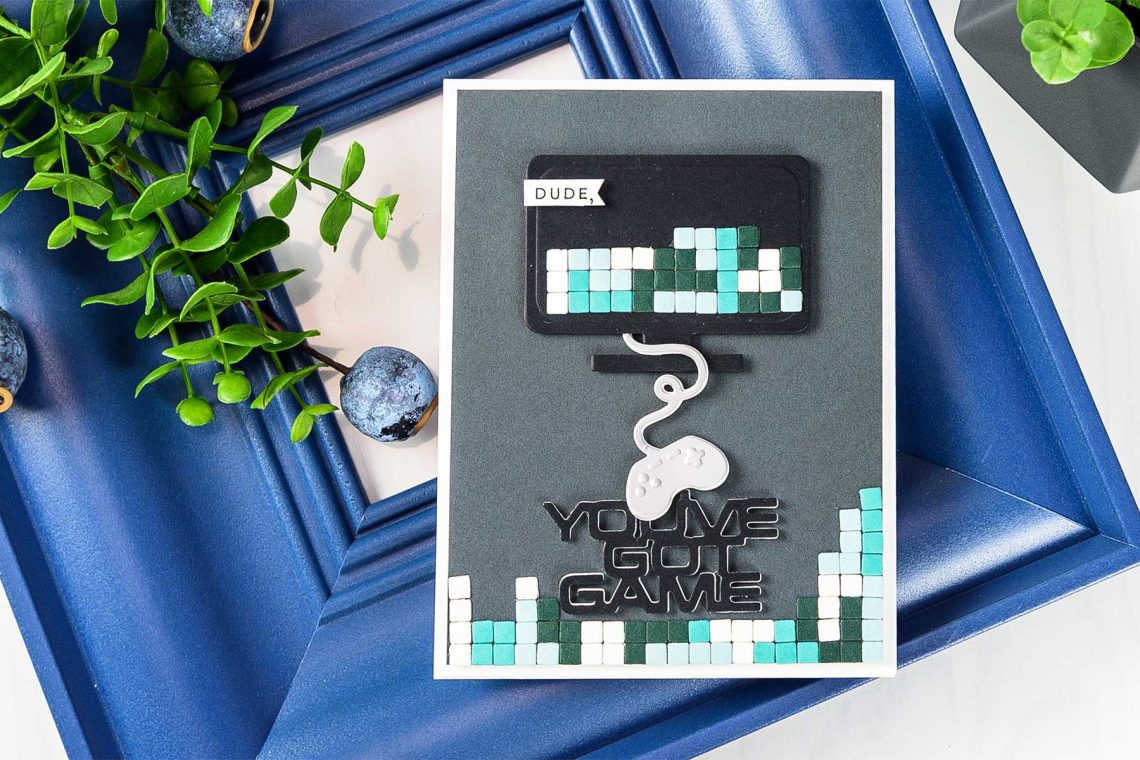
Cardmaking Inspiration | You’ve Got Game Card
Hello Spellbinders’ fans! Welcome back to our Cardmaking Inspiration series! We hope you’ve been enjoying these mini posts sharing simple cardmaking ideas and step by step instructions on how to make them! Today we’re sharing a card suitable for a gamer created with the help of our Die-Lite dies. Project created by in-house designer Yana Smakula Step By Step Instructions: We have a full set of step by step instructions describing how to create this card. Create A2 top folding card base out of white cardstock. Cut patterned paper to 4 x 5 ¼”, foam mount onto the card. Die-cut computer screen and “You’ve Got Game” out of black cardstock. Die-cut…
-
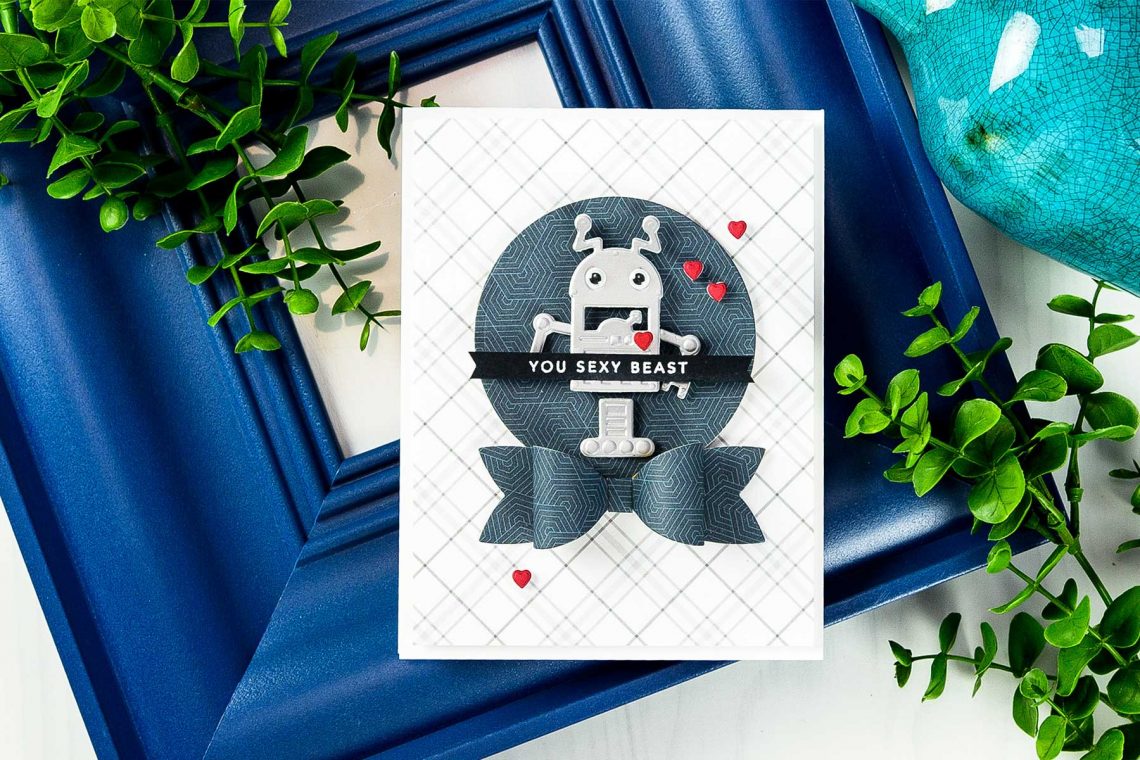
Cardmaking Inspiration | You Sexy Beast Card
Hello Spellbinders’ fans! Welcome back to our Cardmaking Inspiration series! We hope you’ve been enjoying these mini posts sharing simple cardmaking ideas and step by step instructions on how to make them! Today we’re sharing a masculine Robot card created with a touch of humor using our Die D-Lite dies. Project created by in-house designer Yana Smakula Step By Step Instructions: We have a full set of step by step instructions describing how to create this card. Create A2 top folding card base out of white cardstock. Cut patterned paper to 4 x 5 ¼”, foam mount onto the card. Die-cut circle out of patterned paper, foam mount onto the card. Die-cut…
-
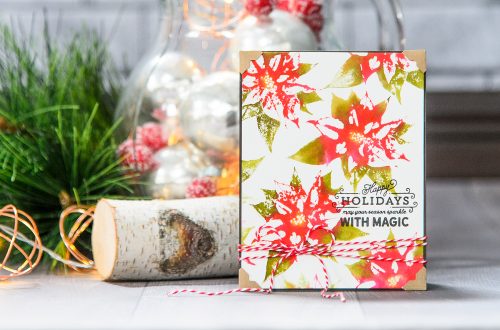
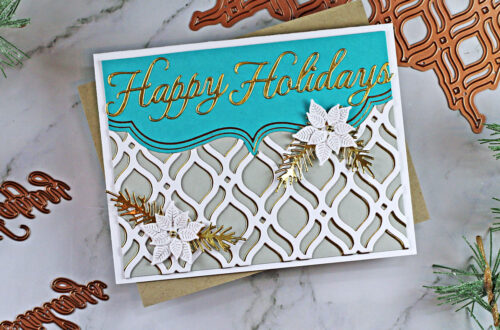
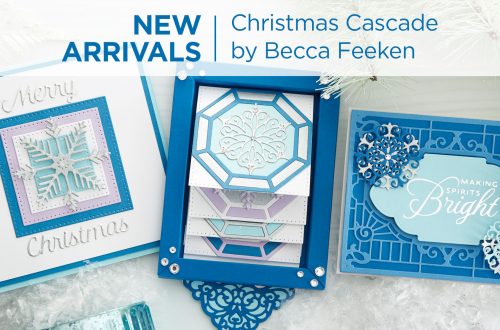
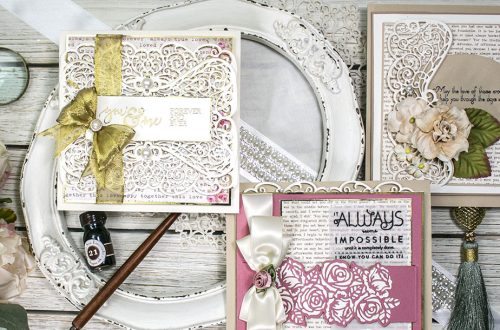
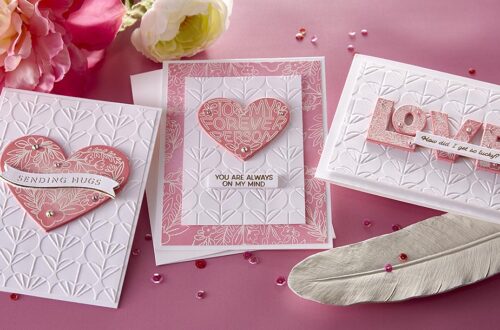
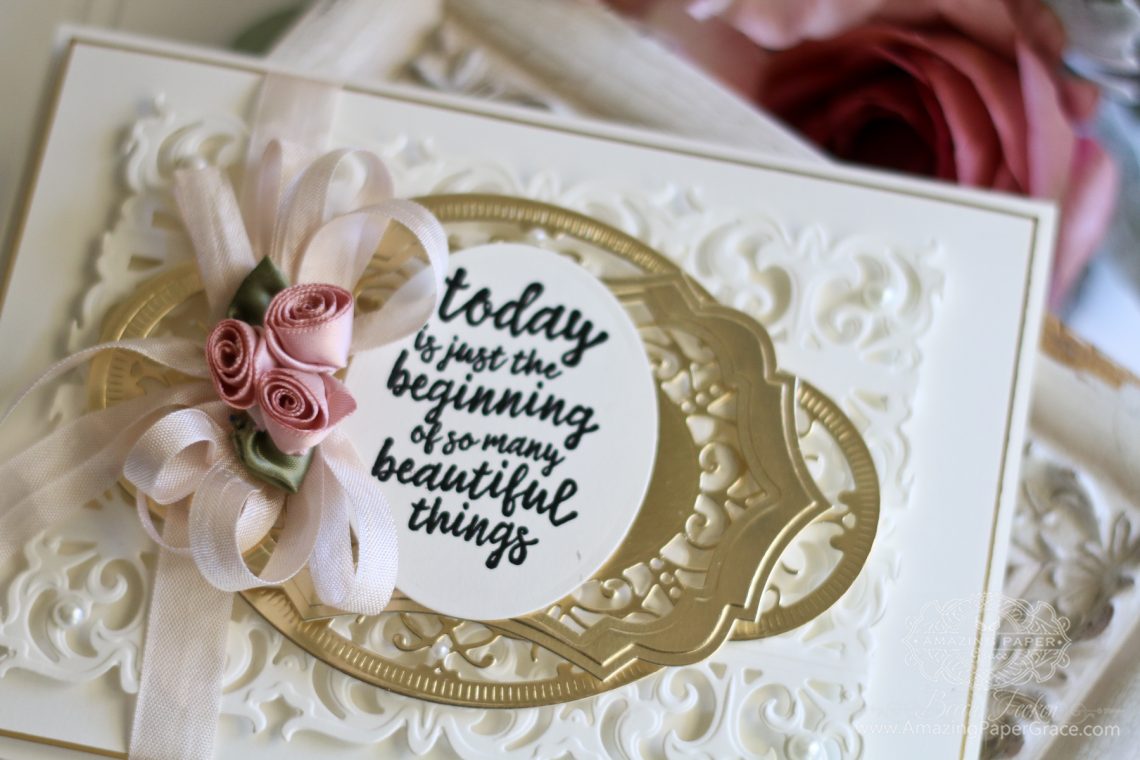
Chantilly Lace | Quick and Elegant Gold Layering
There are a couple of card styles I default to when I need to make something quick – I begin with gold layering. I’m Becca Feeken with Amazing Paper Grace and today my card is both simple and elegant with two layered gold elements on a decorative background. It’s easy to put together and I’ll take you through the quick steps. Cream and gold are my signature colors and nothing looks more elegant than when it is coaxed into a grand layering style. If I’m ever stumped with card making, an easy classic formula with symmetry usually comes to mind and always seems to satisfy the occasion. Raised layers with the focal panel…