-
Trim A Tree Collection Inspiration with Melody
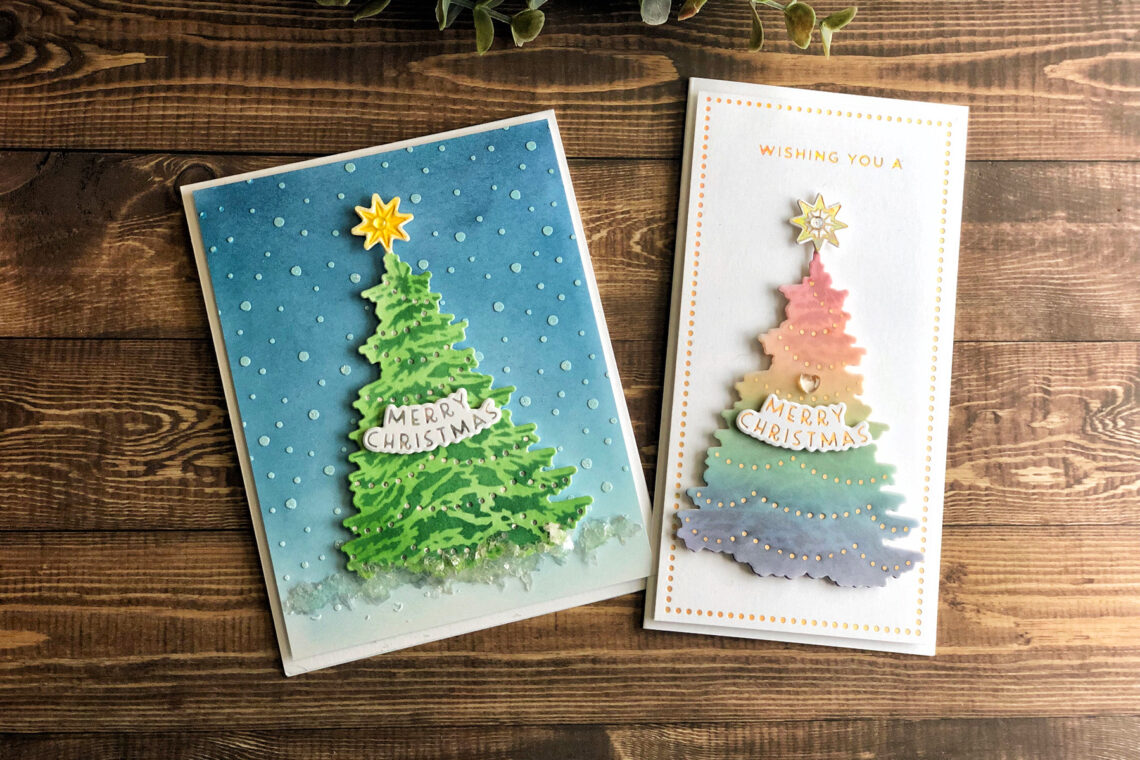
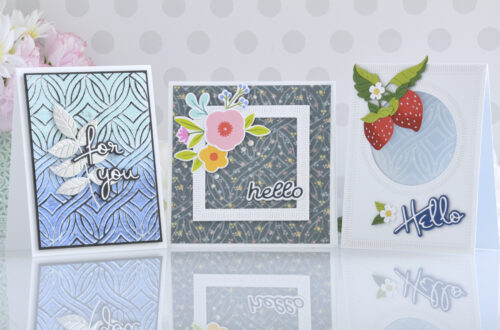
Hello! It’s Melody here on the blog today. This is my first time as a Guest Designer on the Spellbinders Blog and I am excited to be here. I have two projects to share with you that I created with the new Trim A Tree Collection. The collection included a Layered Christmas Tree Stencil, O Christmas Tree Etched Dies, and the Shining Christmas Tree Glimmer Hot Foil Plate & Die Set. To create the background I cut a piece of dark blue cardstock to fit the card front and blended Chipped Sapphire Distress Ink on the outside edges. Then I used the Layered Christmas Tree Stencil with Journey Modeling Paste to add the snow to the background. Next I…
-
Trim a Tree Collection Inspiration with Jennifer Kotas
Hello! I am Jennifer Kotas from Who Stole My Glitter. I am so happy to be on The Spellbinders Blog today. I have got two cards to share with you using the Trim a Tree Collection. The stencil in this collection was where my projects began, and they grew from there. It was quite an enjoyable process and led me to create one traditional card and one more modern card. Before I started designing either card, I stenciled a bunch of trees. I tried different color combinations including ombre and rainbow trees. There are so many ways to make these trees. You could die cut the layers from coordinating colors…
-
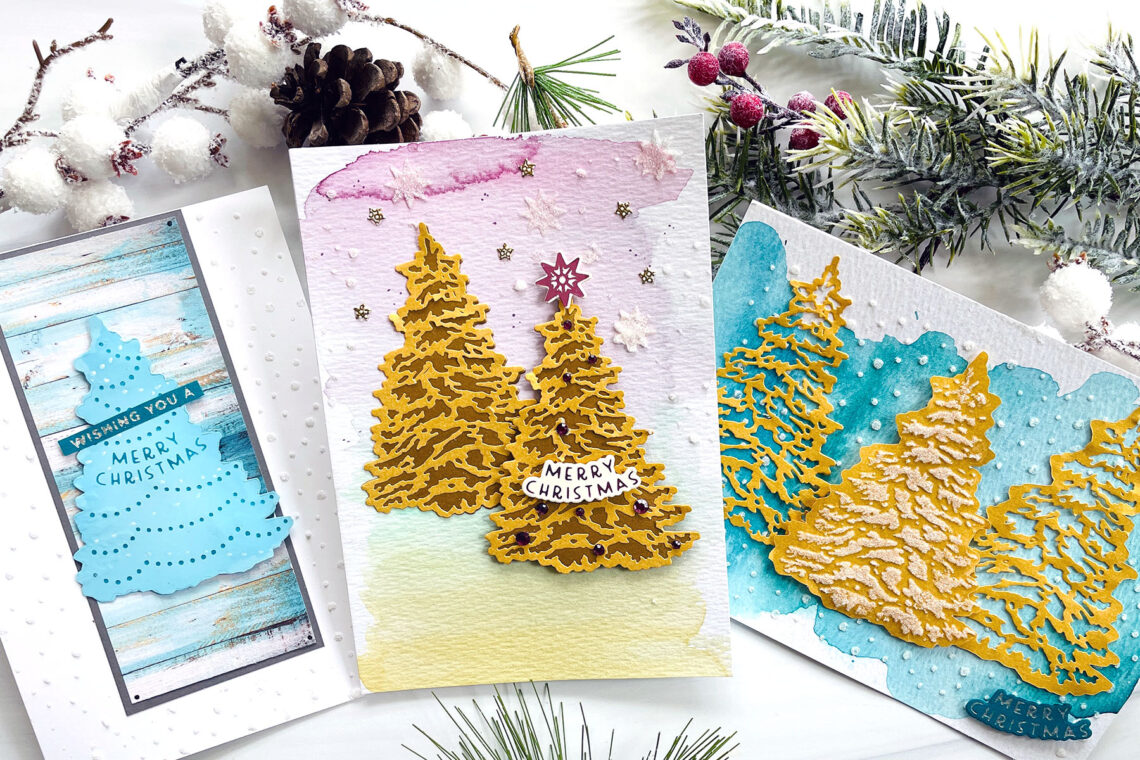
Trim a Tree for the Holidays with Bobbi Lemanski
Hello, friends of Spellbinders! It’s Bobbi Lemanski here sharing some festive trees for the holidays as the guest designer for Spellbinders. At our house, we celebrate big for Christmas with four trees in the home and countless decorations. We love to decorate each tree uniquely to fit the space. Today, I am decorating trees for my holiday cards instead. I’ve got three cards to share that show the many different ways you can use the Trim a Tree Collection of products together to create lovely winter trees. O Christmas Tree Image My first 5” X 7” card features the O Christmas tree dies. You get a base and layered die…
-
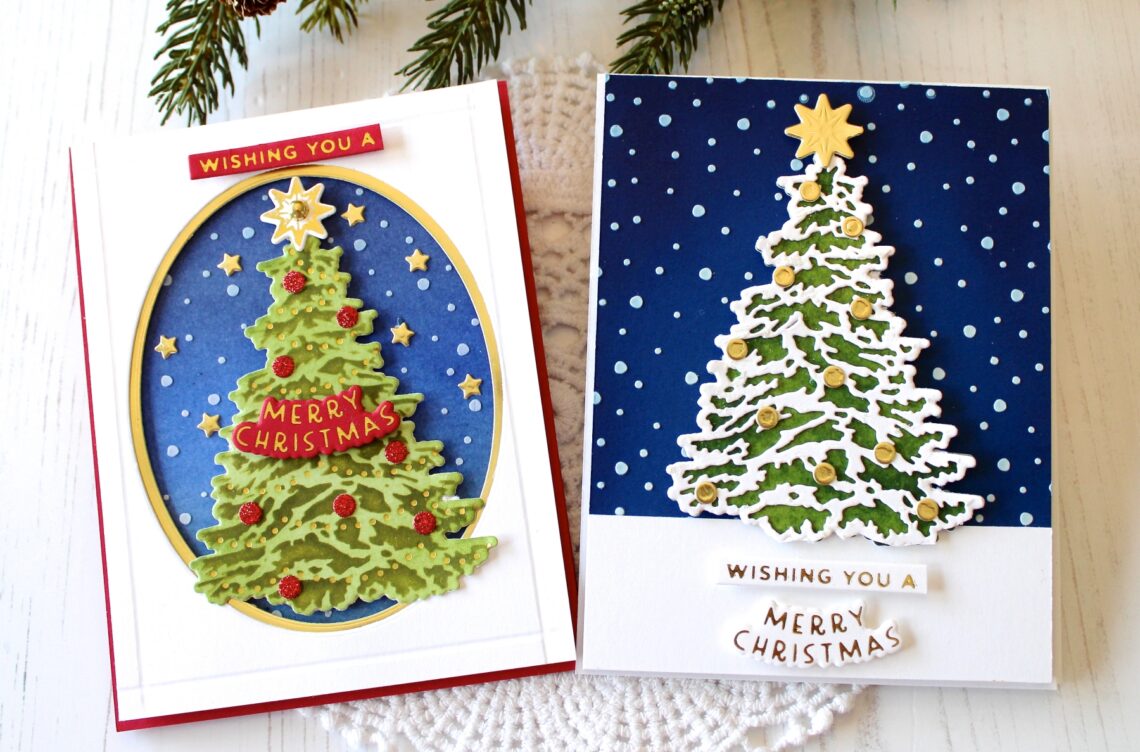
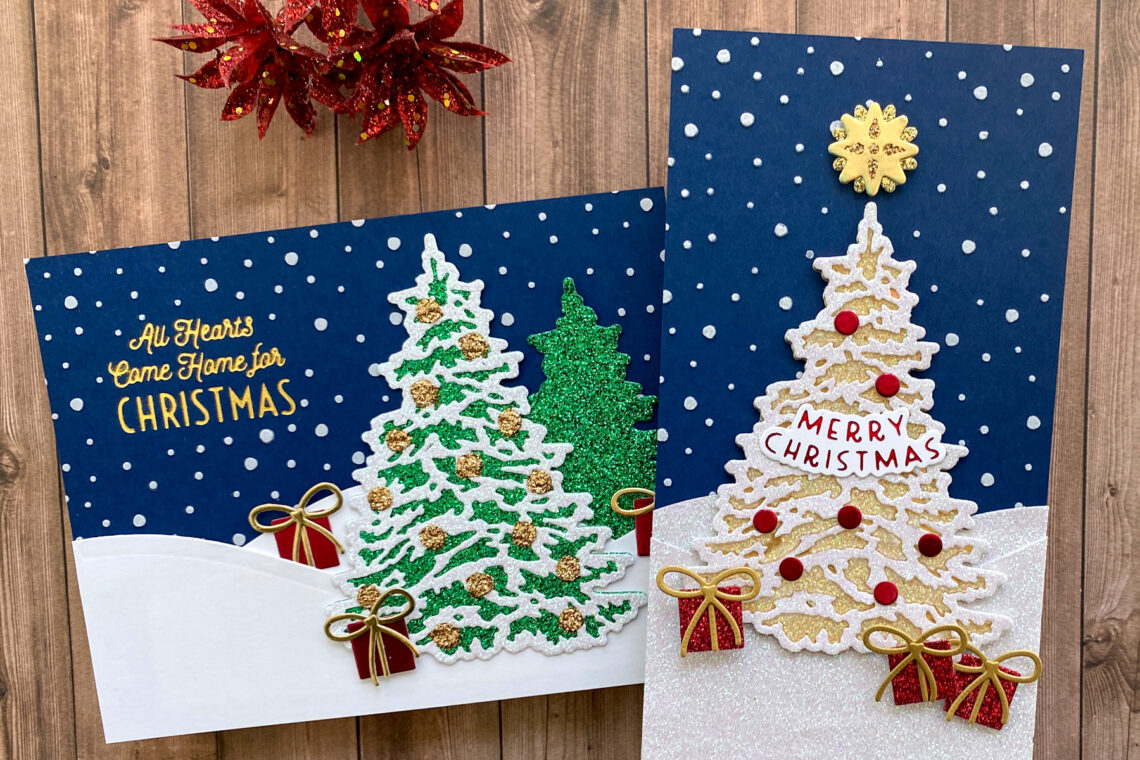
How to Trim a Tree in 3 Easy Steps with Jean
Hello crafty friends! It’s Jean here sharing two holiday cards created with the Spellbinders Trim a Tree Collection, which includes dies, glimmer plates, and a stencil that work together or separately. I’m showing how to create cards with this collection using a three-step approach: create the background, create the focal point(s), and embellish. Let’s take a look! A snowy, forest scene captures the magic of the holidays Create background: Create A2-size card base. Cut A2-size panel from navy cardstock. Foil Gifts of Christmas sentiment in Gold in upper-left. Mask sentiment area and apply white embossing paste through the Layered Christmas Tree Stencil (snow portion) to panel. Set aside to dry.…
-
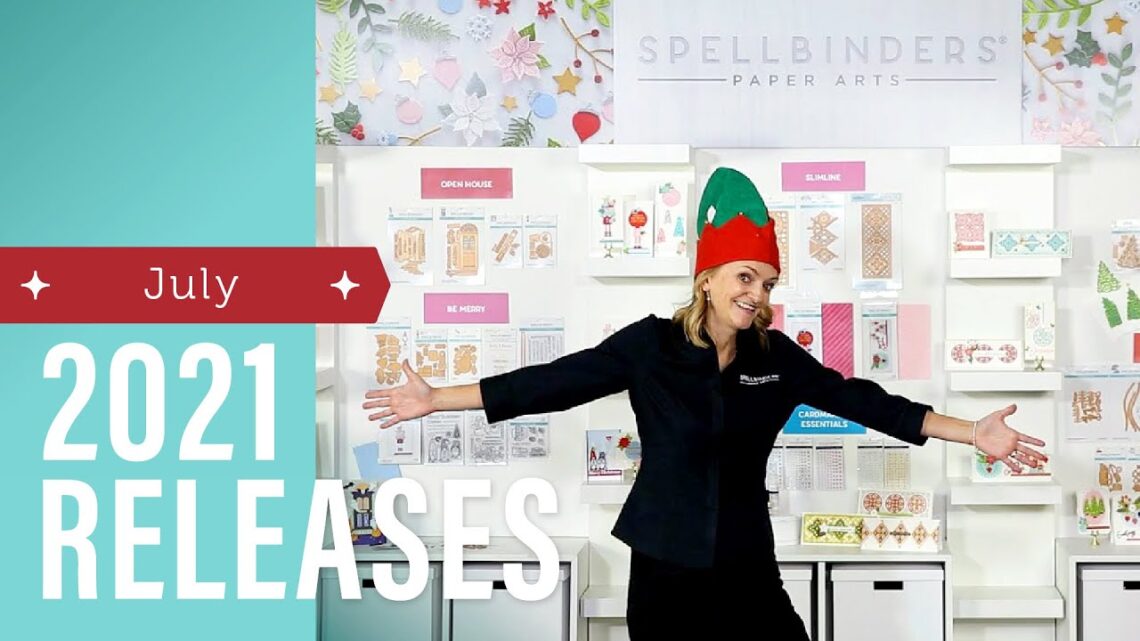
July’21 Release Party – Booth Tour & Collections Overview
You might be sitting in the summer sunshine today, but thanks to Spellbinders it’s starting to feel a lot like Christmas! We are so excited to share the biggest holiday release we’ve ever had in the history of the company – it’s so big we had to break it into three months. We have so much to share in this first release and even though you might be thinking about the beach, the pool, and a glass of lemonade, we know you’re going to LOVE diving into your holiday crafting projects with these fresh, winter products. Join Nicole Westervelt in the Spellbinders booth as she shares the following products and…