Video: Shaped Card featuring Vintage Treasures with Erum Tasneem
Hi there everyone! Erum Tasneem here today to provide you with a bit of inspiration for the Vintage Treasures Collection. Though this collection is so beautiful that you will be inspired just by looking at it!

Since there is a lot of die cutting involved, I thought it’s best to list down the instructions in steps.
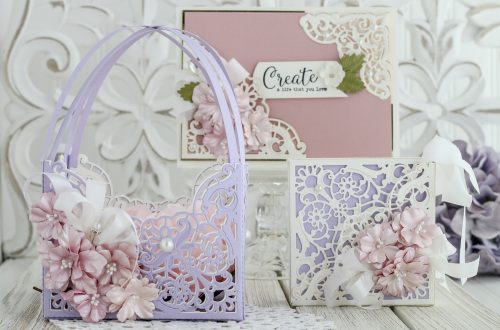
I first took the largest cutting die and the accompanying embossing die from the Tiffany Lavaliere Die Set. Next, I taped both of these together and die cut them out of a regular white cardstock using the Platinum 6” Die Cutting Machine. Once cut, I changed my sandwich and ran it through the machine again to emboss the dies. Set it aside
Next, I took a 12” x 6” of white cardstock. I scored this at 6” and folded it into a card. I used the largest, plain circle die from the previous dies and placed it in a way that it cuts our a partial circle and we end up with a piece of the fold at the top. This will be our card base.
The first circle that we cut earlier is going to go on top of this card base so that we end up with a full circle card shape from the front. But for now, I will set this aside and die cut the remaining layers.
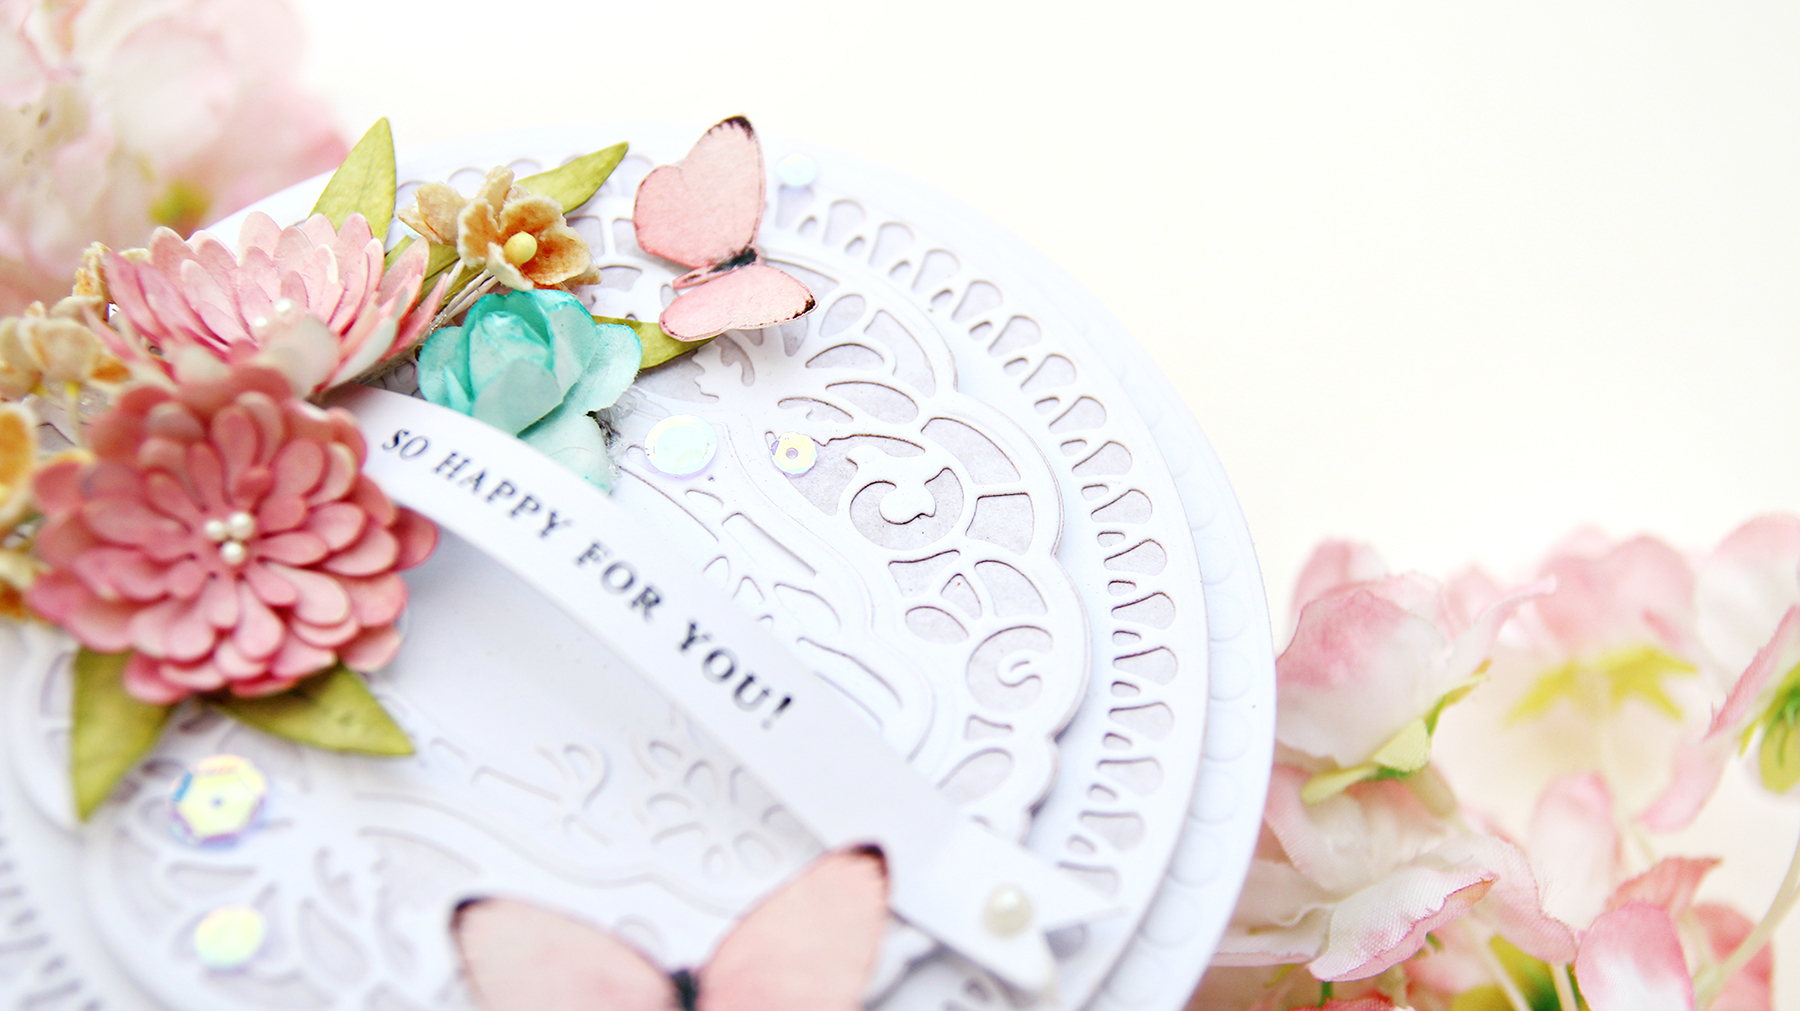
For the remaining layers, I will use the Brilliante Rondelle Die Set and use all the dies except for the smallest to die cut one design of each die. Next, I will use the full die for the largest and the medium dies and die-cut a piece each so that I can adhere these behind the lacy die cuts. But before adhering them, I will add a light color wash of grey watercolor on the layers and then adhere them behind the die cuts. This will make the lacy die cut more prominent.
After this, I will adhere all the layers on top of each other with foam tape and then begin work on the card front.
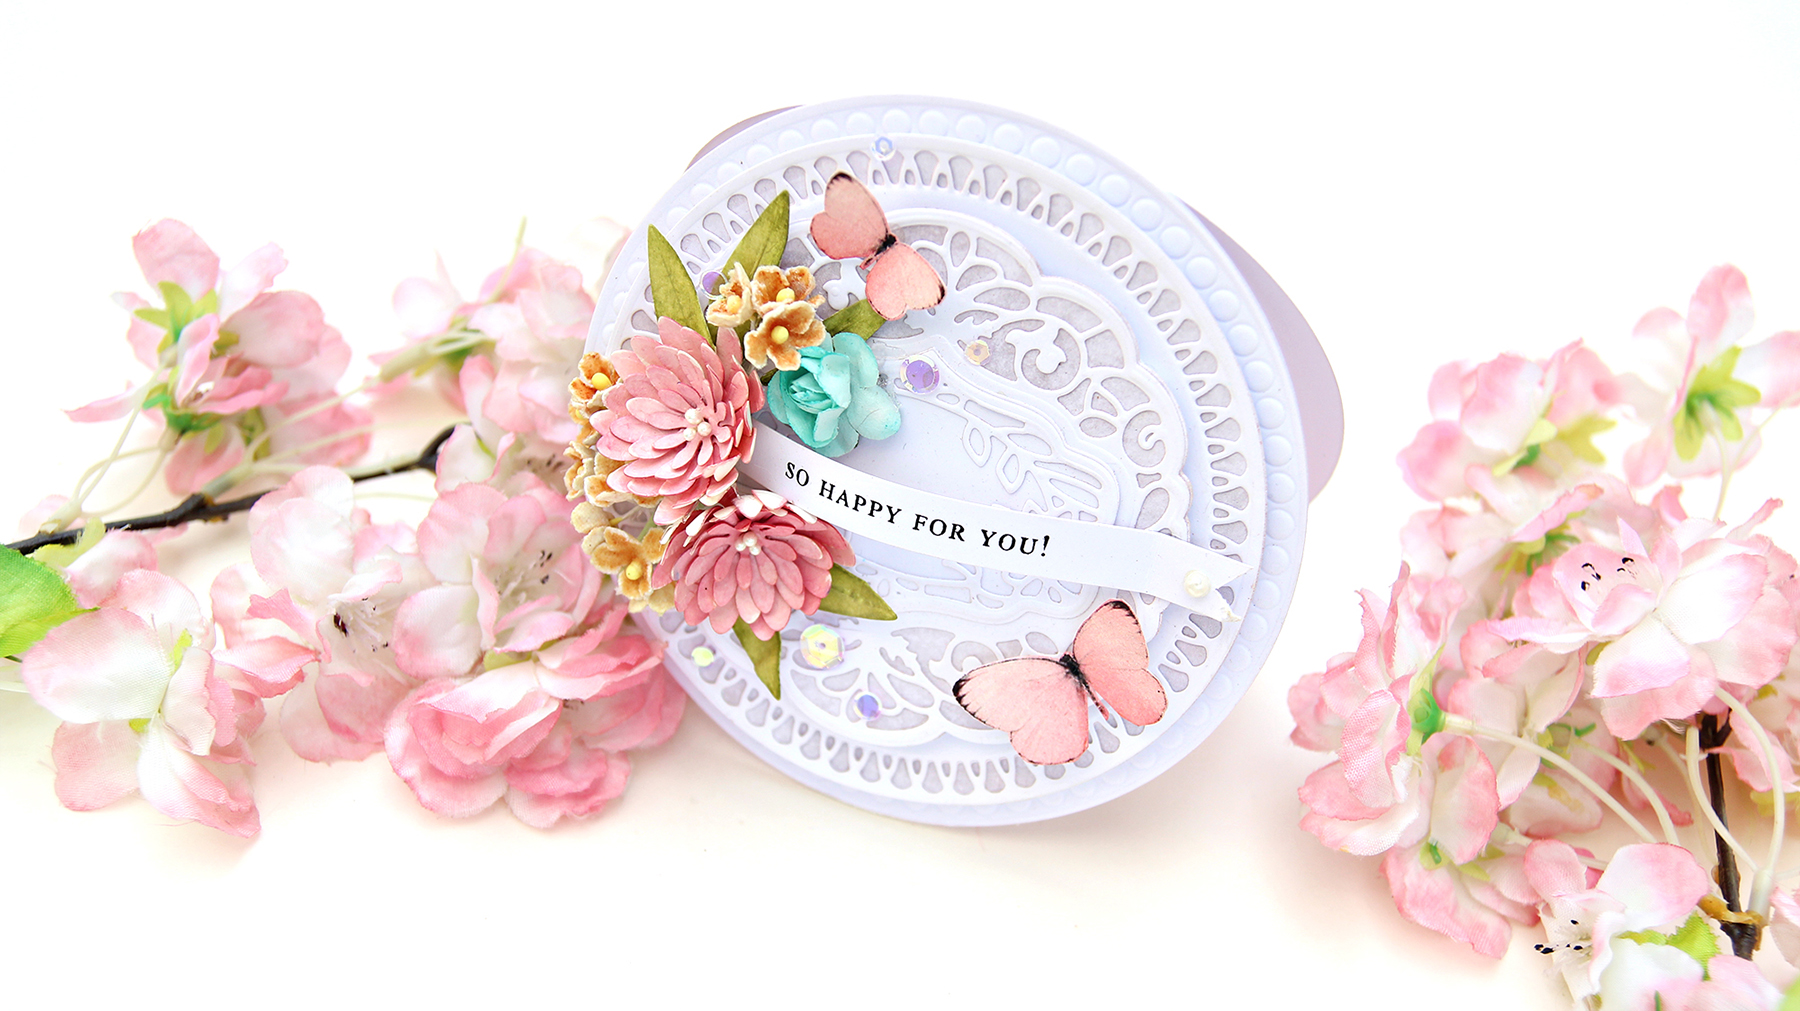
For the flowers, I used the Cinch and Go V die and die cut a piece of cardstock twice so that I end up with two flowers. I used distress inks as watercolor to ink the flower layers, you can also use a colored cardstock or ink daubers to add color to the flowers.
While they are still a bit moist from the watercolor, I took a flower embossing tool and embossed the petals following the shape of the petal from the tip to the center. The ball of the embossing tool helps in giving a nice curl to the petal and after I am done with all the petals, the flower has a cupped shape. I will continue to do this for all the layers and then adhere them together with glue in a way that the petals alternate to the petals in the layer below.
To color the leaves, I used a sponge and Peeled Paint Distress Ink.

To add a little bit of bling, I will take three stamens and glue them onto the flower center. This is easy to do since the flower already has a hole in all the layers so I just inserted the ends of the stamens through it and glued it from behind.
Next, I stamped a sentiment on a strip of cardstock. I cut one end in a fishtail cut and adhered it onto the card front with a glue gun in an arch.

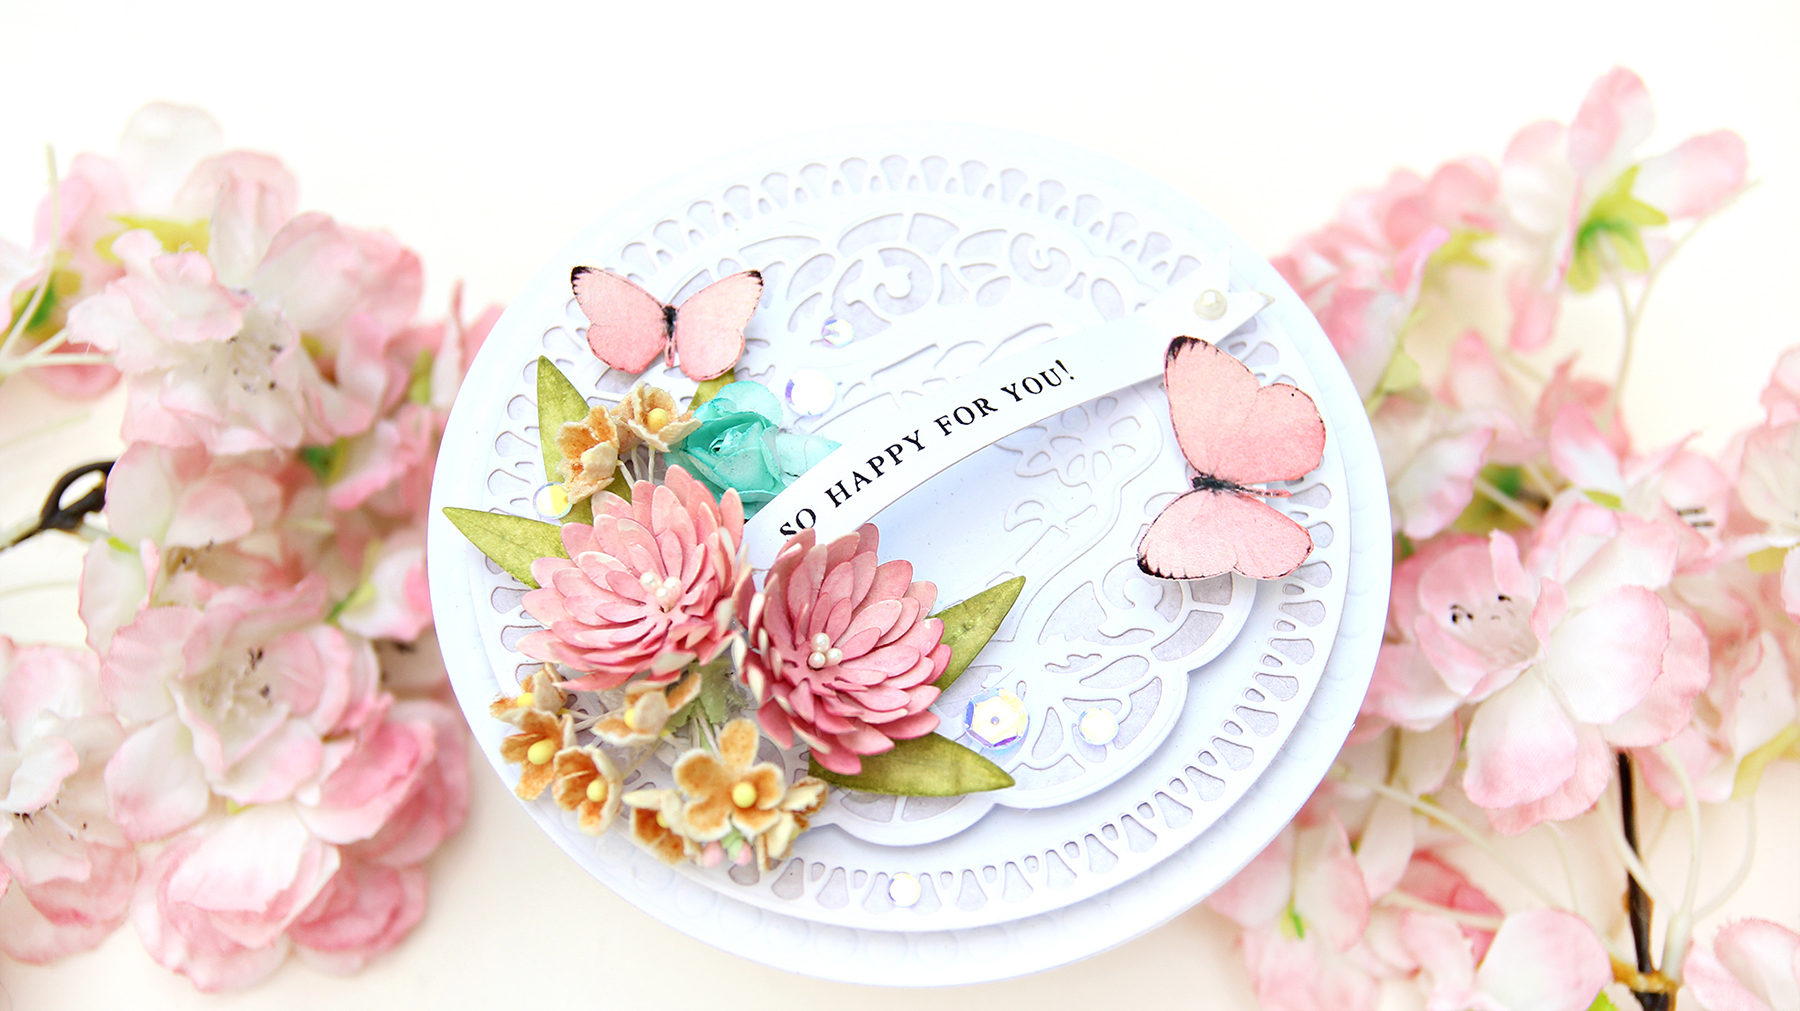
Then I arranged my flowers starting with the first two that are handmade and then to make the spray a bit fuller, I also added some store bought flowers.
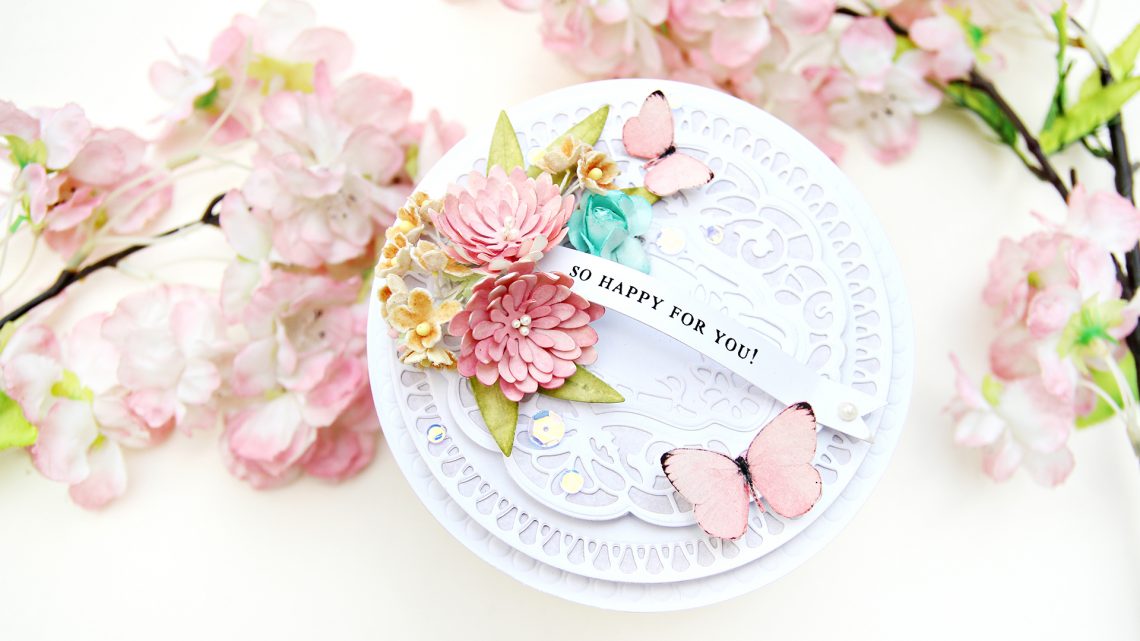
To finish, I adhered a couple of paper butterflies and then glued the piece onto the card base and we end up with a circle-shaped card
If any of my instructions are hard to understand, I do have the entire process video for you. You can watch it below or on YouTube.
Spellbinders Supplies:
Other Supplies:
Watercolor, distress inks, paper flowers, sequins.
I hope you enjoyed today’s tutorial. If you want to check out more tutorials from me, you can visit my YouTube channel and blog. Thank you Spellbinders for having me. And, thank you everyone for stopping by!
2 Comments
Tricia Podmore
Elegant and stunning card. Soooooo creative and amazing . Thanks for sharing your talents today.
SmilynStef
Erum really made these products shine … gorgeous card.