
Kaleidoscope Patterns with Jean Manis
Hello crafty friends! I’m Jean, a papercrafter blogging at Right as Rain. I am thrilled to be on the blog today sharing two cards created with the Shapeabilities Kaleidoscope Tile Dies. I am a big fan of trying different designs with the same die set. On the cards I’m showing today, I’ve varied how the tiles are placed, as well as the cardstock colors and card sizes. Let’s take a look!
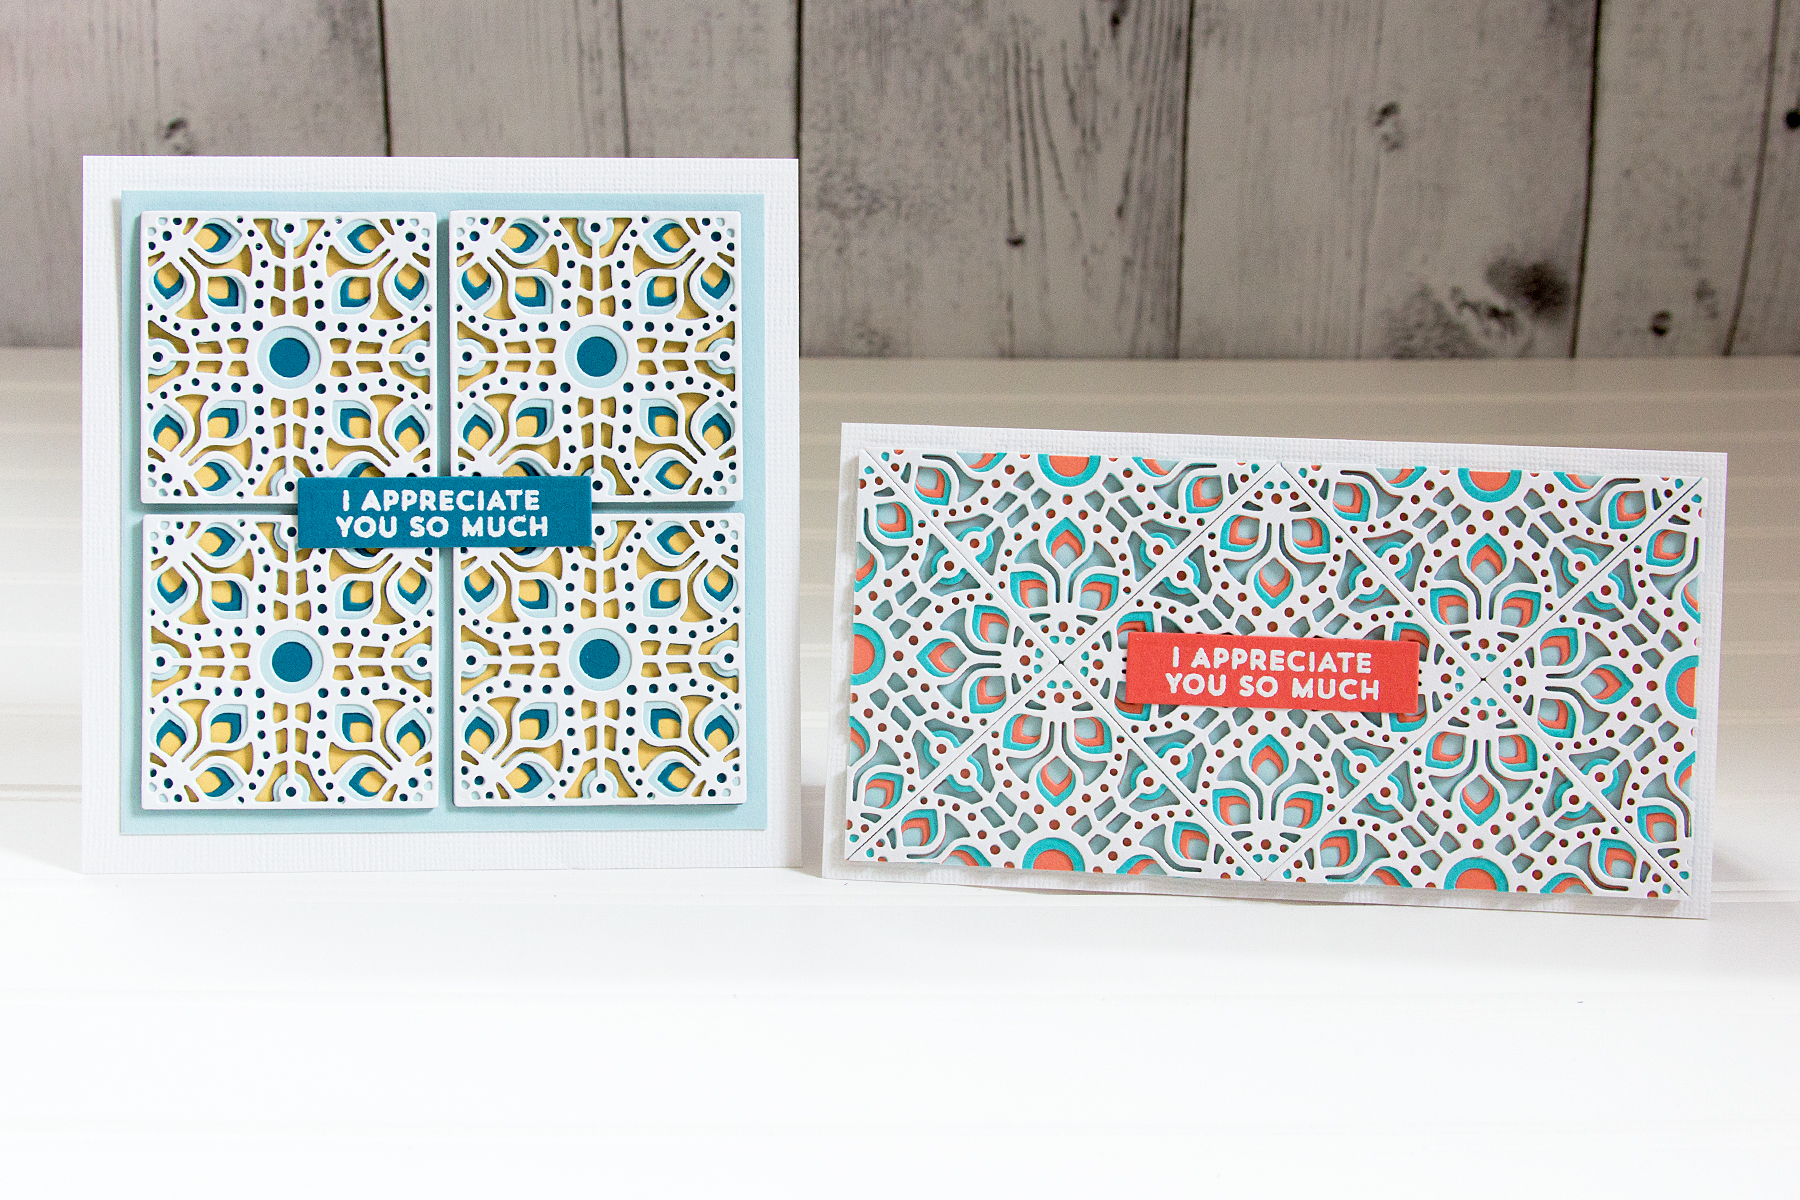
On my first card, I have arranged four tiles in a square on a card measuring 5” x 5”.
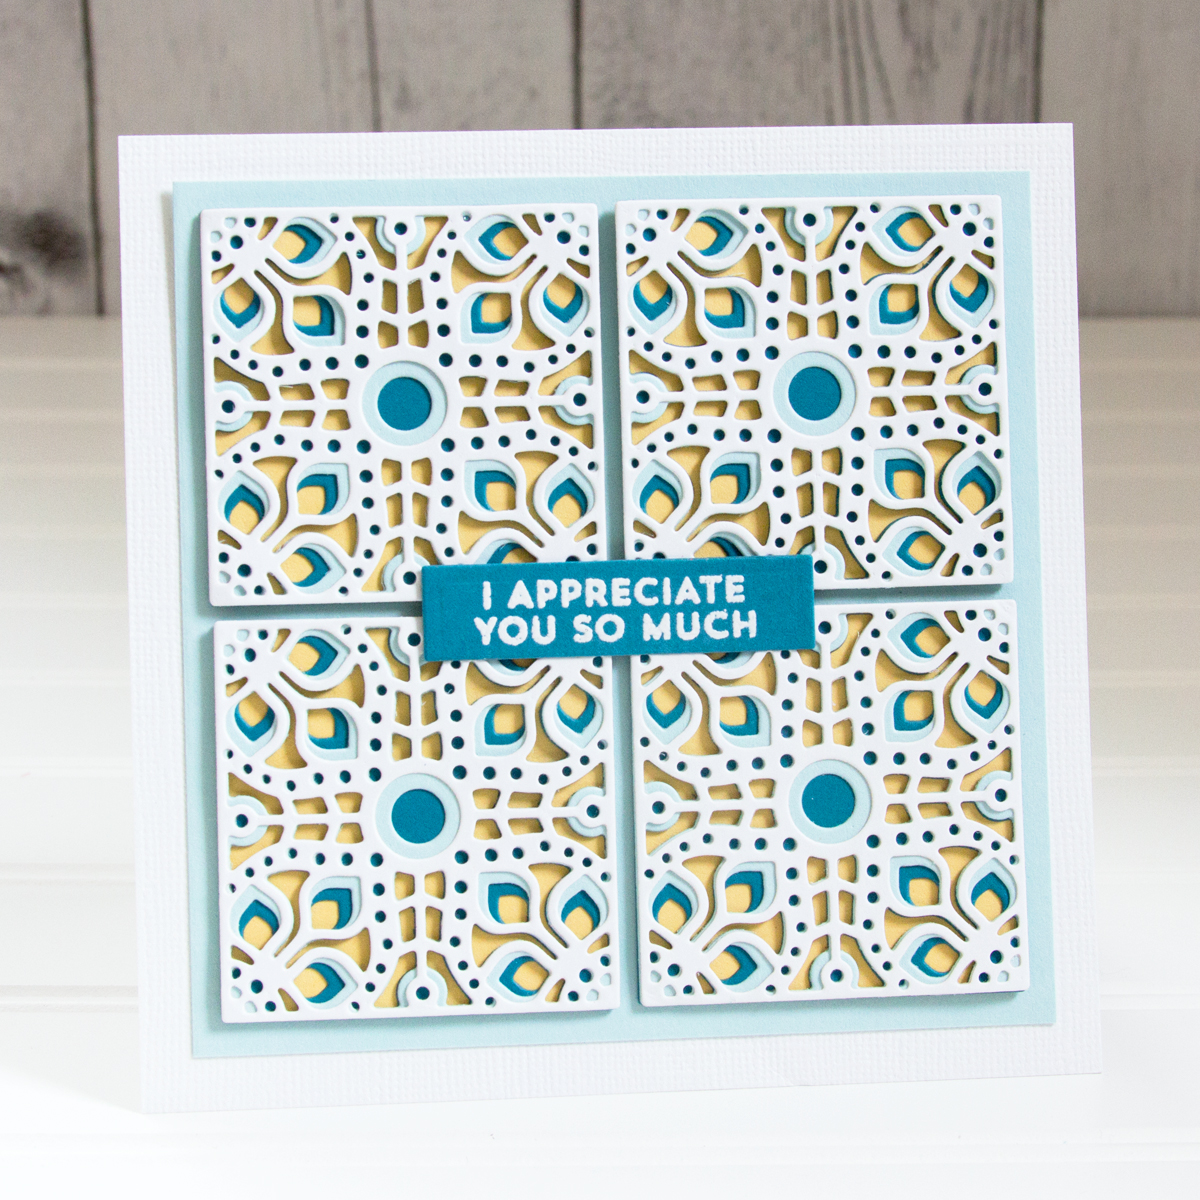
The Kaleidoscope Tile Dies set contains three dies with which to build the layers – bottom, middle, and top. I die-cut the top layer from Whip Cream cardstock, the middle layer from light blue cardstock, and the bottom layer from dark blue cardstock. In this way, a kaleidoscope effect is achieved with a light top layer light and a dark back layer. I glued the layers together to create four tiles. I cut four light yellow cardstock squares on which to adhere the assembled tiles.
I cut a 4 ½” x 4 ½” square of light blue cardstock (same color as the middle layer), arranged the tiles in a square shape, and adhered them. I placed the assembly on a white, linen-textured card base measuring 5” x 5”.

I heat-embossed the sentiment in white on dark blue cardstock (same color as the bottom layer) and cut the cardstock with the ¼” rectangular die in the Matting Basics B Card Creator die set. I trimmed the sentiment and added it to the top of the squares with dot adhesive.
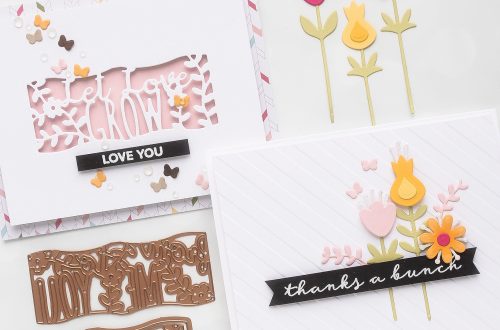
The second design features the tiles laid in a diamond pattern on a card measuring 6” ¼ x 3 ¼”.
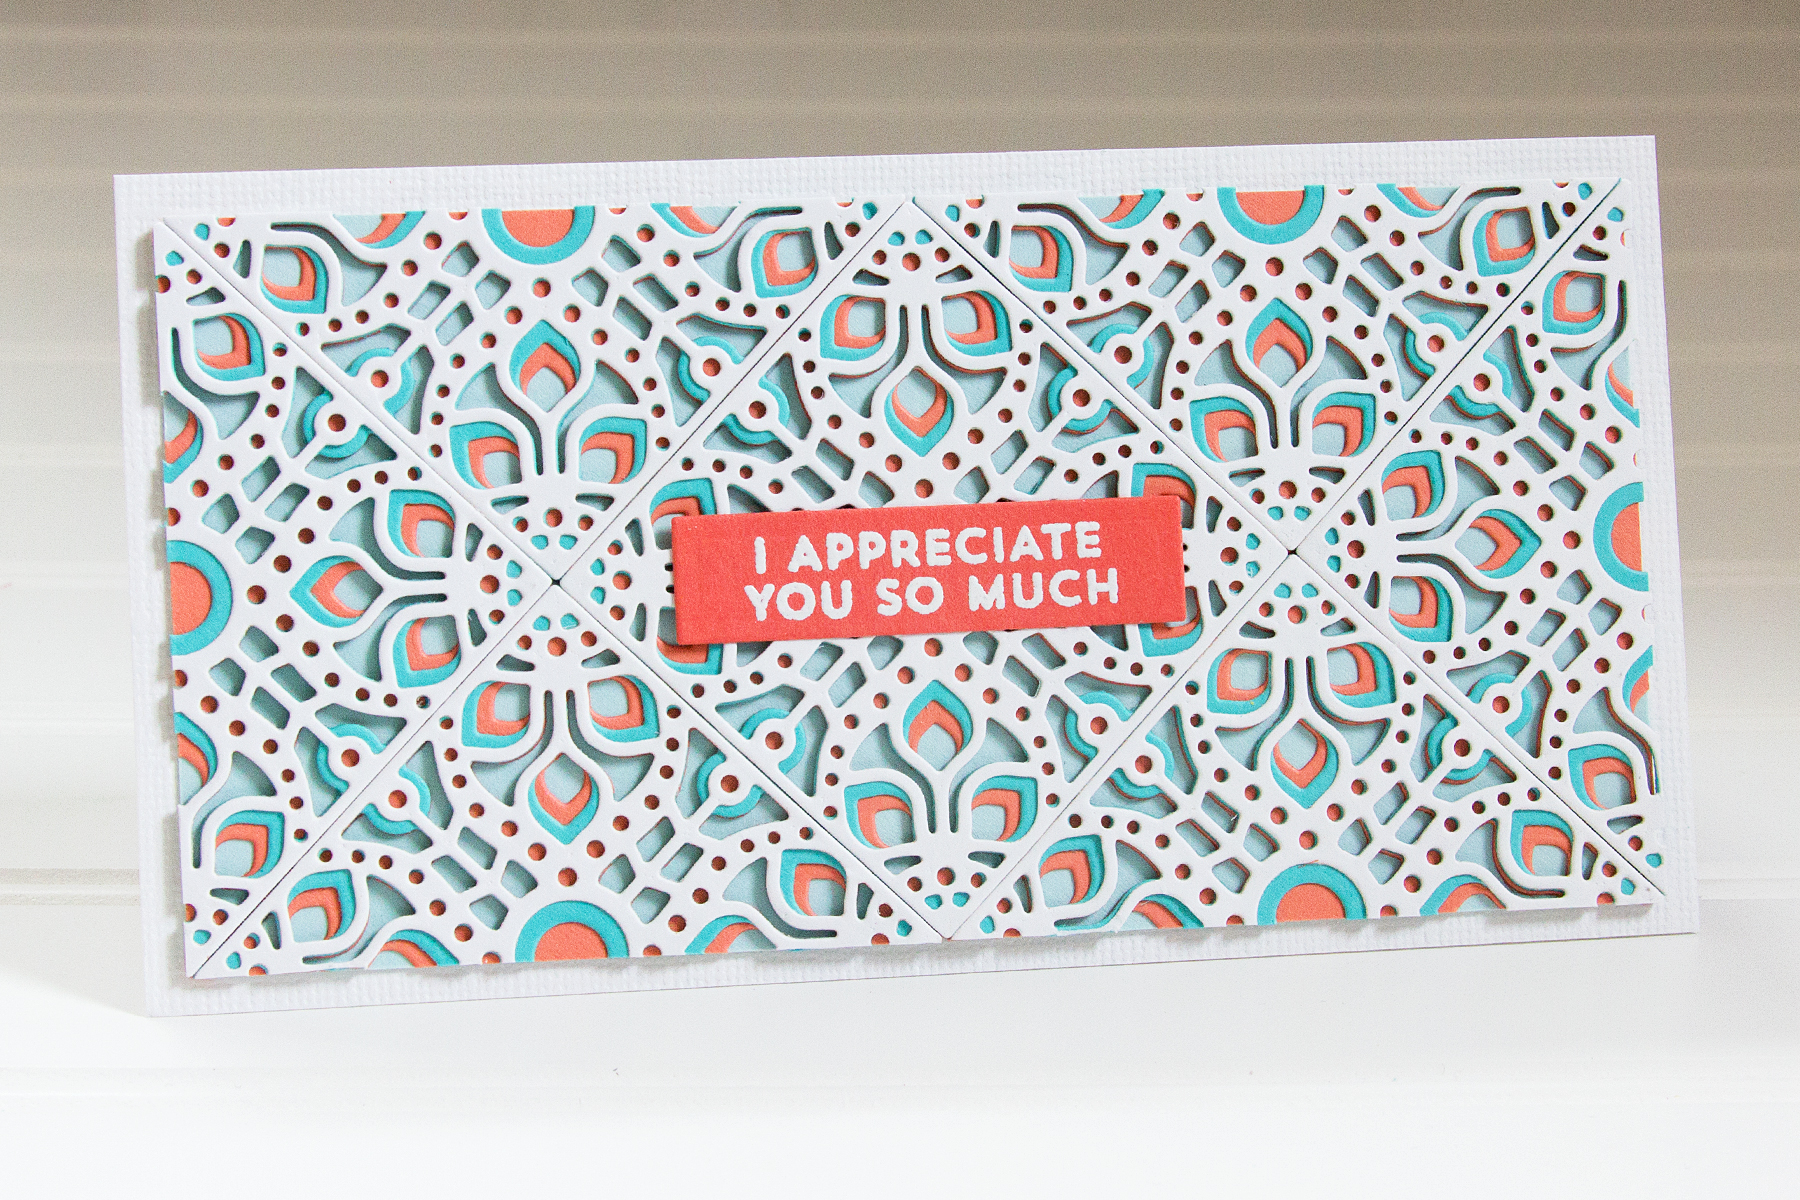
I die-cut the top layer from Whip Cream cardstock, the middle layer from a teal blue cardstock, and the bottom layer from a coral cardstock. This arrangement of color creates a different effect than the previous one. I also die-cut light blue cardstock squares. I created enough layers to create seven tiles.
I taped the light blue squares together on the back. I glued the bottom (coral) layer on to the squares and trimmed the sides. Next, I glued the teal middle layers and trimmed the sides.

Finally, I glued the top layers and trimmed the sides. In this manner, I only trimmed one layer of cardstock at a time. The assembly was added to a card base of white, linen-textured cardstock. I heat-embossed the sentiment on a darker coral cardstock, cut it with the ¼” rectangular die in the Matting Basics B Card Creator die set, and added it to the center of the tile assembly.
I’m delighted you’ve dropped by today. I hope I’ve inspired you to give the amazing Shapeabilities Kaleidoscope Tile Etched Dies a try!
Square Card – Spellbinders Supplies:
Other Supplies
Simon Says Stamp Sea Glass, Stampin’ Up Island Indigo (retired) Stampin’ Up So Saffron, Bazzill white, linen-textured; Pinkfresh Studio Word Series: Thanks stamp set; Nuvo craft glue; dot adhesive
Rectangle Card – Spellbinders Supplies:
Other Supplies
Cardstock: MFT Coral Crush, Stampin’ Up Calypso Coral, Simon Says Stamp Audrey, Simon Says Stamp Sea Glass, Bazzill white, linen-textured; Pinkfresh Studio Word Series: Thanks stamp set; Nuvo craft glue; dot adhesive; tape
One Comment
Susan Lang
Jean has an amazing eye for color and design. The card with the squares cut on the diagonal really does stretch the capabilities of what these dies can do. Great cards!