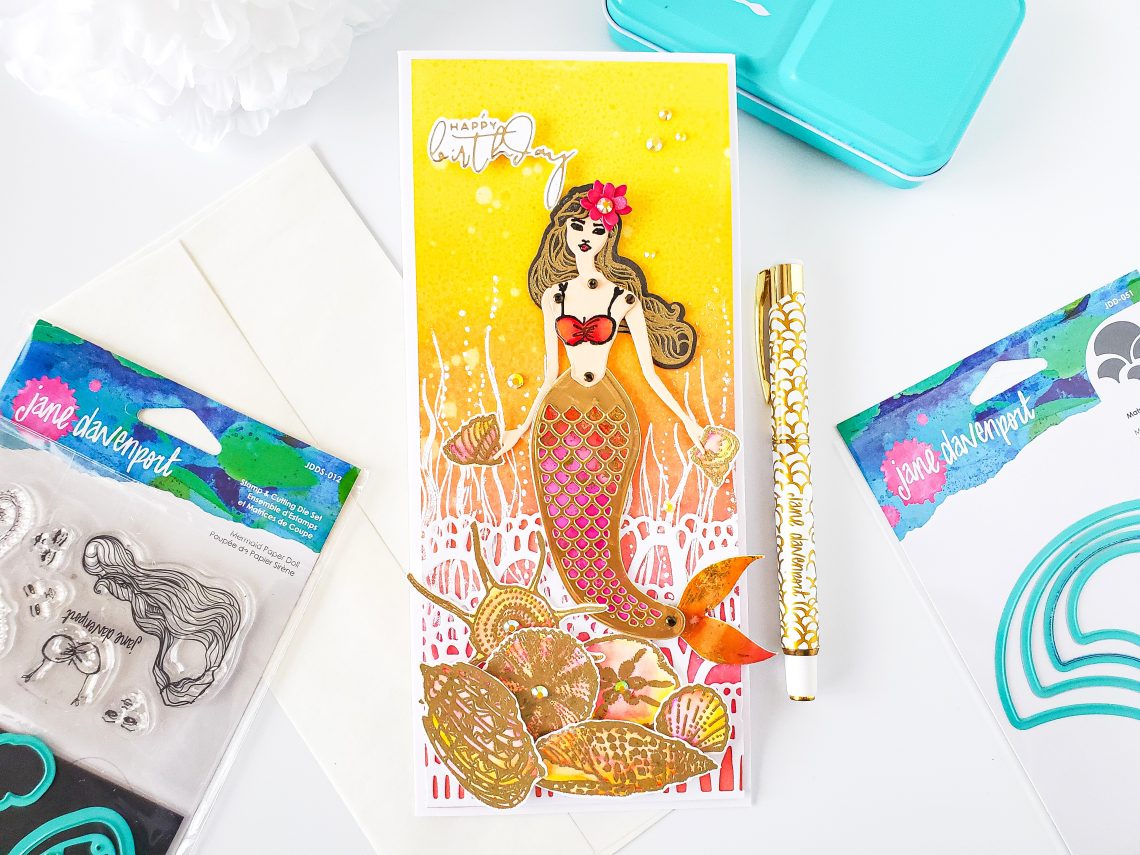
Marvelous Mermaids Collection by Jane Davenport | Slimline Mermaid Birthday Card with Yasmin Diaz
Hello, Spellbinders’ and FSJ friends! Yasmin here sharing with you this Slimline Mermaid Birthday card that, I’ve created using stamps and die sets from the Marvelous Mermaids Collection by Jane Davenport. So, without further ado, I’ll be showcasing this gorgeous collection by sharing with the step by step how I made it.
To begin with, I started by trimming down an 8.5″x11″ white cardstock sheet to H 9″ x W 8″ Then, I transferred it to my scoring board, and I scored a line at 4″” mark so, after marking the scoring line I folded it in half, and I reinforced the fold with my Teflon bone-folder. Therefore, after folding it I set the card base aside and I started to work on the card panel.
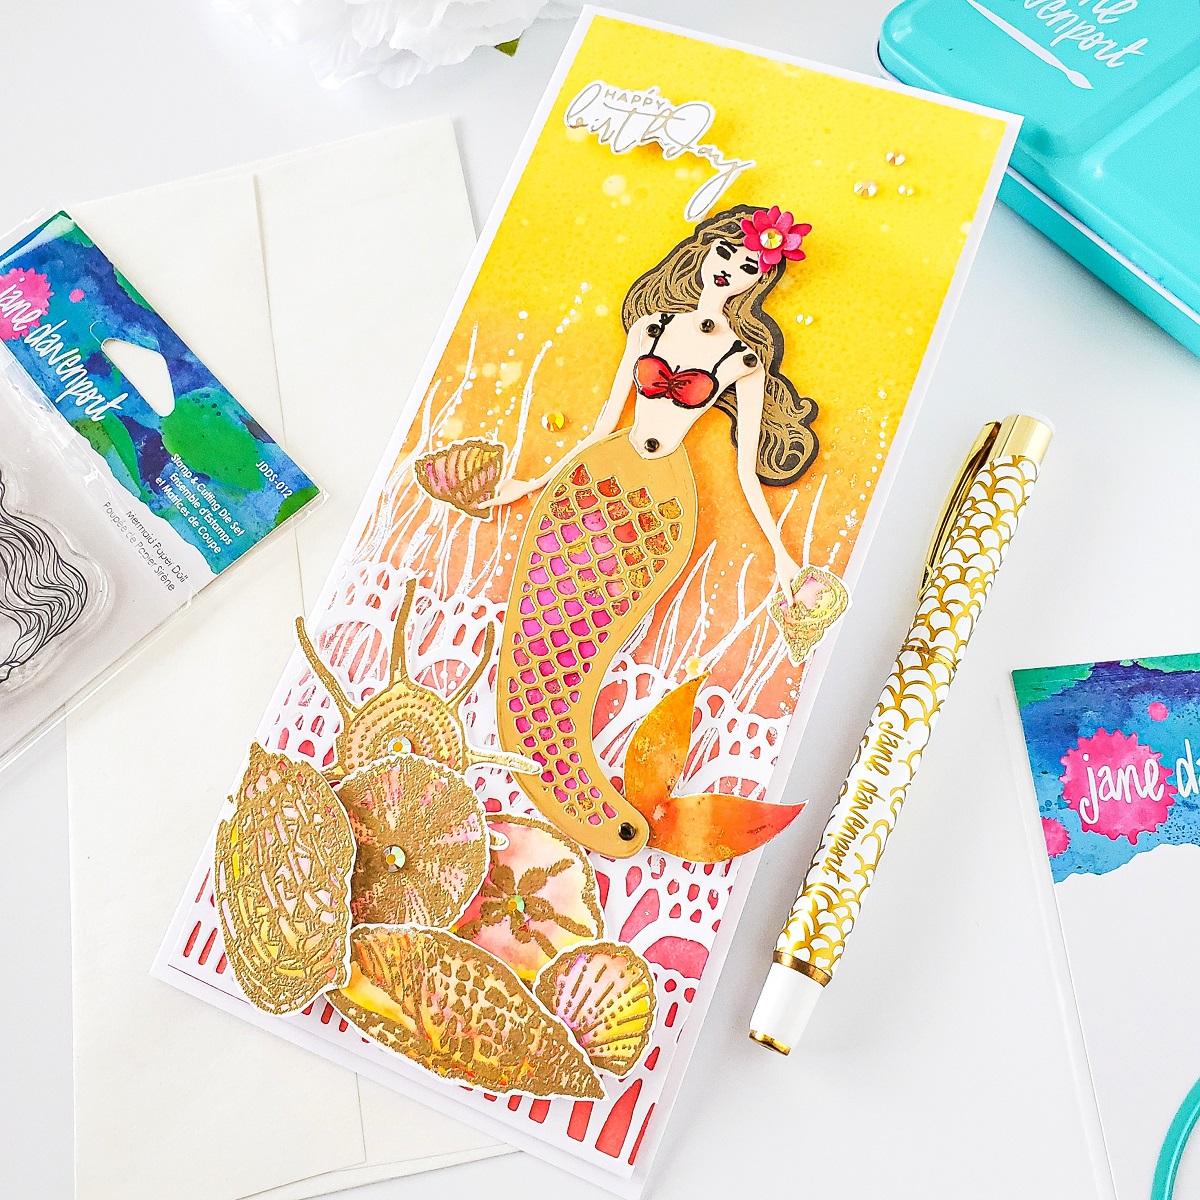
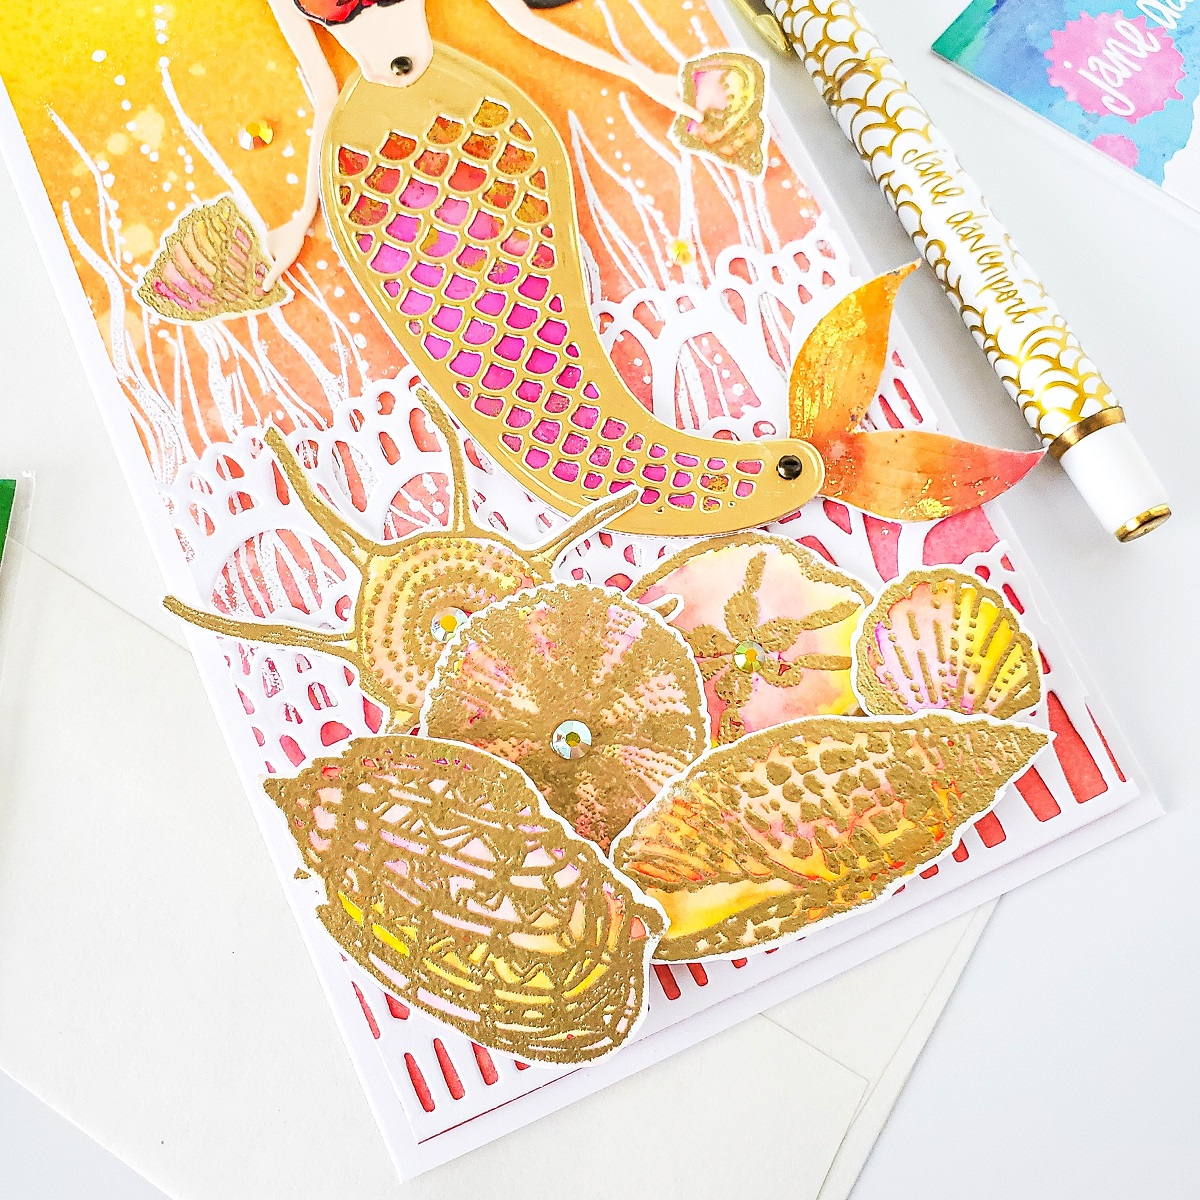
For the card panel, I used Strathmore Bristol Smooth paper so, I trimmed down a card panel that measured H 9″ x W 8″. Right after that I’d the card panel trimmed down, I inked it up from bottom to top with the following Distress Oxide Inks: Abandoned Coral, Picked Raspberry, Worn Lipstick, Spiced Marmalade, Mustard Seed and Squeezed Lemonade. Once the card panel was inked up, I add water droplets to active the distress oxide and I sprayed it with Sheer Shimmer Spritz Spray-Gold for a very shimmering finish. While, I was waiting for my card panel to dry out, I’ve got the stamping done over a watercolor cardstock panel with embossing ink. For the stamping, I used the Seashells from the She Sells Seashells Stamp Set. So, after stamping each of the Seashells, I heat embossing them with gold embossing powder then, I water-colored them in with a mix of Buzzy and Best Friend watercolor pans from my Watercolors Set Brights ArtEssentials by Jane Davenport pallet.
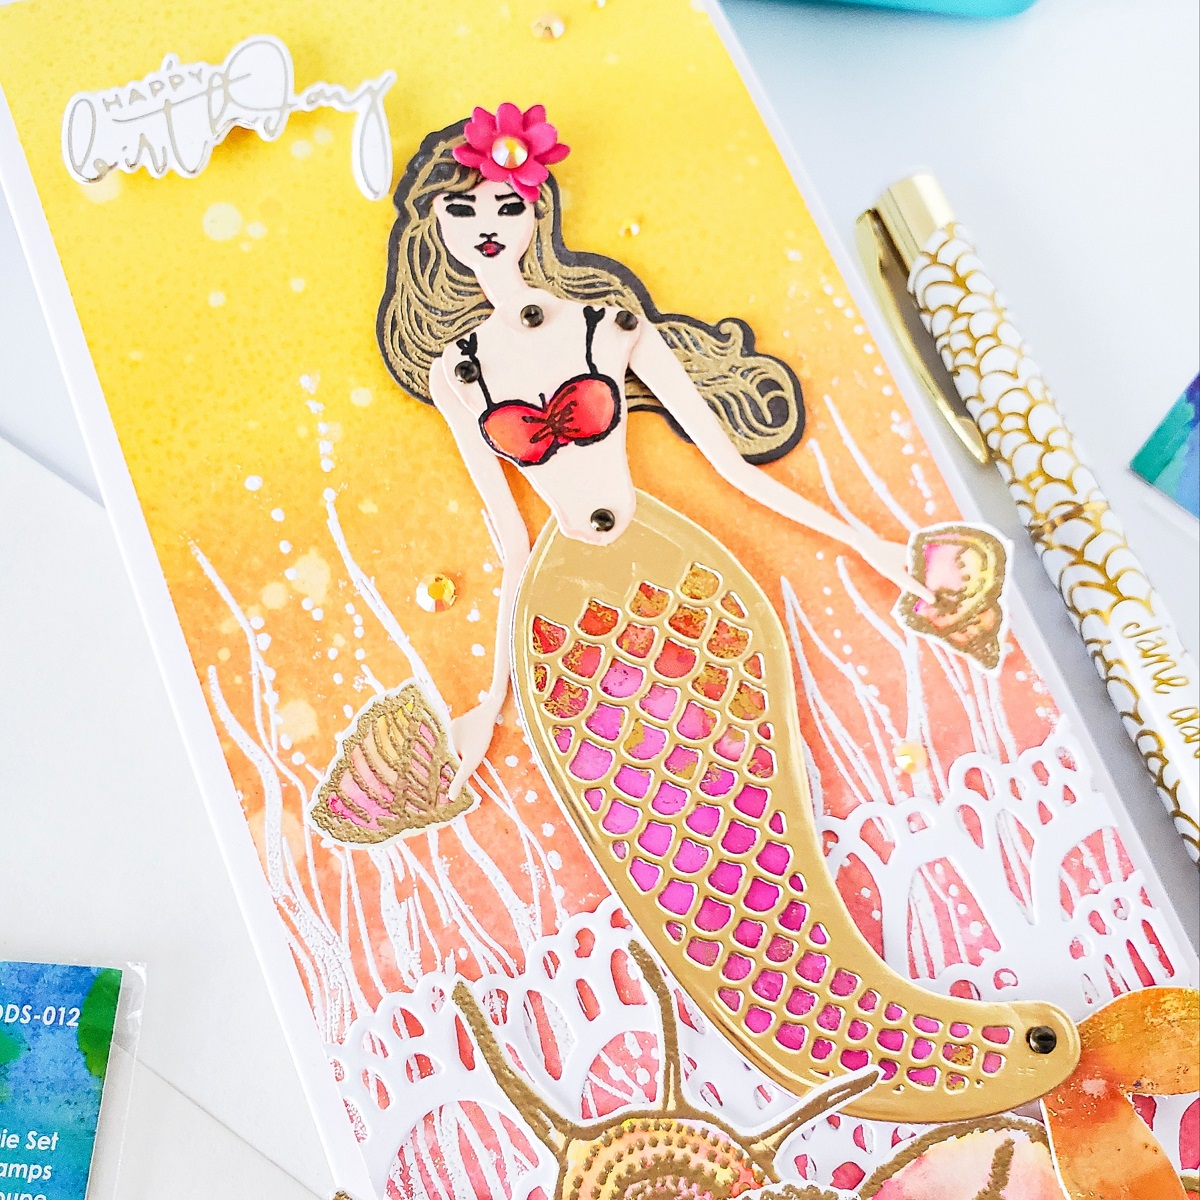
Moving on, while the water-coloring was drying out, I started the die-cutting process. For the die-cutting, I used the Mermaid Paper Doll Stamp and Die Set Marvelous Mermaids by Jane Davenport. Therefore, I ran through my Platinum 6 Die Cutting and Embossing Machine the Head, Torso, Left Arm and Right Arm to die-cut them out of Warm Glow color cardstock. Then, I ran through the die-cutting machine the Tail Outline to die-cut it out from Gold cardstock. Followed by the Tail Insert and Tail Fin to die-cut them out from an alcohol ink blended with foil accents that I had in my stash. Lastly, I ran through the die-cutting machine the Hair die to die-cut it out from Charcoal Brown color cardstock. Right after I was done with the mermaid paper doll die-cutting pieces, I ran through the die-cutting machine the die from the die from the Bubble Palace Stamp and Die Set Marvelous Mermaids by Jane Davenport to die-cut the palace out of white cardstock.
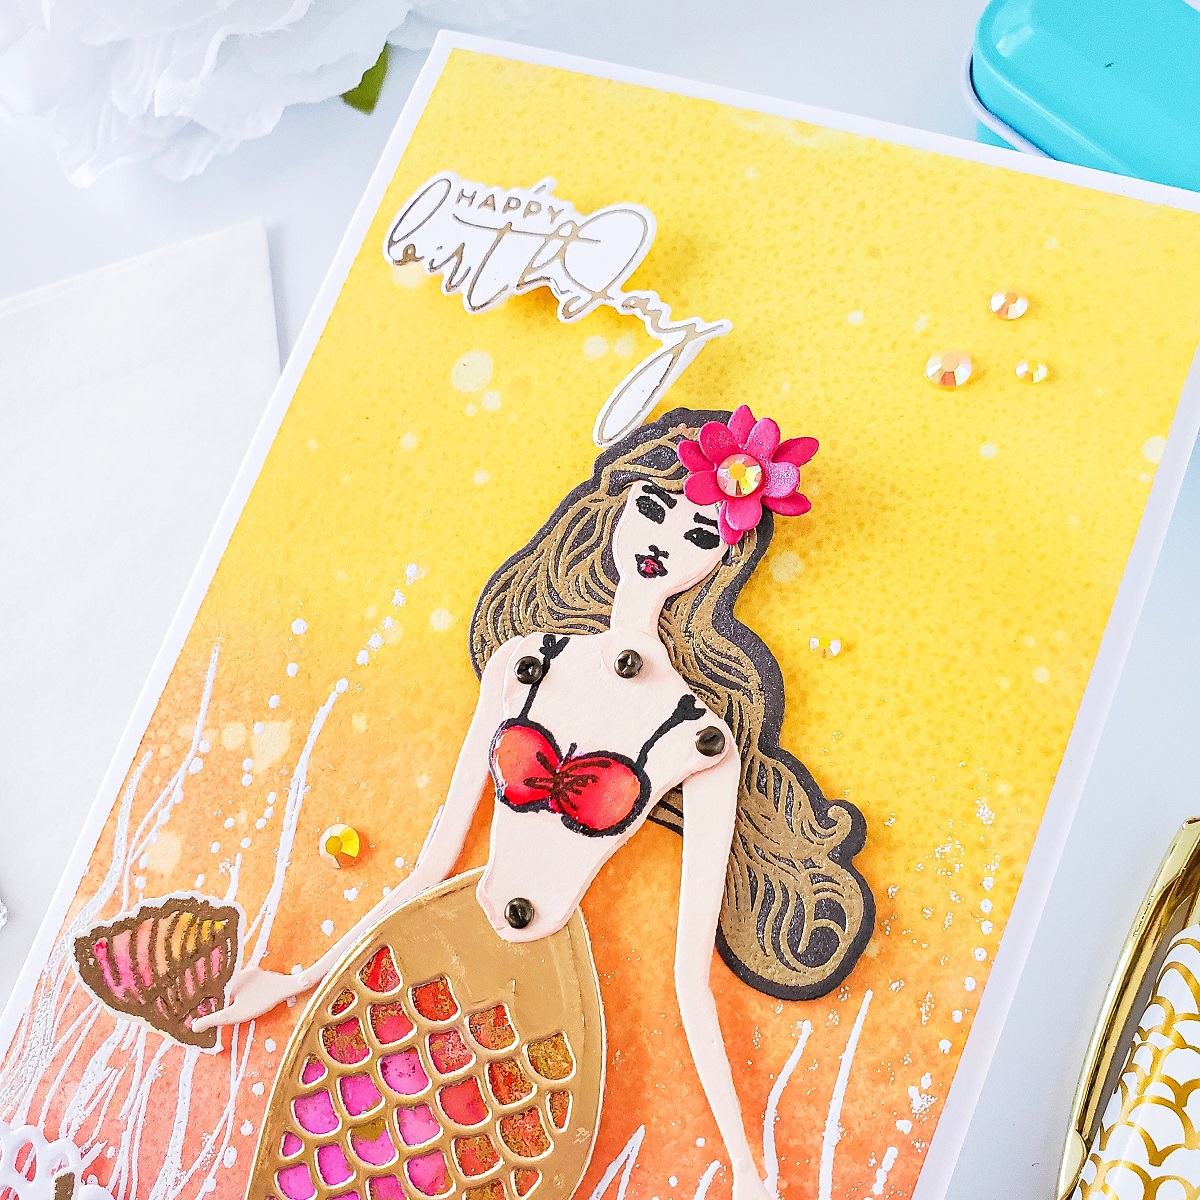
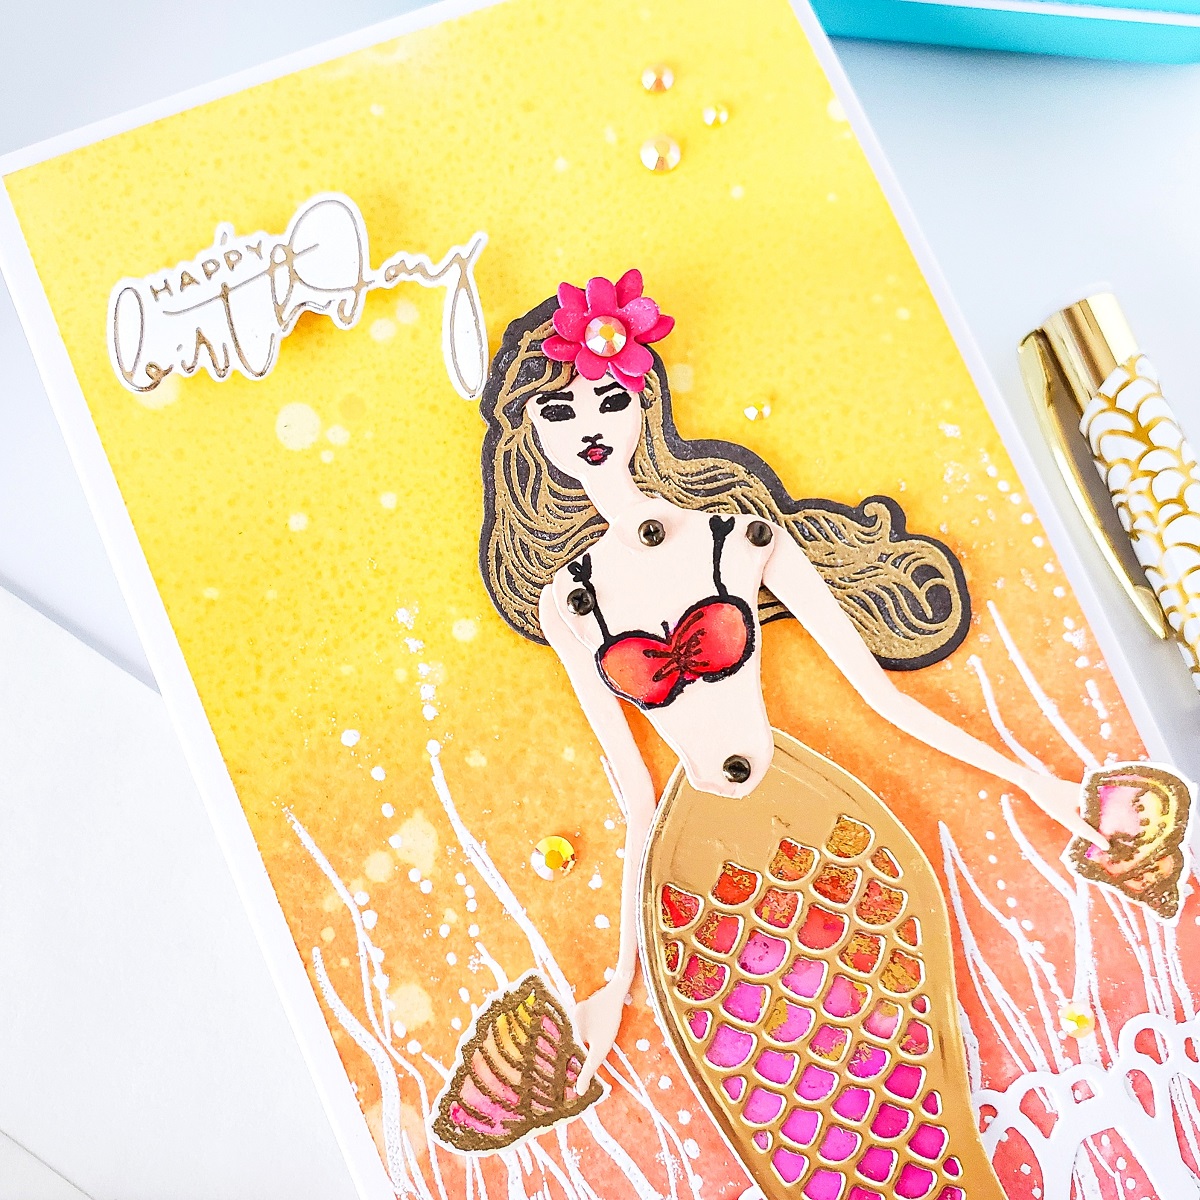
Soon after I was done with the die-cutting process, I started the assembling. So, for the assembling first, I glued down with liquid glue the Tail Outline over the Tail Insert. Second, I attached with Mini Fasteners the Arms and Head to the Torso. Third, I attached the upper body part to the Tail and the Tail Fin also with mini fasteners. Lastly, to finish the mermaid paper doll off, I stamped with black ink the Look Ahead over her face as well as the Bikini Top and the Hair which I gold heat embossed. By the way, the stamp images are also included in the Mermaid Paper Doll Stamp and Die Set Marvelous Mermaids by Jane Davenport.
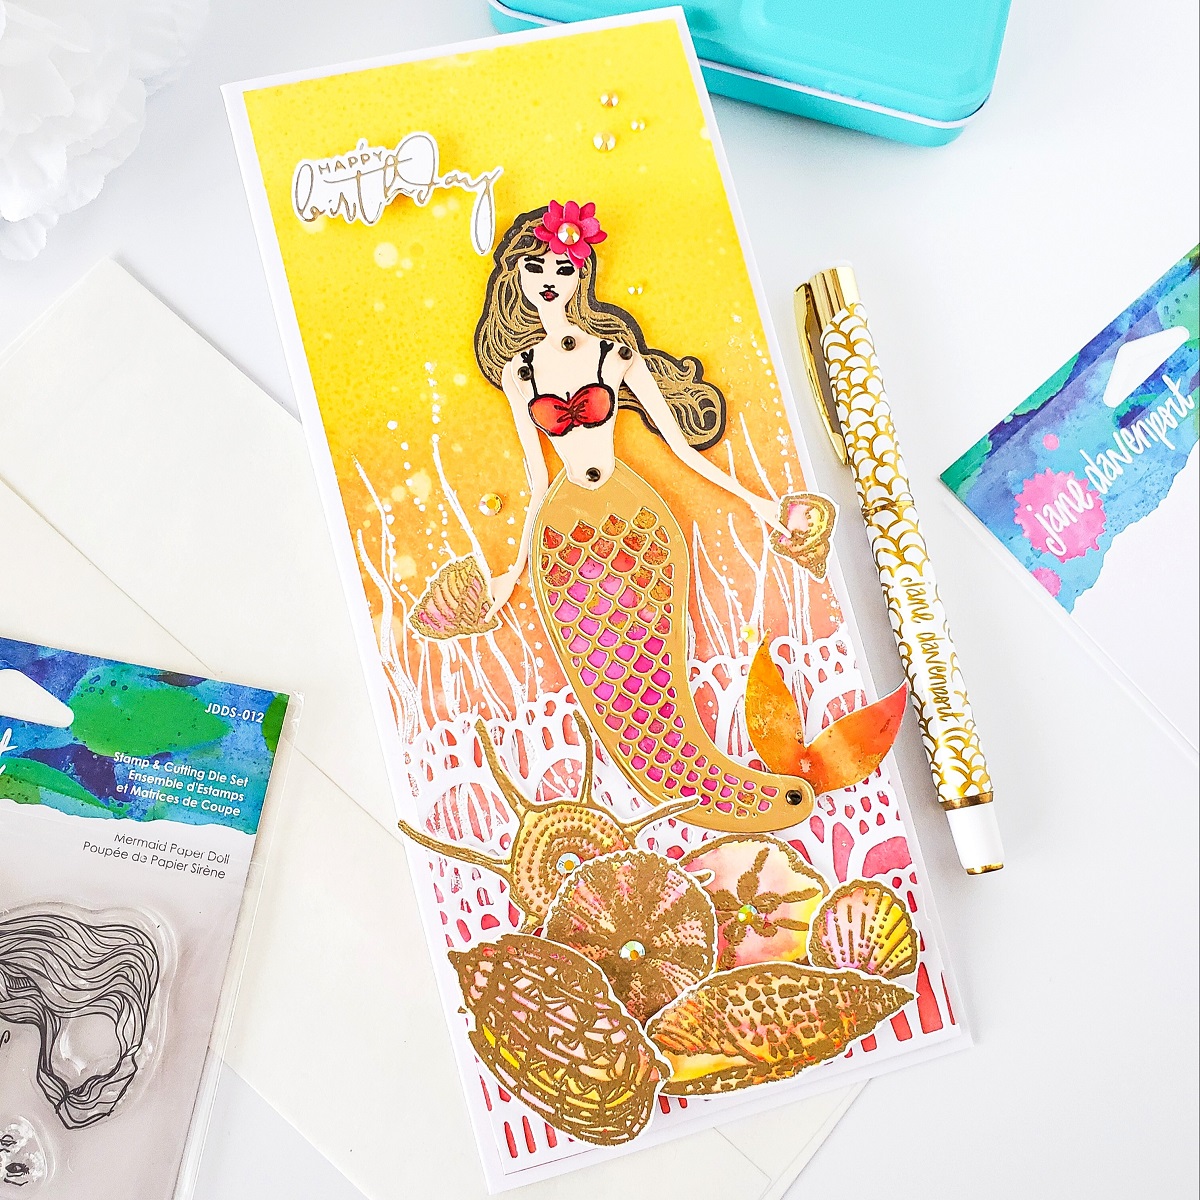
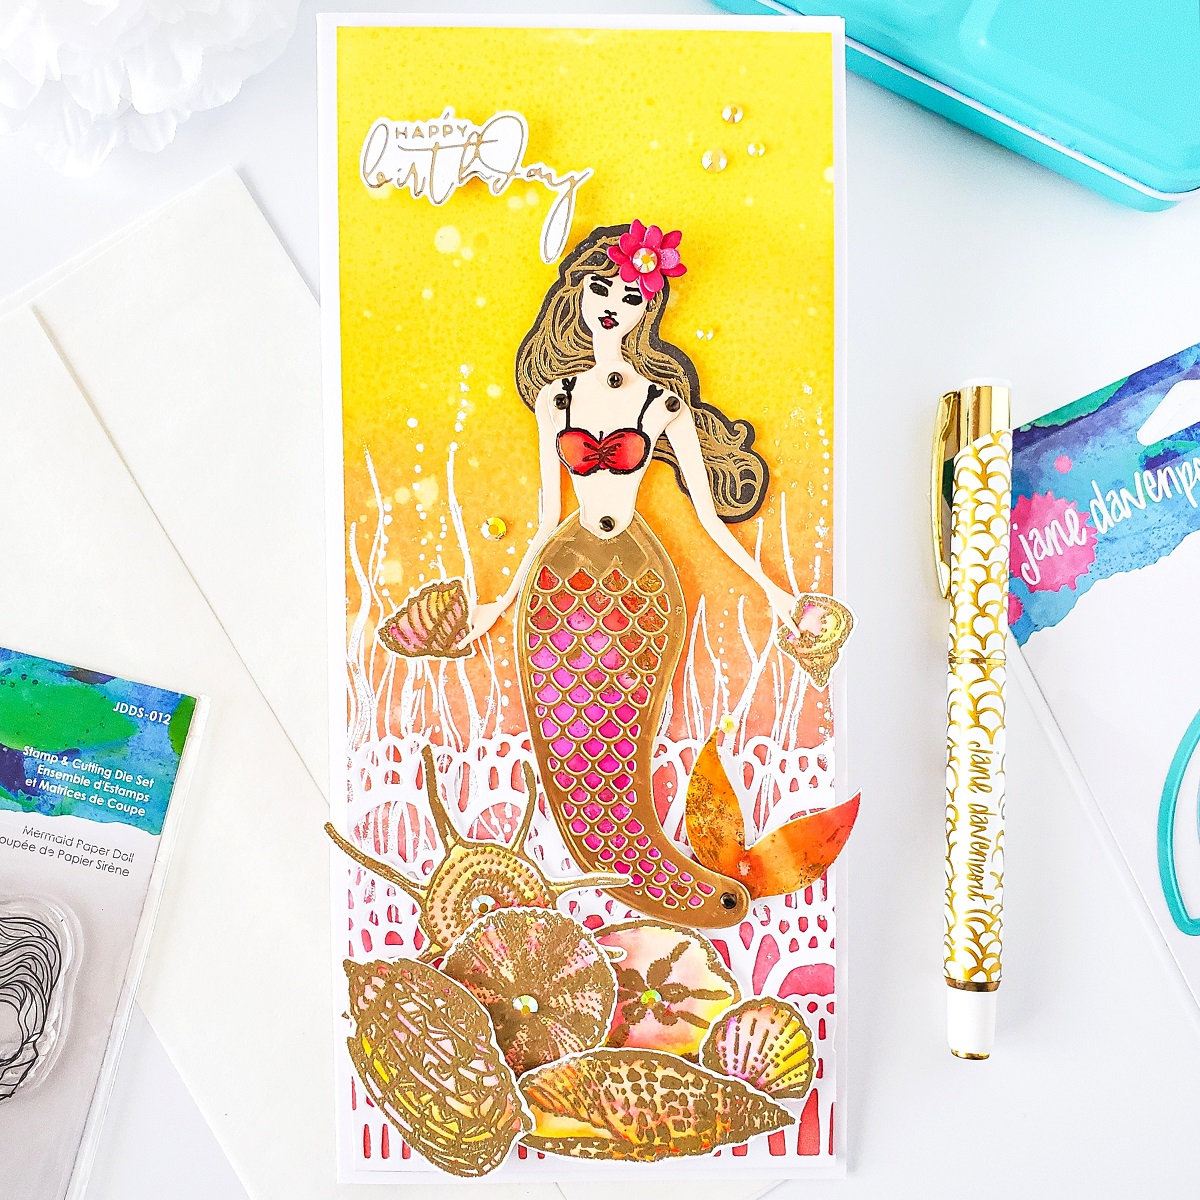
After I was done assembling the mermaid, I came back to the inked card panel which by that time was completely dry. So, I placed it inside my stamping tool and I added embossing powder tool over it because, I was going to stamp with embossing ink and white heat emboss the Sea Kelp image from the Sea Kelp Stamp Set Marvelous Mermaids by Jane Davenport. Therefore, once the heat embossing was set, I started the assembling for the card so, to assemble the card first, I glued down with liquid glue the white die-cutting palace to the card panel. Second, I trimmed down the inked card panel a bit smaller than the card base, and I mounted it with craft foam and double-sided tape to the card base.
Third, I fussy cut the Seashells out of the watercolor cardstock, and I adhered some of them down with liquid glue and others with foam square adhesives to add a bit of dimension in the lower left side of the card, as you can see in the image above.
NOTE: I forgot to mention that, I white heat embossed the Sea Kelp about 2.0″ inches above the bottom part of the card to make it look like if was taller than the white die-cutting palace.
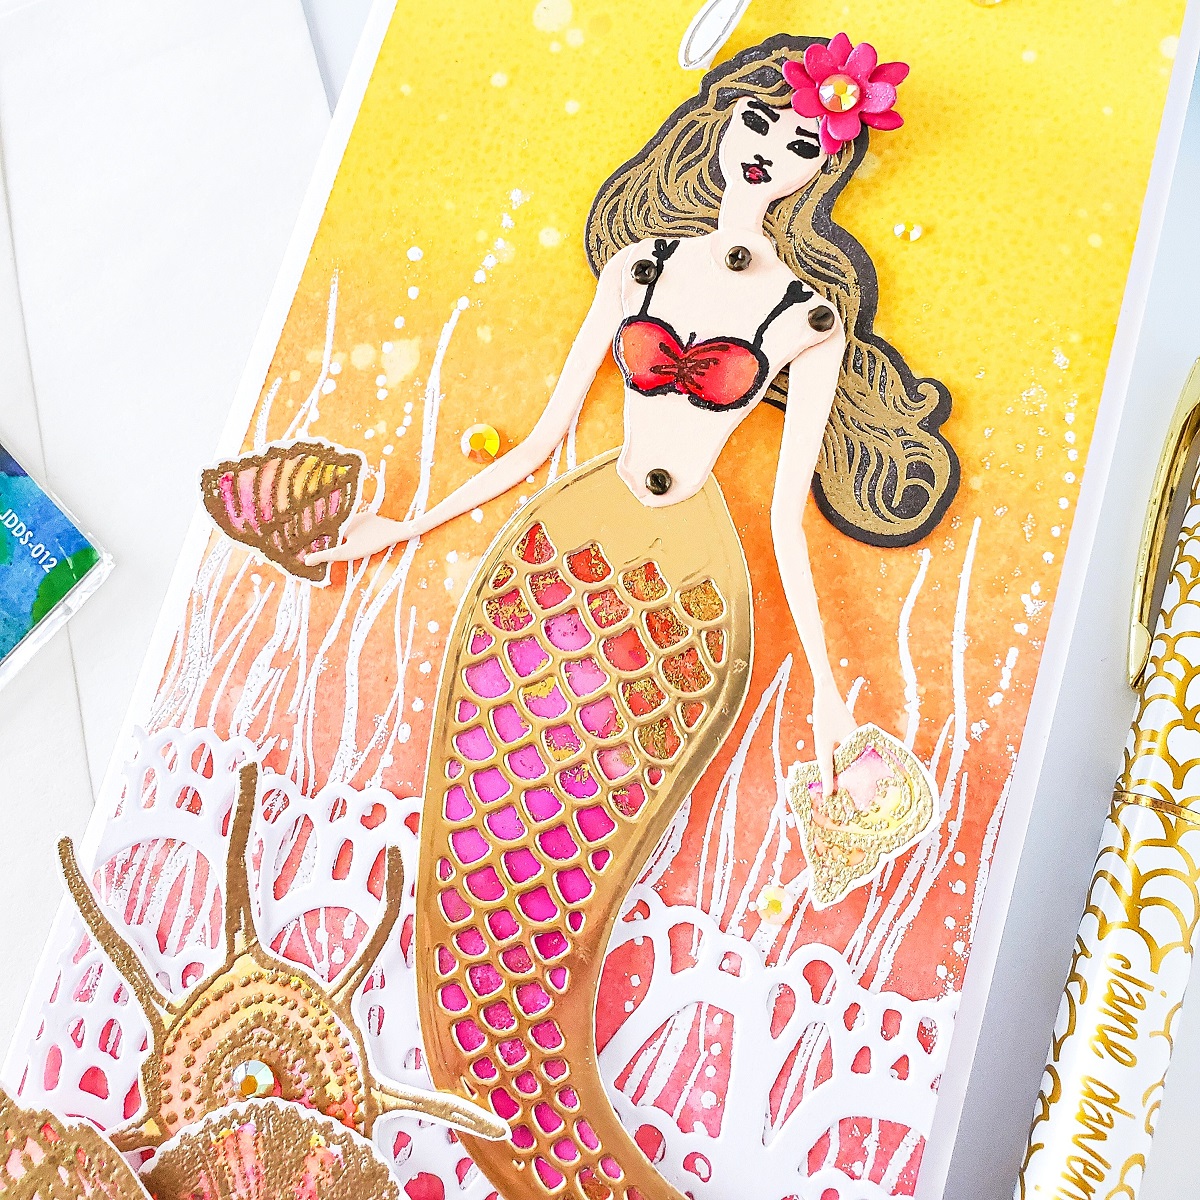
Lastly, I mounted the mermaid paper doll to the card, but to do that I adhered only part of her tail with a piece of foam mounting tape to add dimension. By doing that, and by attaching the Body and Tail Fin with mini fasteners, I there’s a bit of interaction as she can move her Tail Fin, Head and Arms. Isn’t that Cool!??? I hope that can see that effect in the second if not third image above.
Finally, to finish the card off I colored her Bikini Top and Lips then, I added shimmer and glossy accent to them for a shiny dimensional look. Also, I adhered with liquid glue a Seashell to each of her hands as well as a flower to her head for an extra girly look. Last but certainly not least, I mounted with craft foam and liquid glue the Birthday sentiment, and I adhered here and there a few yellow jewels. Because there’s never enough shimmer, I ended up covering the Seashells, Flowers and Hair with shimmer, and to add even more dimension I also added glossy accent to the Seashell on her hands to make them stand out and shine. By the way the sentiment is from the Yana’s Sentiments Glimmer Hot Foil Plate & Die Set.
Spellbinders Supplies:
With that being said, I hope that you’ve enjoyed learning about how, I’ve created this “Slimline Mermaid Birthday” card that, showcases stamp and die sets from the Marvelous Mermaids Collection by Jane Davenport. If you get inspired be sure to tag us in your social medias using the hashtags @spellbinders #Spellbinders #NeverStopMaking and Jane Davenport @janedavenport #janedavenport when sharing your projects so, we can see what you are creating with these beautiful sets. If you want to learn more from me, you can also find me at → Yasmin’s Blog or @cardsandcraftsbyyaz on Instagram.
Thanks for stopping by we hope to see you soon but most of all, we hope you and your family
Stay Healthy and Safe.
With love,
March 2022 Embossing Folder of the Month Preview & Tutorials – Garden Path
Cuppa Coffee, Cuppa Tea Inspiration | Coffee Woman Card with Melissa Phillips