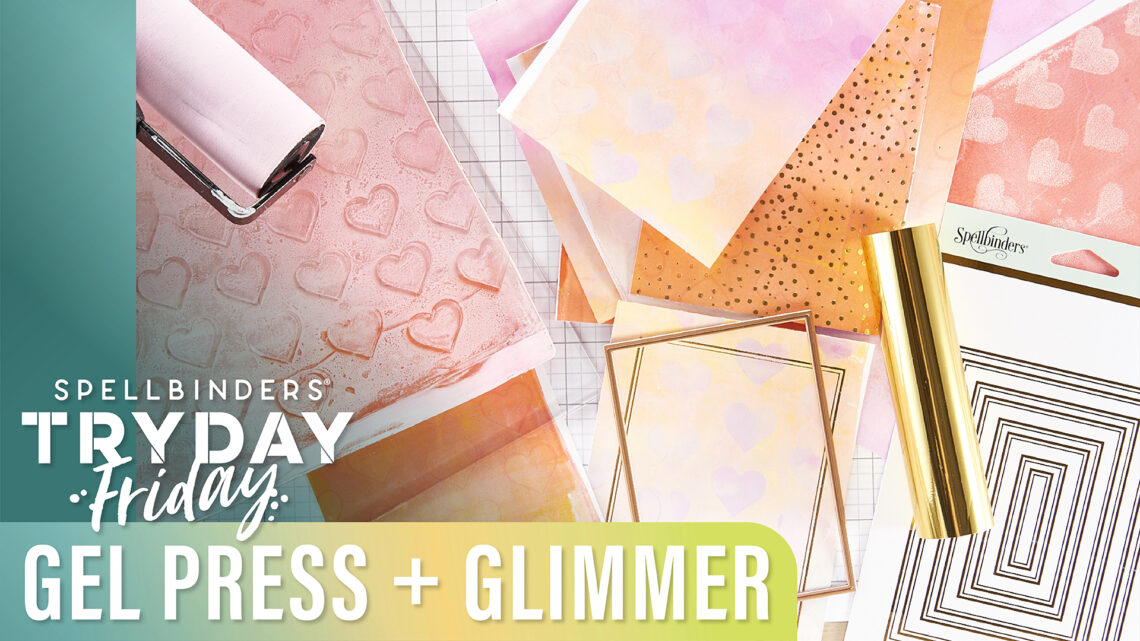
Gel Press Plus Glimmer DIY Printmaking | Spellbinders Live
Join Kim Kesti in the Creative Classroom while she enjoys some fun playtime with her Gel Press, creating one of a kind DIY prints. If you have a Gel Press that hasn’t seen much action lately, or you’ve seen the Gel Press online and wonder what exactly it is, watch Kim’s video today for tips and ideas to inspire you!
The magic of the Gel Press (and sometimes the frustration) is that you’ll never make the same print twice, and you never know what you’ll end up with until you lift your sheet of printed cardstock. It’s all about playtime and experimentation, and rest assured, it’s okay to get a little bit messy.
Spellbinders sells an exclusive size Gel Press which is 8.5×11”, making it easy to print a full size sheet of cardstock or paper. (Then, cut the print into pieces to add to multiple cards!) In today’s video Kim uses liquid ink and acrylic paint to make a variety of vibrant and eye-catching prints.
Ready to pull your first print?
- To begin, add drops of ink or paint to the Gel Press.
- Use a brayer to roll out the color, allowing it to blend as much as you’d like.
- Lay a piece of cardstock or paper onto the inky surface and smooth it with your hands.
- Next comes the magic! Carefully lift the cardstock and see what you’ve got! That’s called pulling a print.
- You might like it as it is, or you might mix some more ink or paint on the Gel Press and pull a second print on that same piece of cardstock.
There are no rules about how many layers and colors and patterns you add to a print! It’s all about being creative and having fun!

Here are some terrific tips Kim shared in today’s video:
- Store your Gel Press upright in its original packaging.
- Add a Spellbinders Platinum cutting plate underneath as a stable surface on your workspace.
- Still learning and experimenting? Use copy paper or even the back side of junk mail or school papers to practice and save cardstock.
- Die cut flowers and shapes from scraps of the prints you pull.
- Dry emboss prints for extra dimension and pattern.
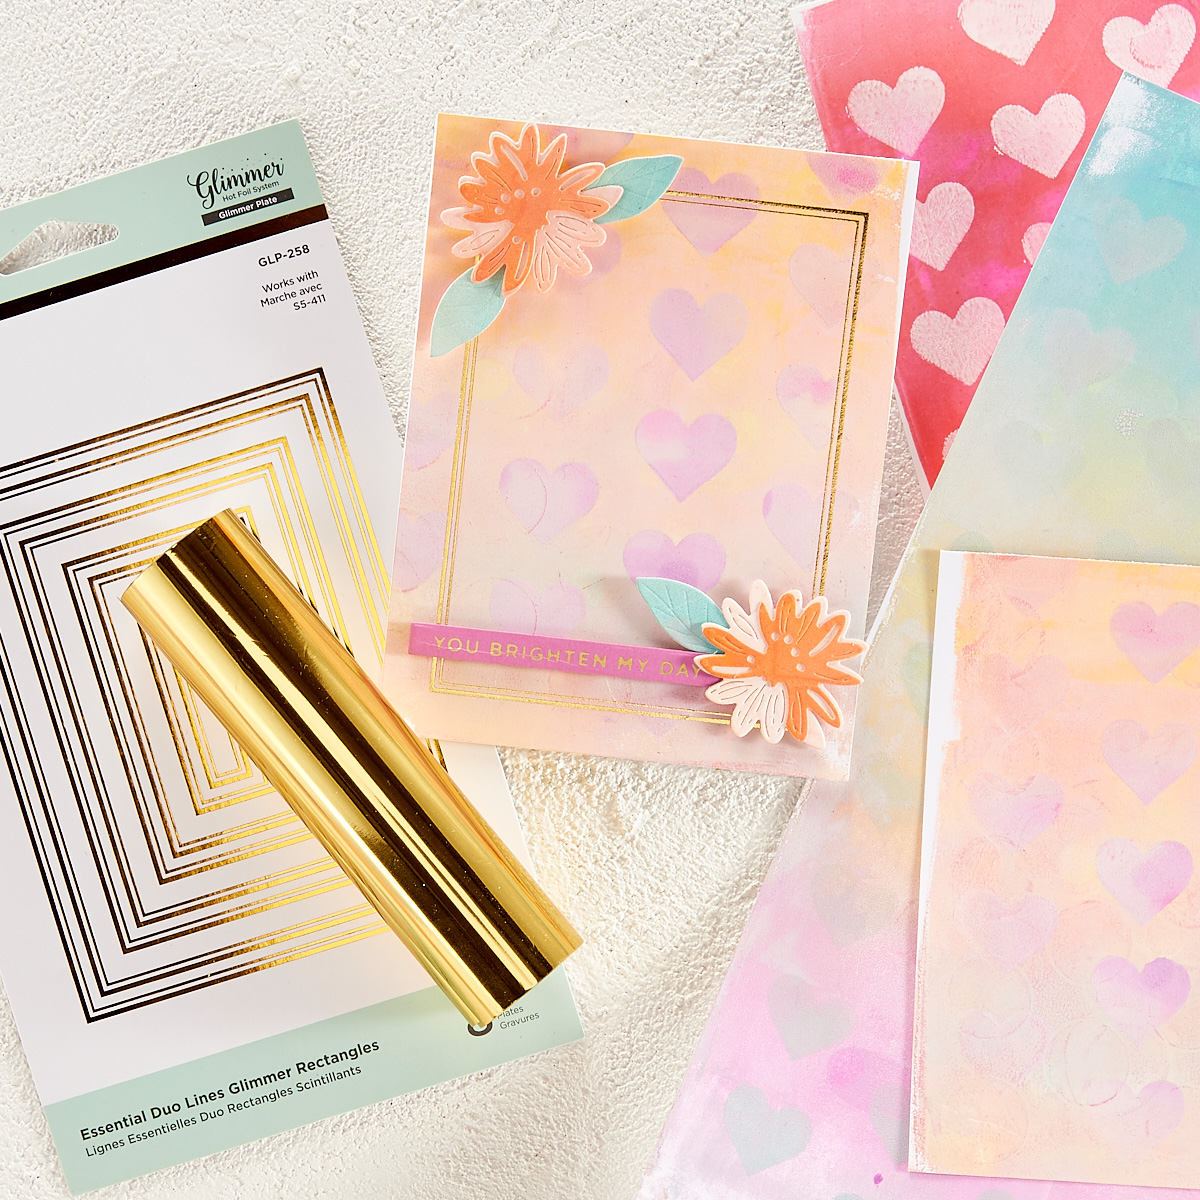
After playing with layers and prints you’ll end up with unique and interesting prints that can be used on a variety of cards and projects. Watch the video to see all of the prints that Kim made while she was playing. You’ll see all sorts of variations using ink, paint, and the heart stencil.
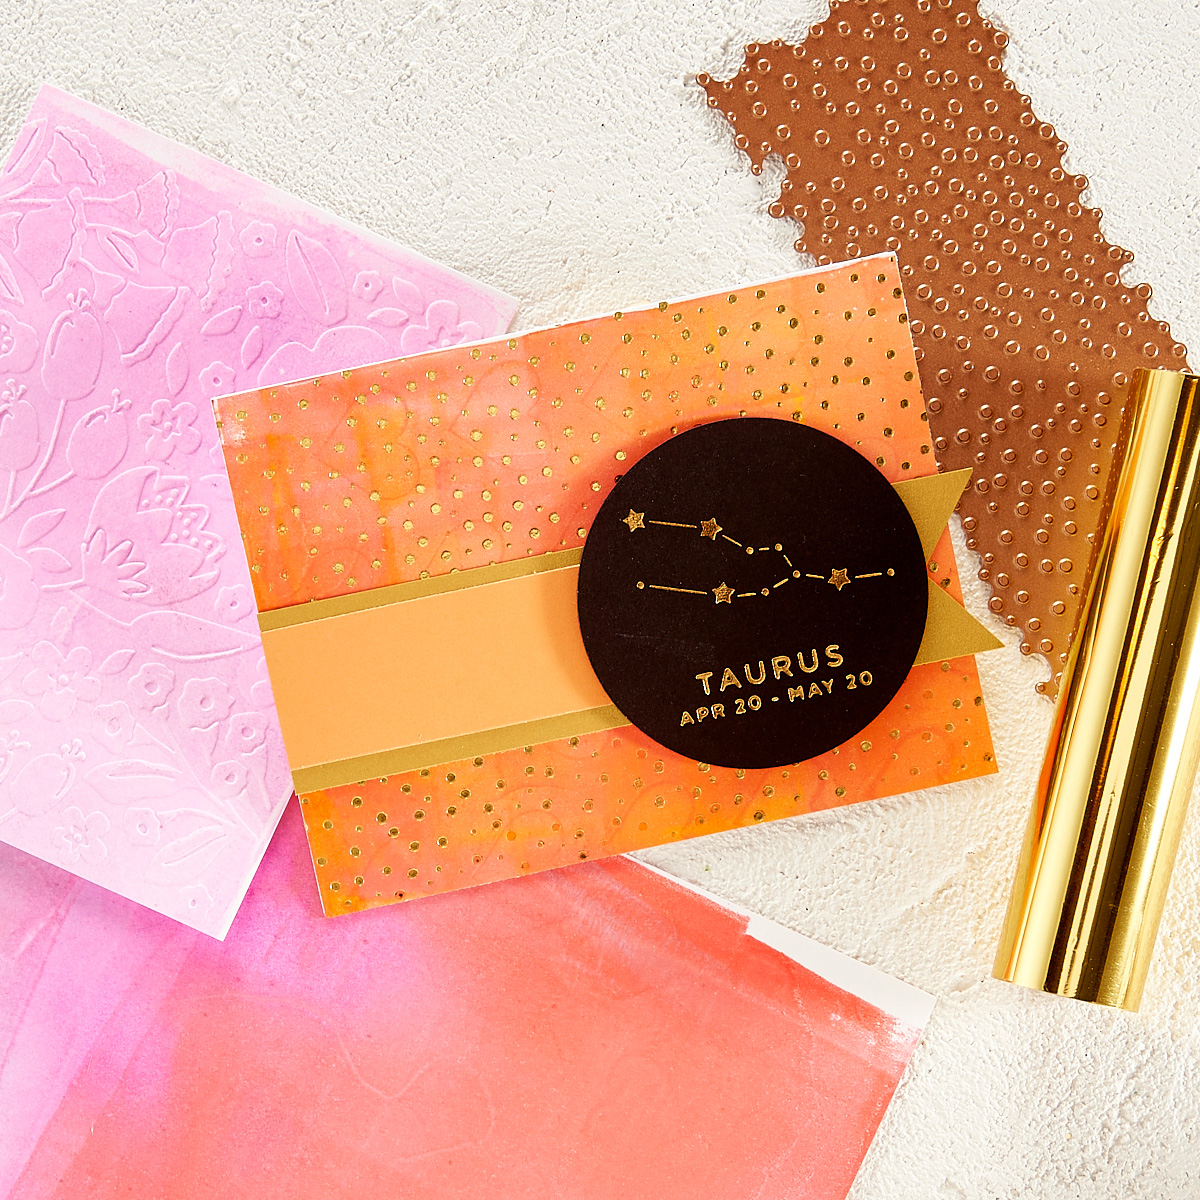
Watch this video tutorial below or on our Youtube channel as Kim puts her beautiful prints to work on handmade cards. Kim used her prints to create some lovely cards featuring her Gel Press prints paired with hot foiled backgrounds, sentiments and die cut shapes.
Thanks for joining us! Don’t miss our Spellbinders Live videos each week, at 10 am on the Spellbinders Facebook page and YouTube channel!
Spellbinders Supplies:


One Comment
Mary Fuller
This looks like fun ,and I have tons of stencils I have collected over several years!!