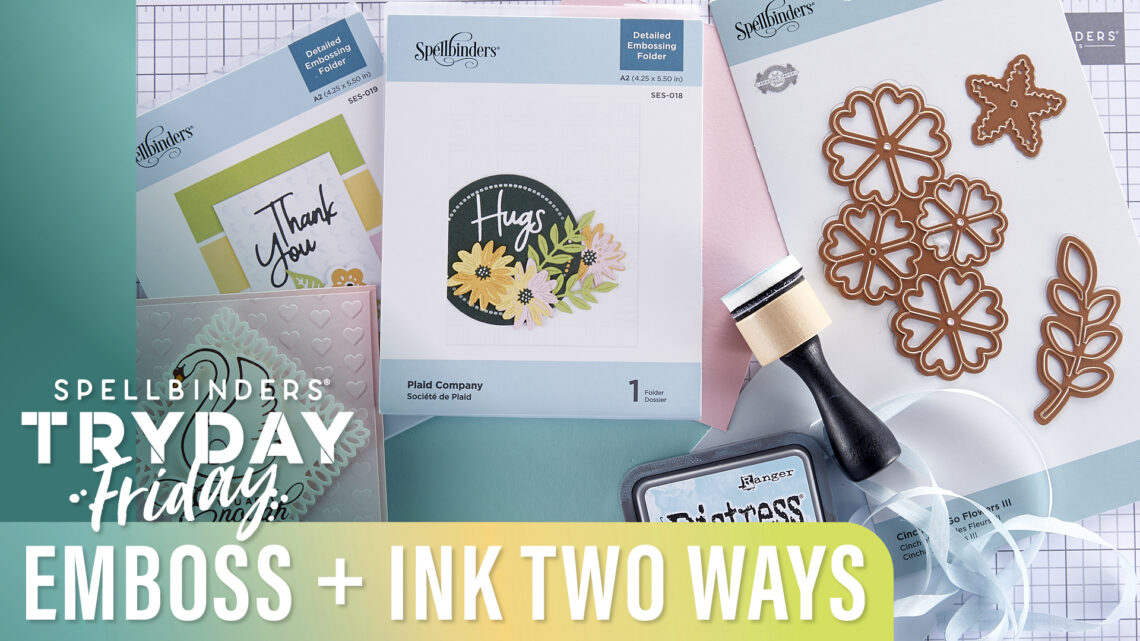
Emboss Plus Ink TWO Ways | Spellbinders Live
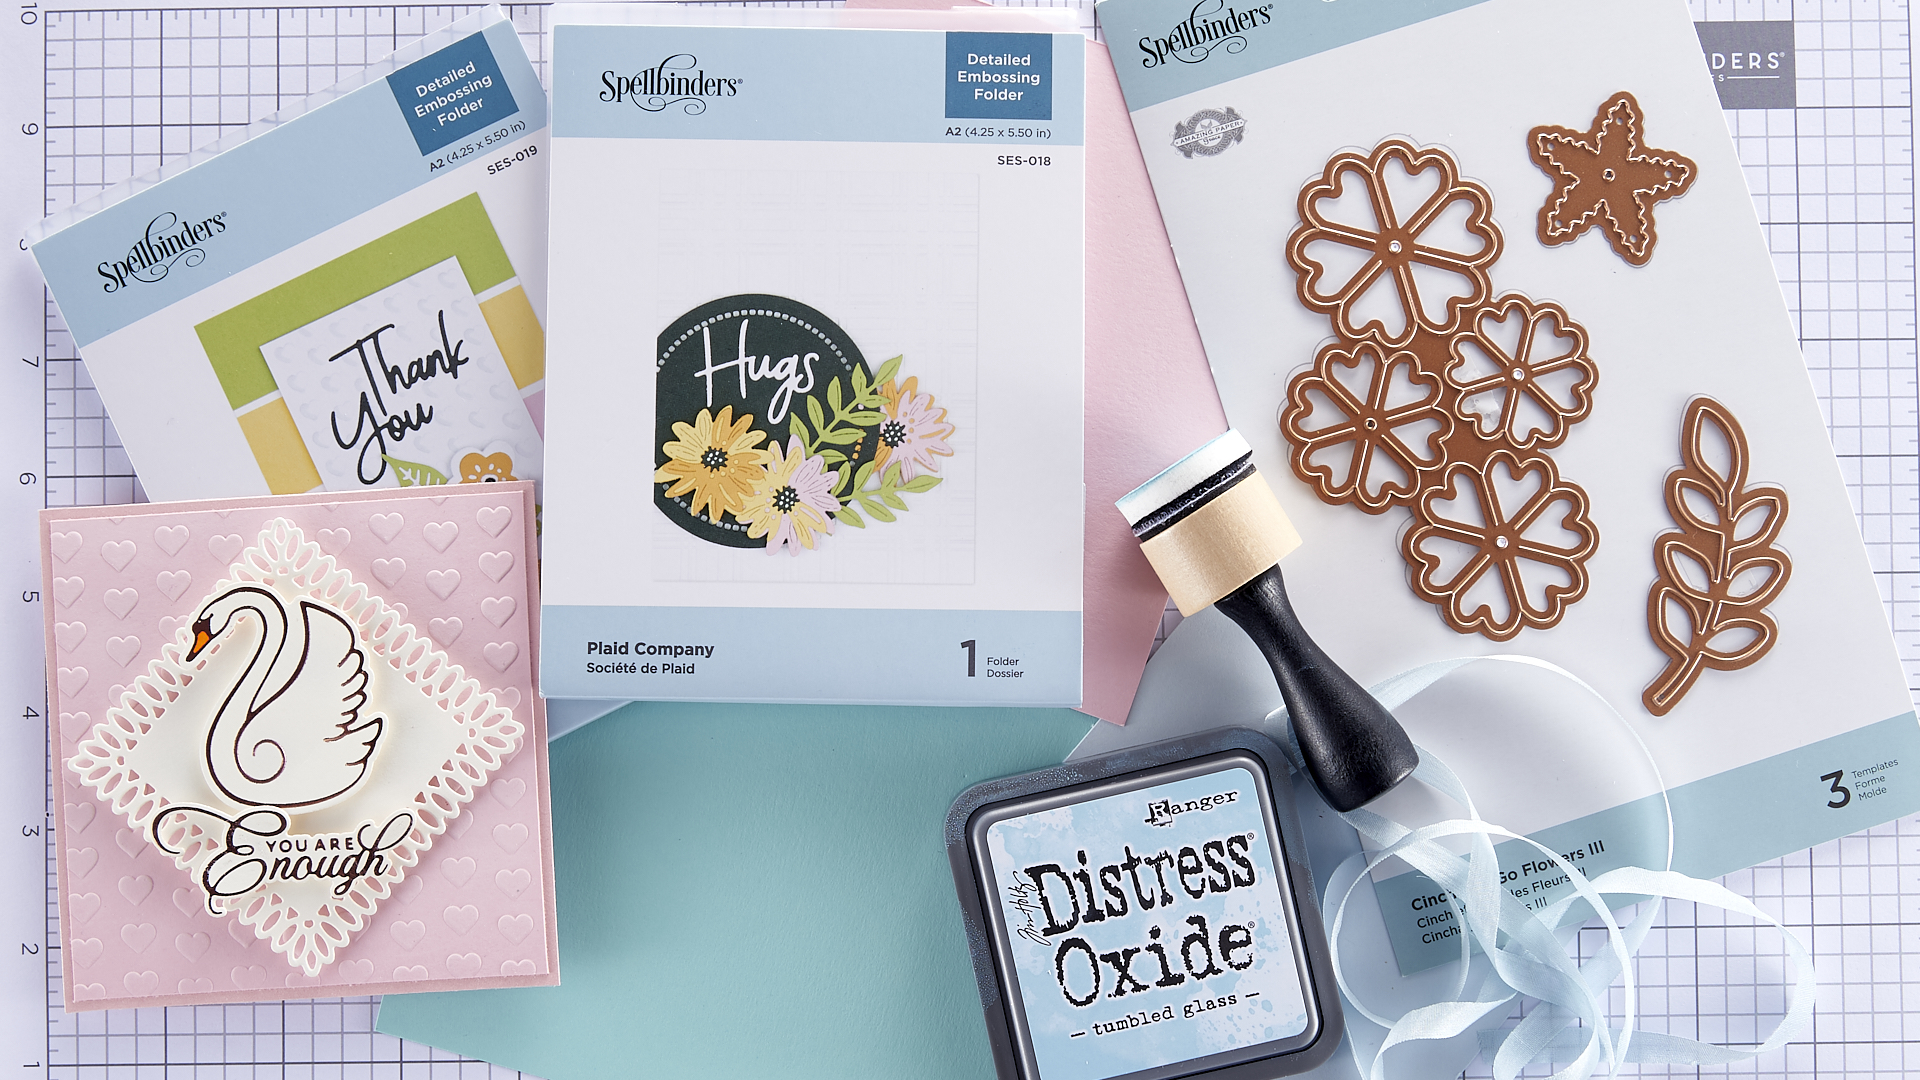
Embossing folders are a perfect way to add a subtle background or a bold pattern to handmade cards and crafts. Join Kim Kesti in the Creative Classroom as she creates with four favorite embossing folders from Spellbinders: Heart and Soul, Scallops, Sun Rays, and Plaid Company.
Looking for the perfect sandwich for these embossing folders on your Platinum or Platinum 6? Start with the platform, then embossing folder with cardstock, and one cutting plate on top. (Have you seen our new Glitter Cutting Plates?!)
Kim started with the Heart and Soul Embossing Folder and shared some ideas for adding ink to your embossed panels. The easiest way to add ink is with a sponge dauber. Keeping the dauber flat, gently smooth ink back and forth over the embossed texture. Another option is to hold the ink pad gently, facedown on top of the cardstock, keeping it very level and just barely brushing the ink across the raised surface of the embossed texture.
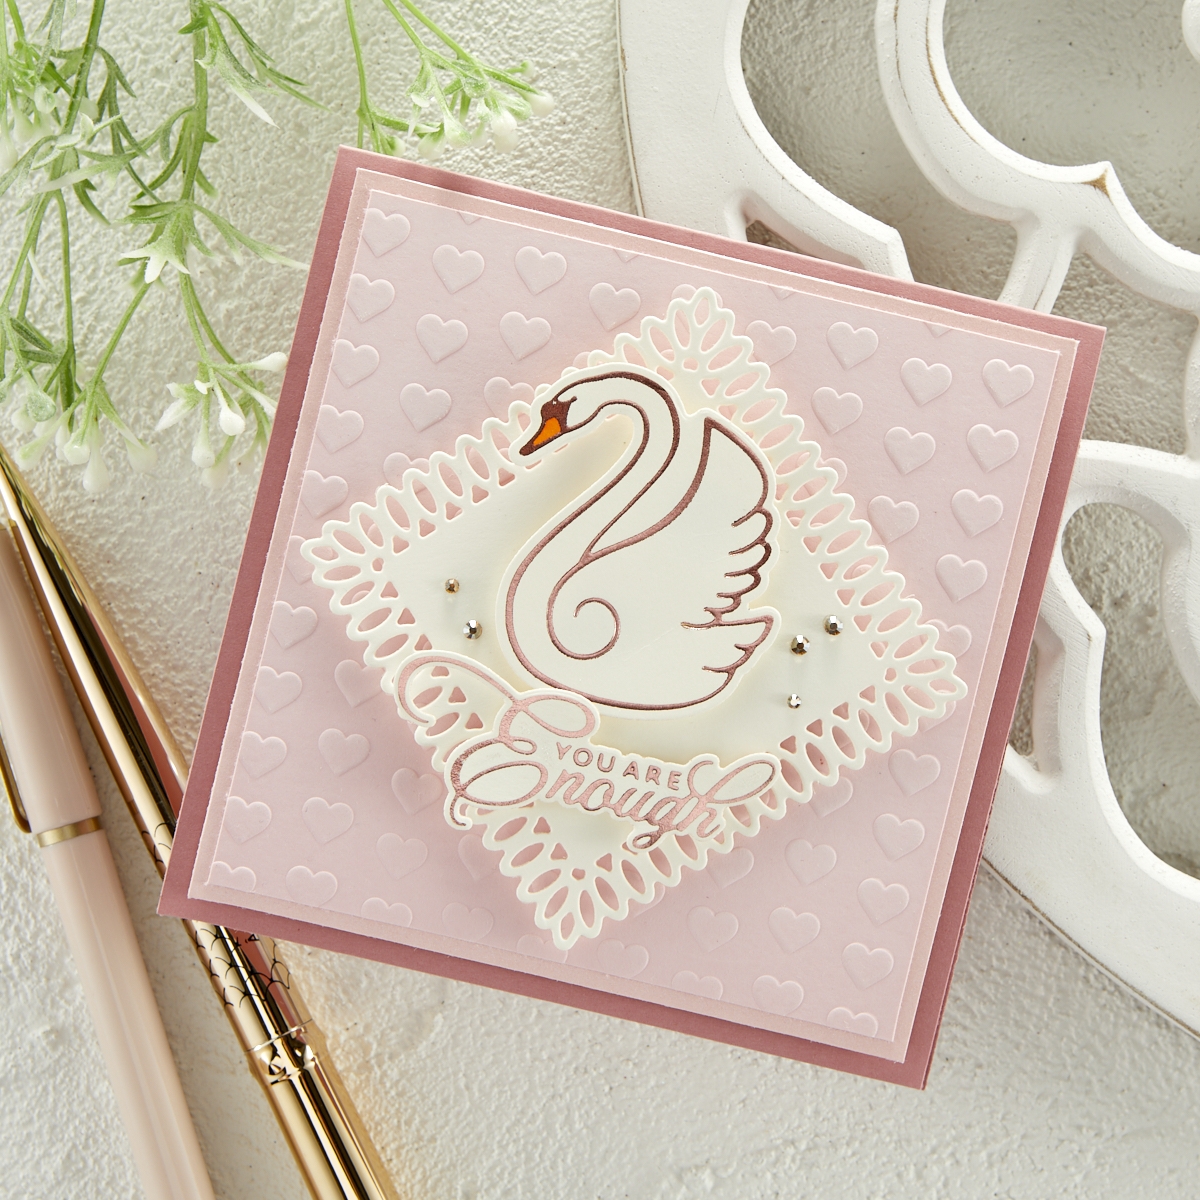
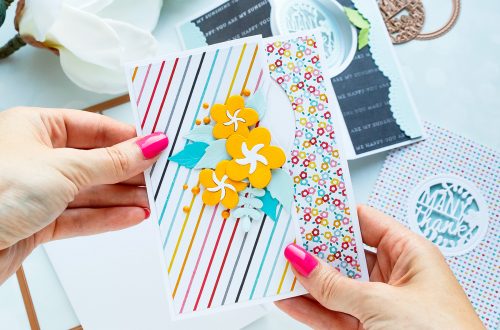
Kim paired the Graceful Swan Glimmer Plate and Pico Petite Squares Die with her first embossed background. She finished off her sweet and elegant card with the Gold Color Essential Gems.
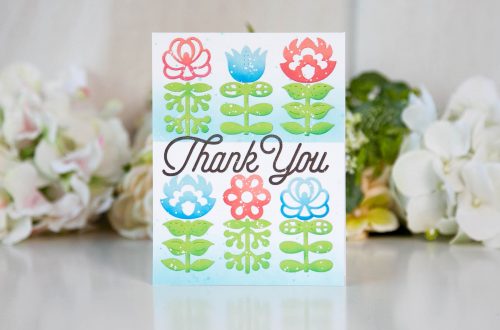
Next, Kim shared the Scallops Embossing Folder. Remember, an embossing folder has two different sides. One side has a raised pattern and one has a debossed or negative pattern. When you add ink to your folder, you’ll get a different look depending on which side you apply ink to. (Have some fun and play around with the options!) Kim applied ink to the “front” side (the one with the Spellbinders logo) with a brayer. After running the folder and cardstock through the machine, the ink causes the embossed design to really pop! (Be sure to clean your embossing folder promptly after this technique!)

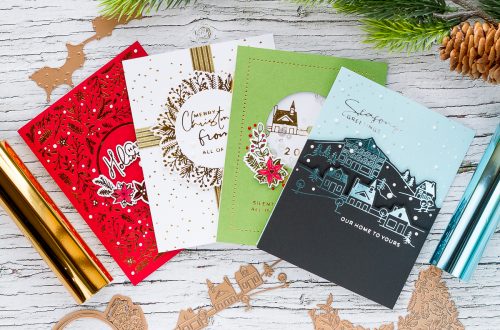
Then, Kim used the Sun Rays Embossing Folder. Paired with Glacier cardstock, Kim embossed first and then used a brayer to roll ink onto the embossed cardstock. She continued to brayer on more ink until the panel was covered evenly. Kim added a Glimmer frame and sentiment, plus Becca Feeken’s Cinch and Go Flowers to create an elegant card. (Be sure to check out Susan’s Garden Specialty Cardstock, perfect for die cutting flowers!)
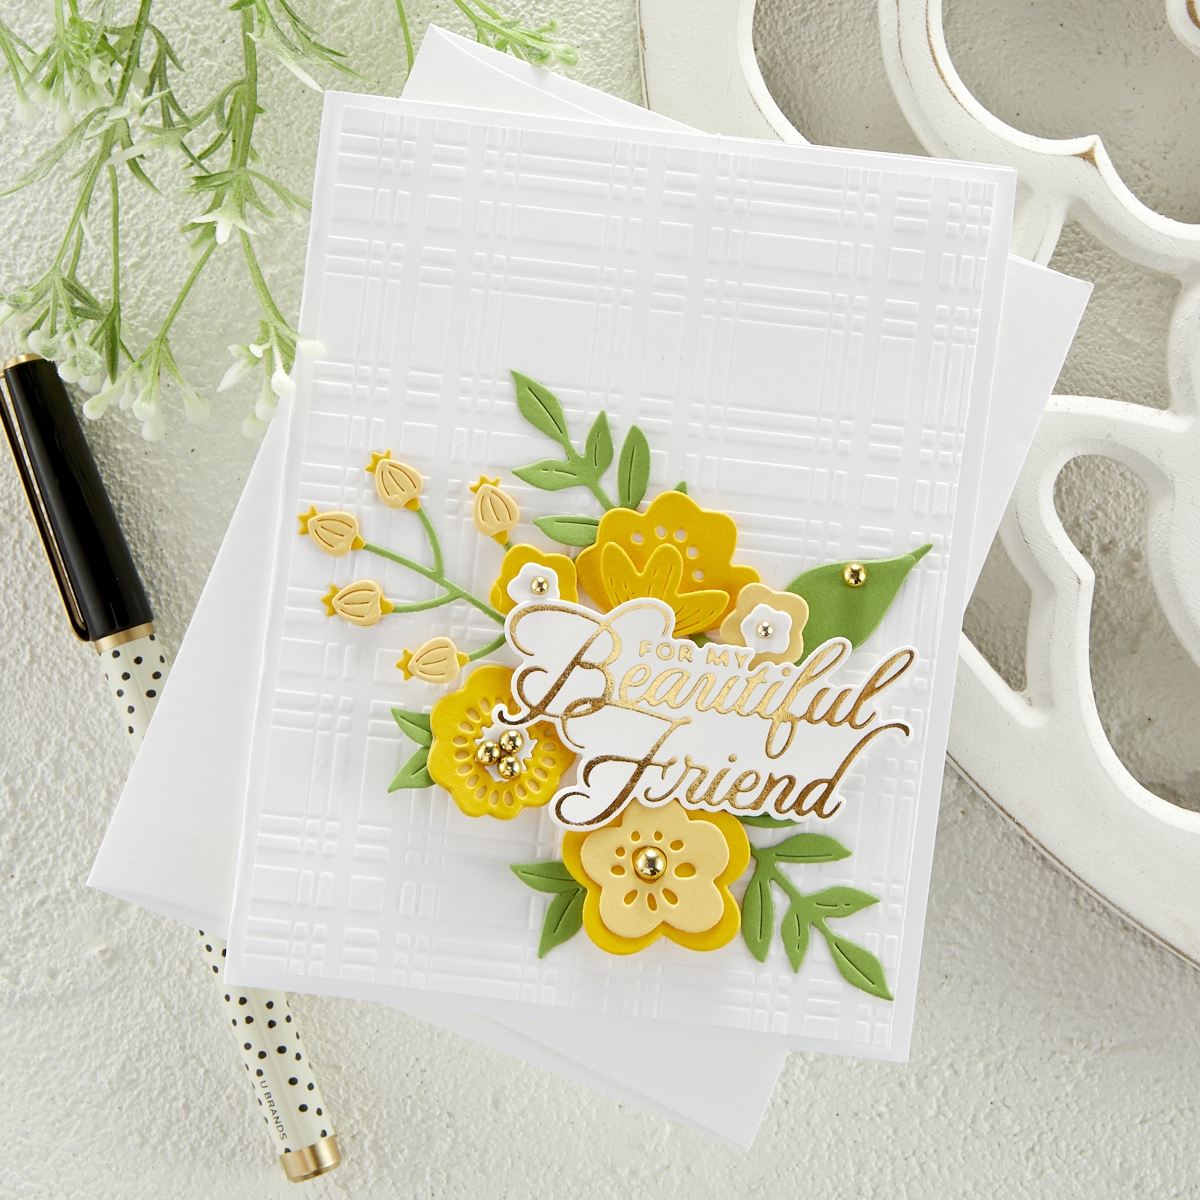
Last, Kim shared the Plaid Company Embossing Folder. Even simply embossed on white cardstock, these embossing folders make a literal big impression! She paired it with another beautiful Glimmer sentiment and the Simply Perfect flower dies.
Watch this video below to see more tips and tricks for all of these lovely cards!
Don’t miss our Spellbinders Live videos each week, live at 10 am MST on the Spellbinders Facebook page and YouTube channel!
One Comment
Karen Brown
Gorgeous cards!